Brief
Make a small collection of objects around a theme – choose from:
- Festival
- The morning after
- Summertime
- Workshop
Using a digital camera move around your set of objects. Look at them from above and underneath. Zoom in and out. Look for interesting combinations of shapes and textures, and document them using photographs. Be unusual with the positioning of the frame. Experiment with diagonals within the structure and deliberately position some elements close to the frame.
Do the same thing with drawing but work in a format that is different from your viewfinder, such as a square format, or long and thin, or an irregular rectangle. If it helps you can make a viewfinder using two ‘L’ shaped pieces of stiff card or paper in your chosen format. Repeat the exercise of exploring viewpoints but this time document your visual journey around the set in your sketchbook. Draw shapes to work with that are the same format as your viewfinder. You may find it helpful to draw around your viewfinder to create a set of thumbnail shapes.
Choose your favourite design. Remember that you are trying to communicate an idea about your chosen theme – your favoured design should be one of which is most successful in this regard.
Using a pencil, draw this design on a larger scale. Either draw from the photographs you took or from the still life directly. Draw your final design to a format and scale which is proportionate to your thumbnail. This line drawing should be readable and descriptive and readable as a visual and not a final artwork in its own right.
Record your thoughts on the following questions:
- Which viewpoint best fitted the word your objects illustrated? Why was this?
- Which format best illustrated your words?
- Did changing viewpoints make you think differently about your choice of objects and arrangement of them?
Setting up the objects
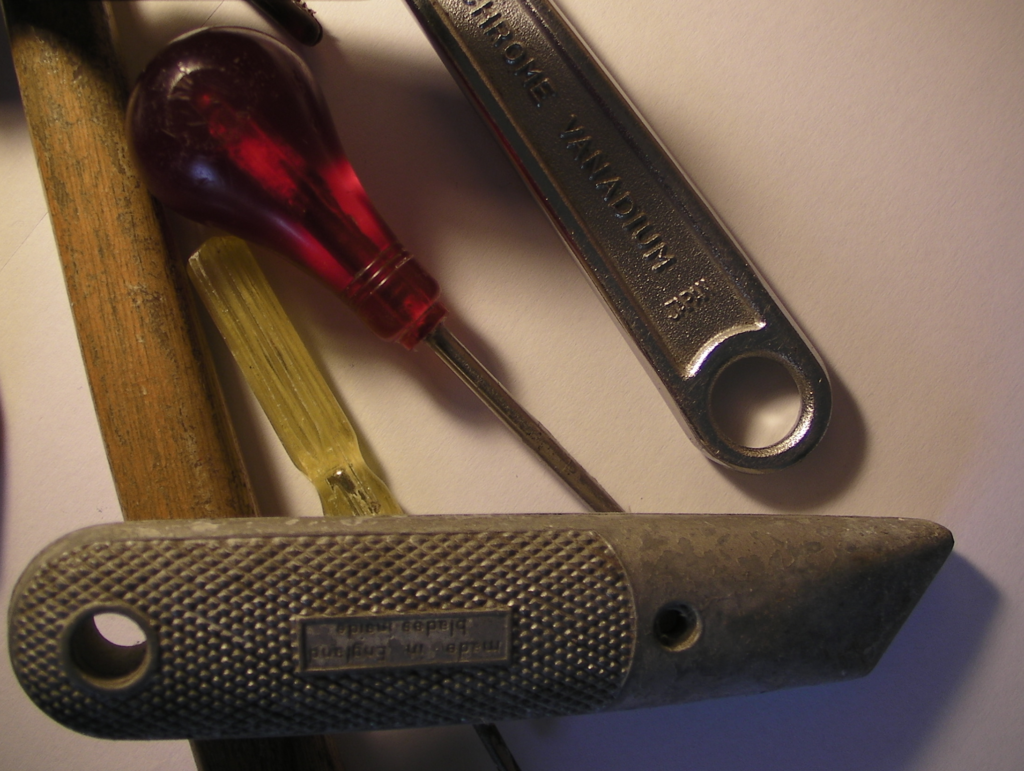
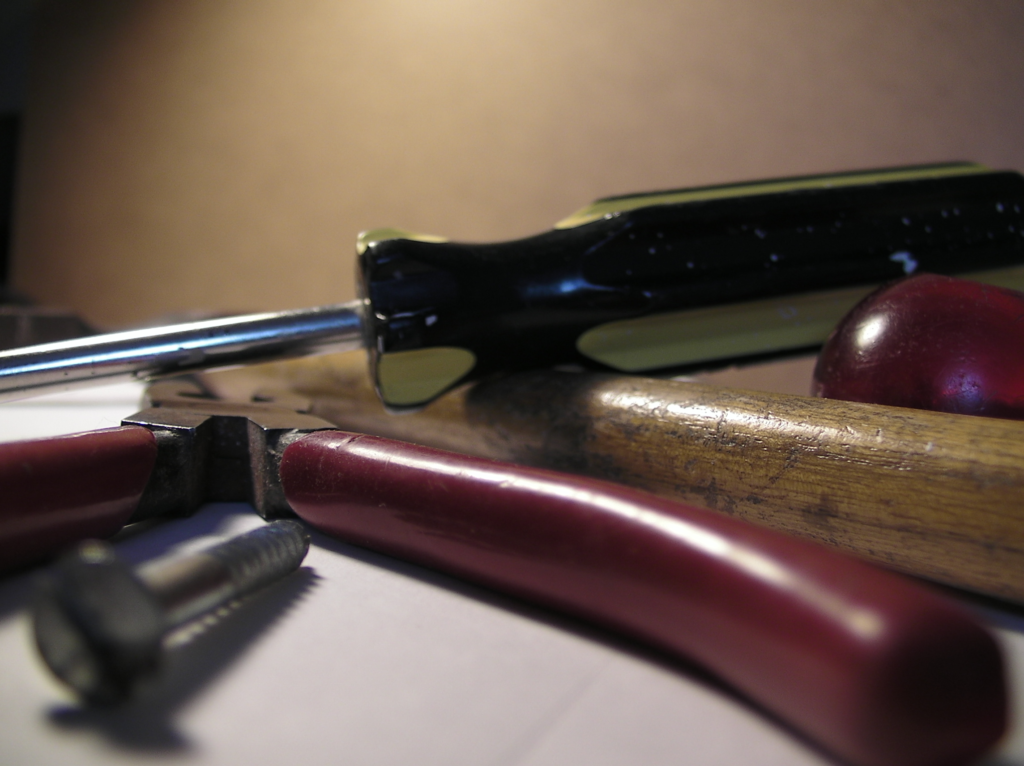
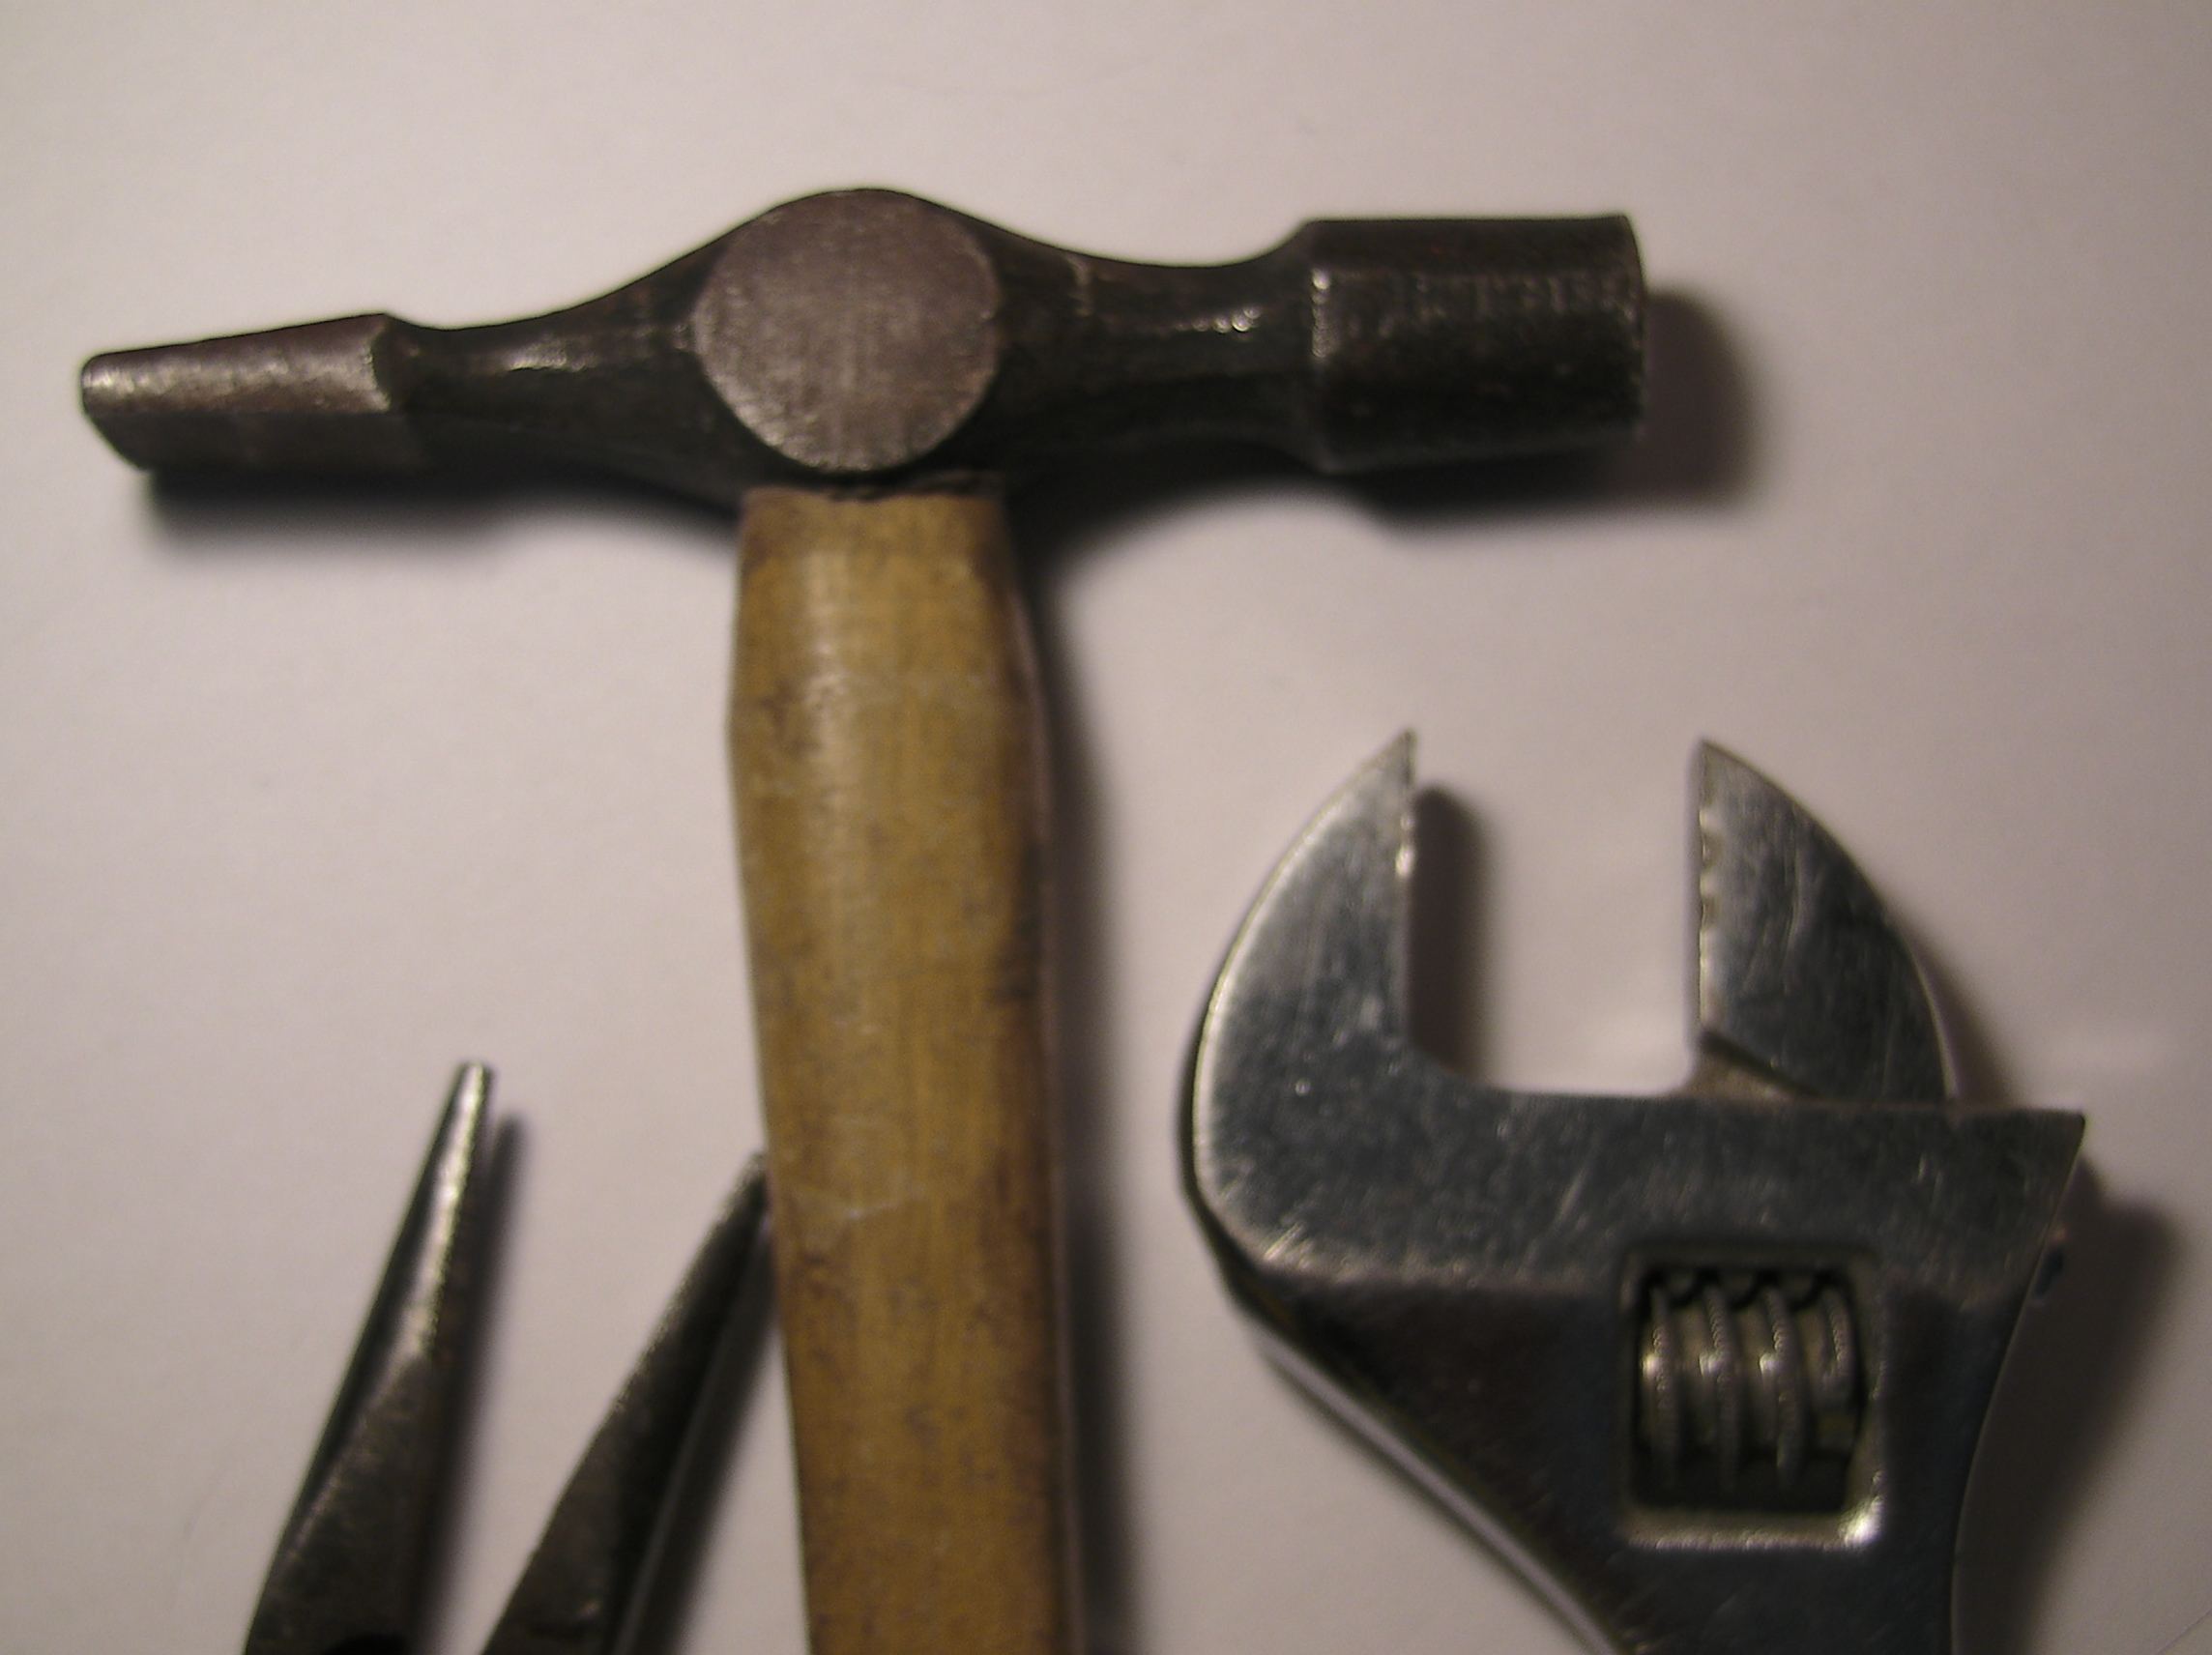
I selected ‘Workshop’ as the theme for this exercise. I collated a selection of tools and positioned them on some white paper, using a wooden board for the background.
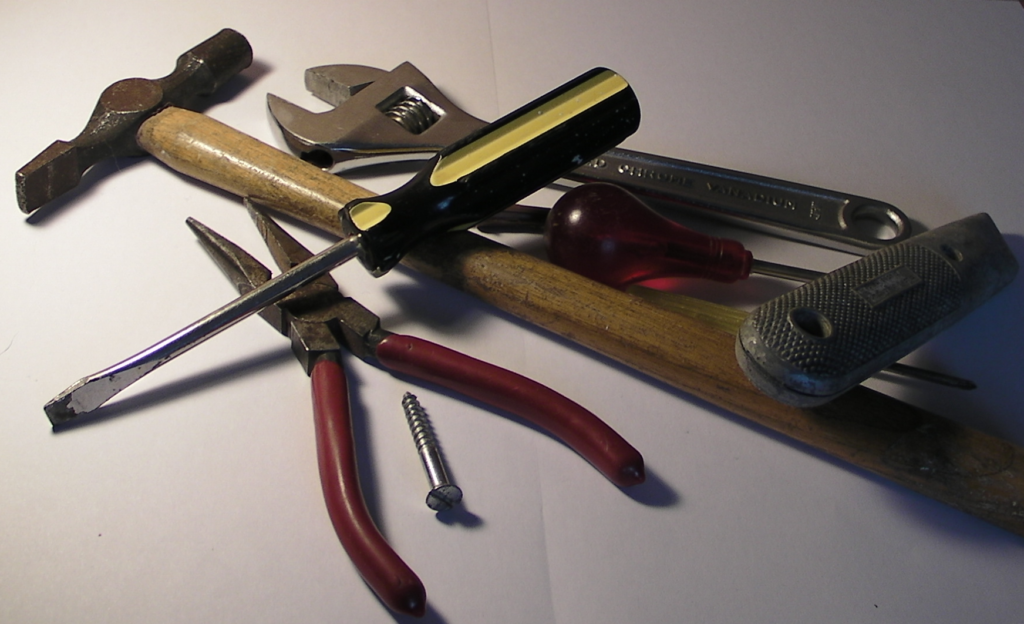
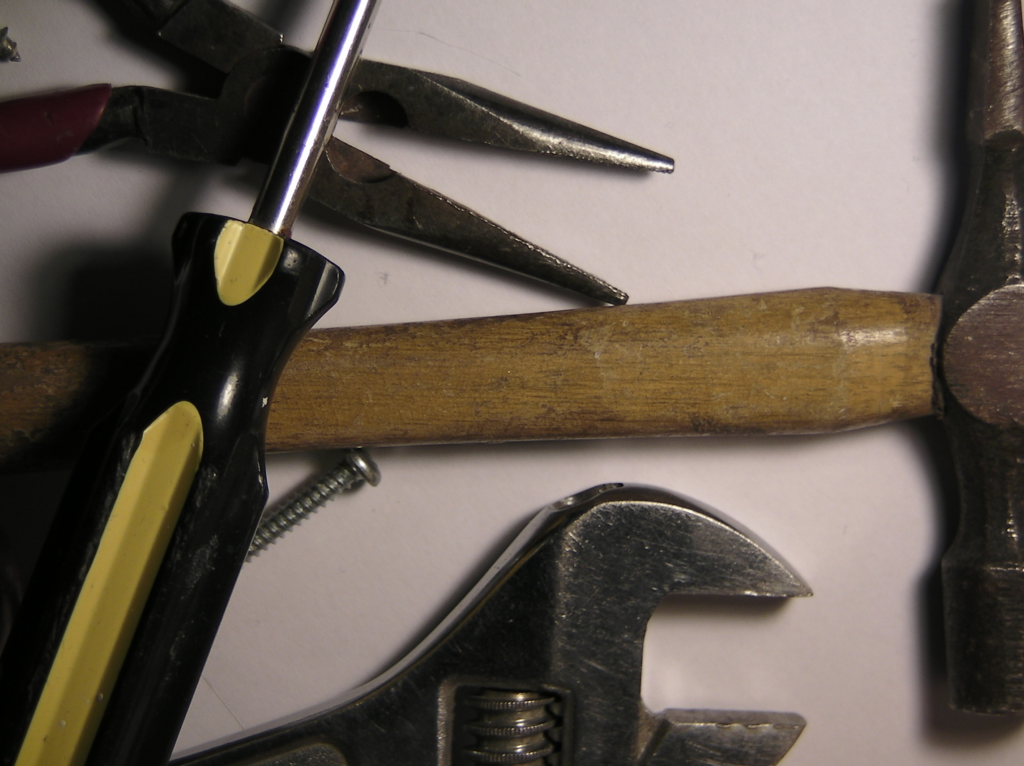
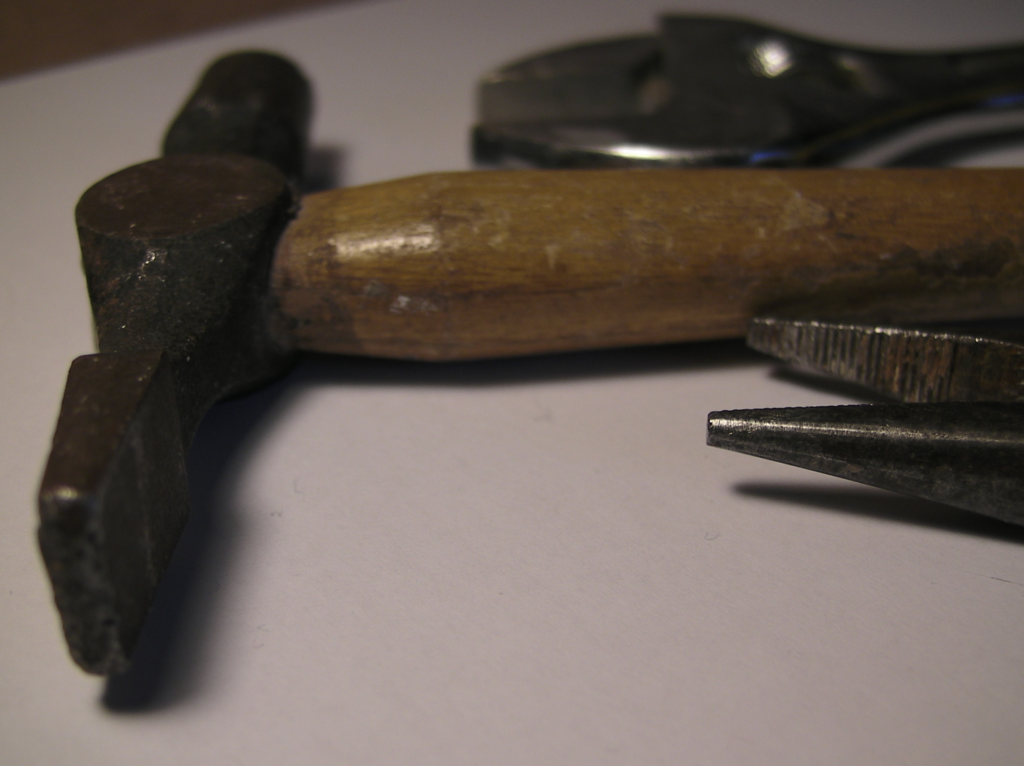
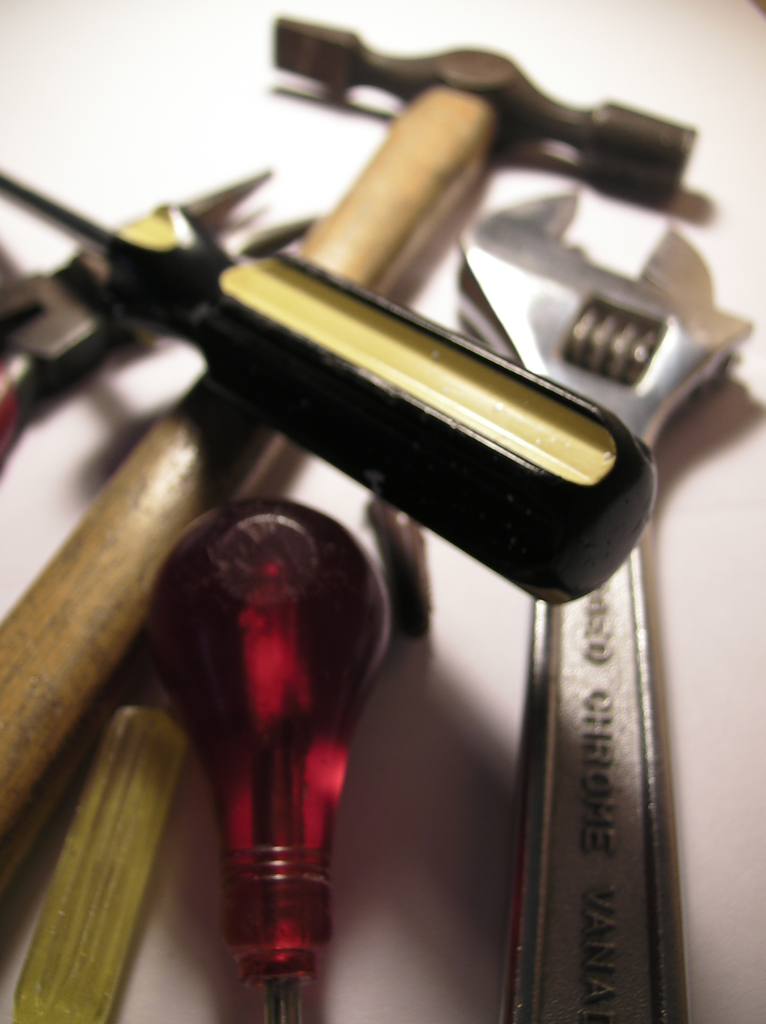
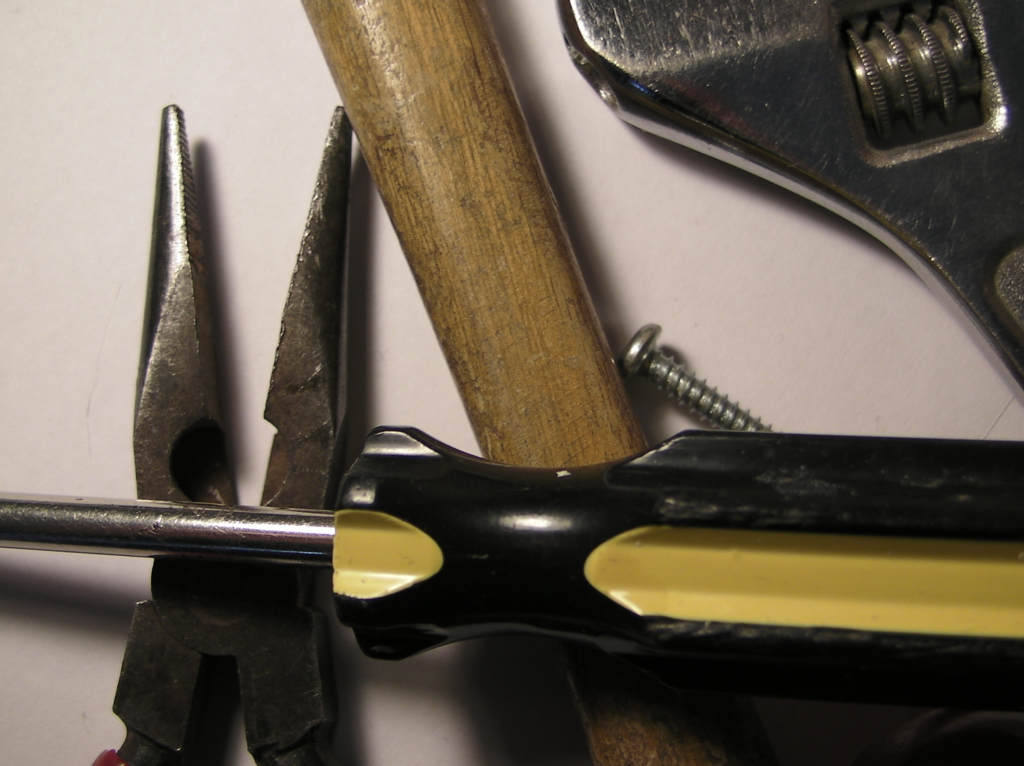
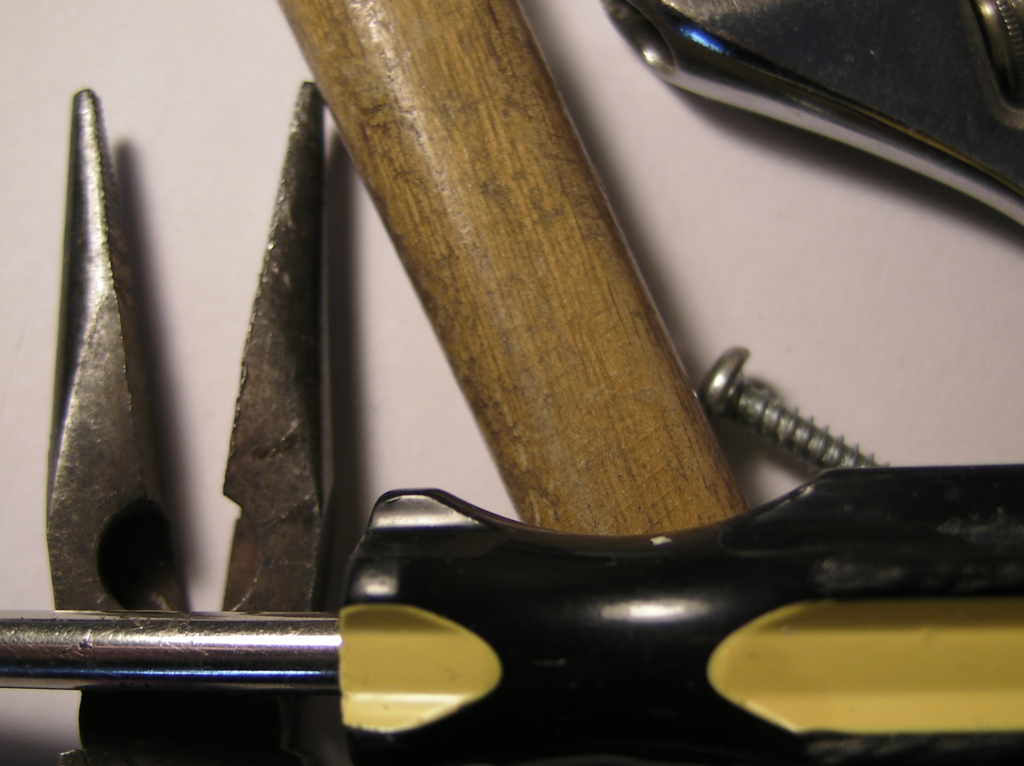
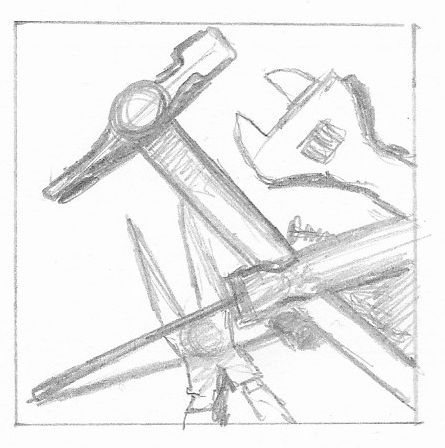
Photographs
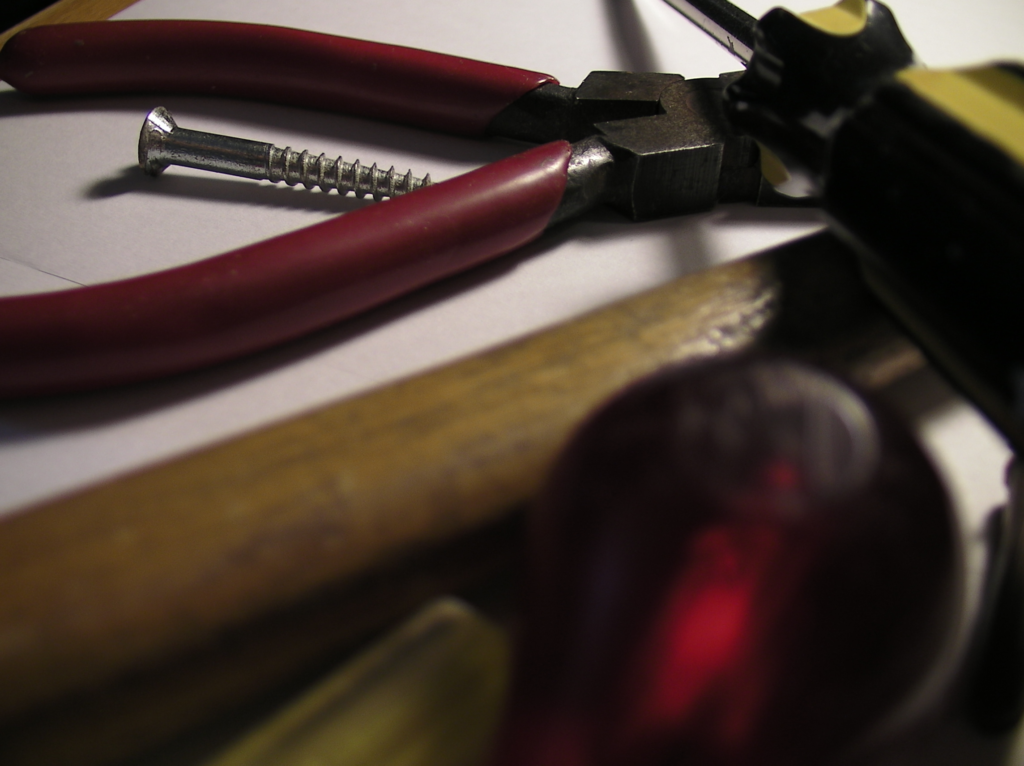
I then took a series of photos of the objects. I attempted to consider the angle of the tools within the composition, as well as the sense of the set-up being non-staged.

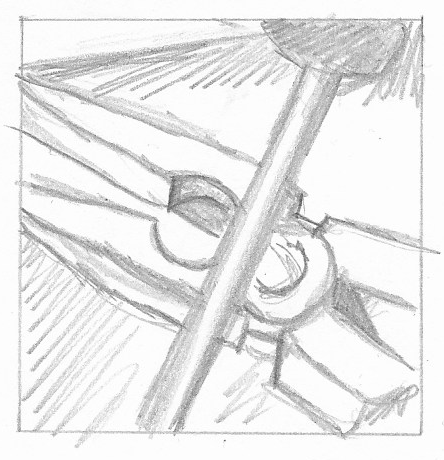
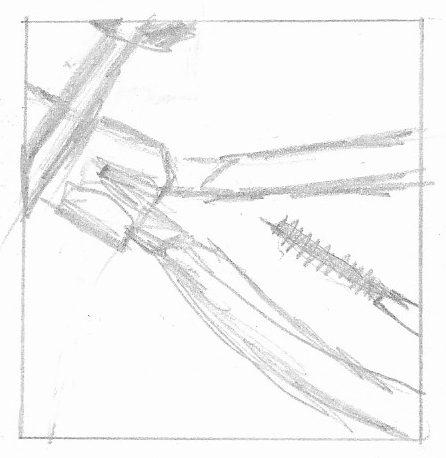
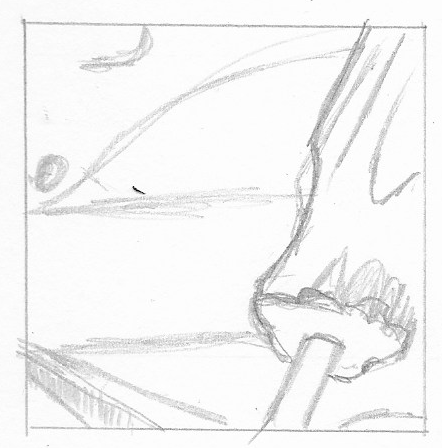
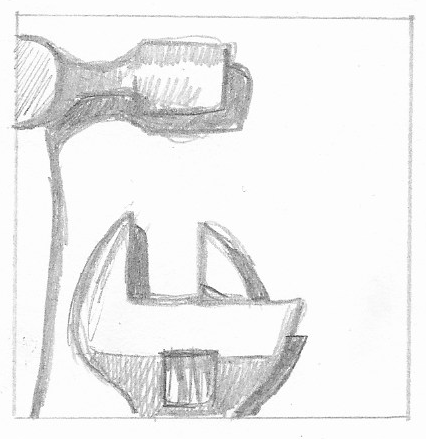
Rough Sketches
I then made a square viewfinder and did some rough sketches in the same way.
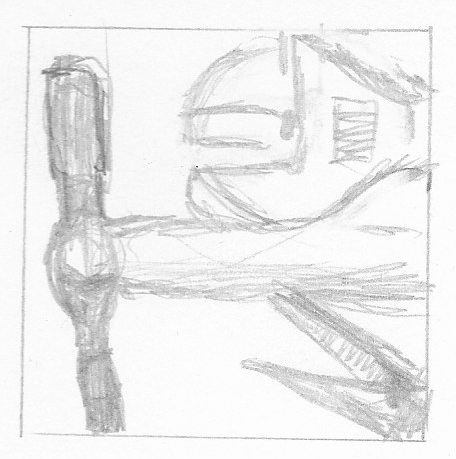
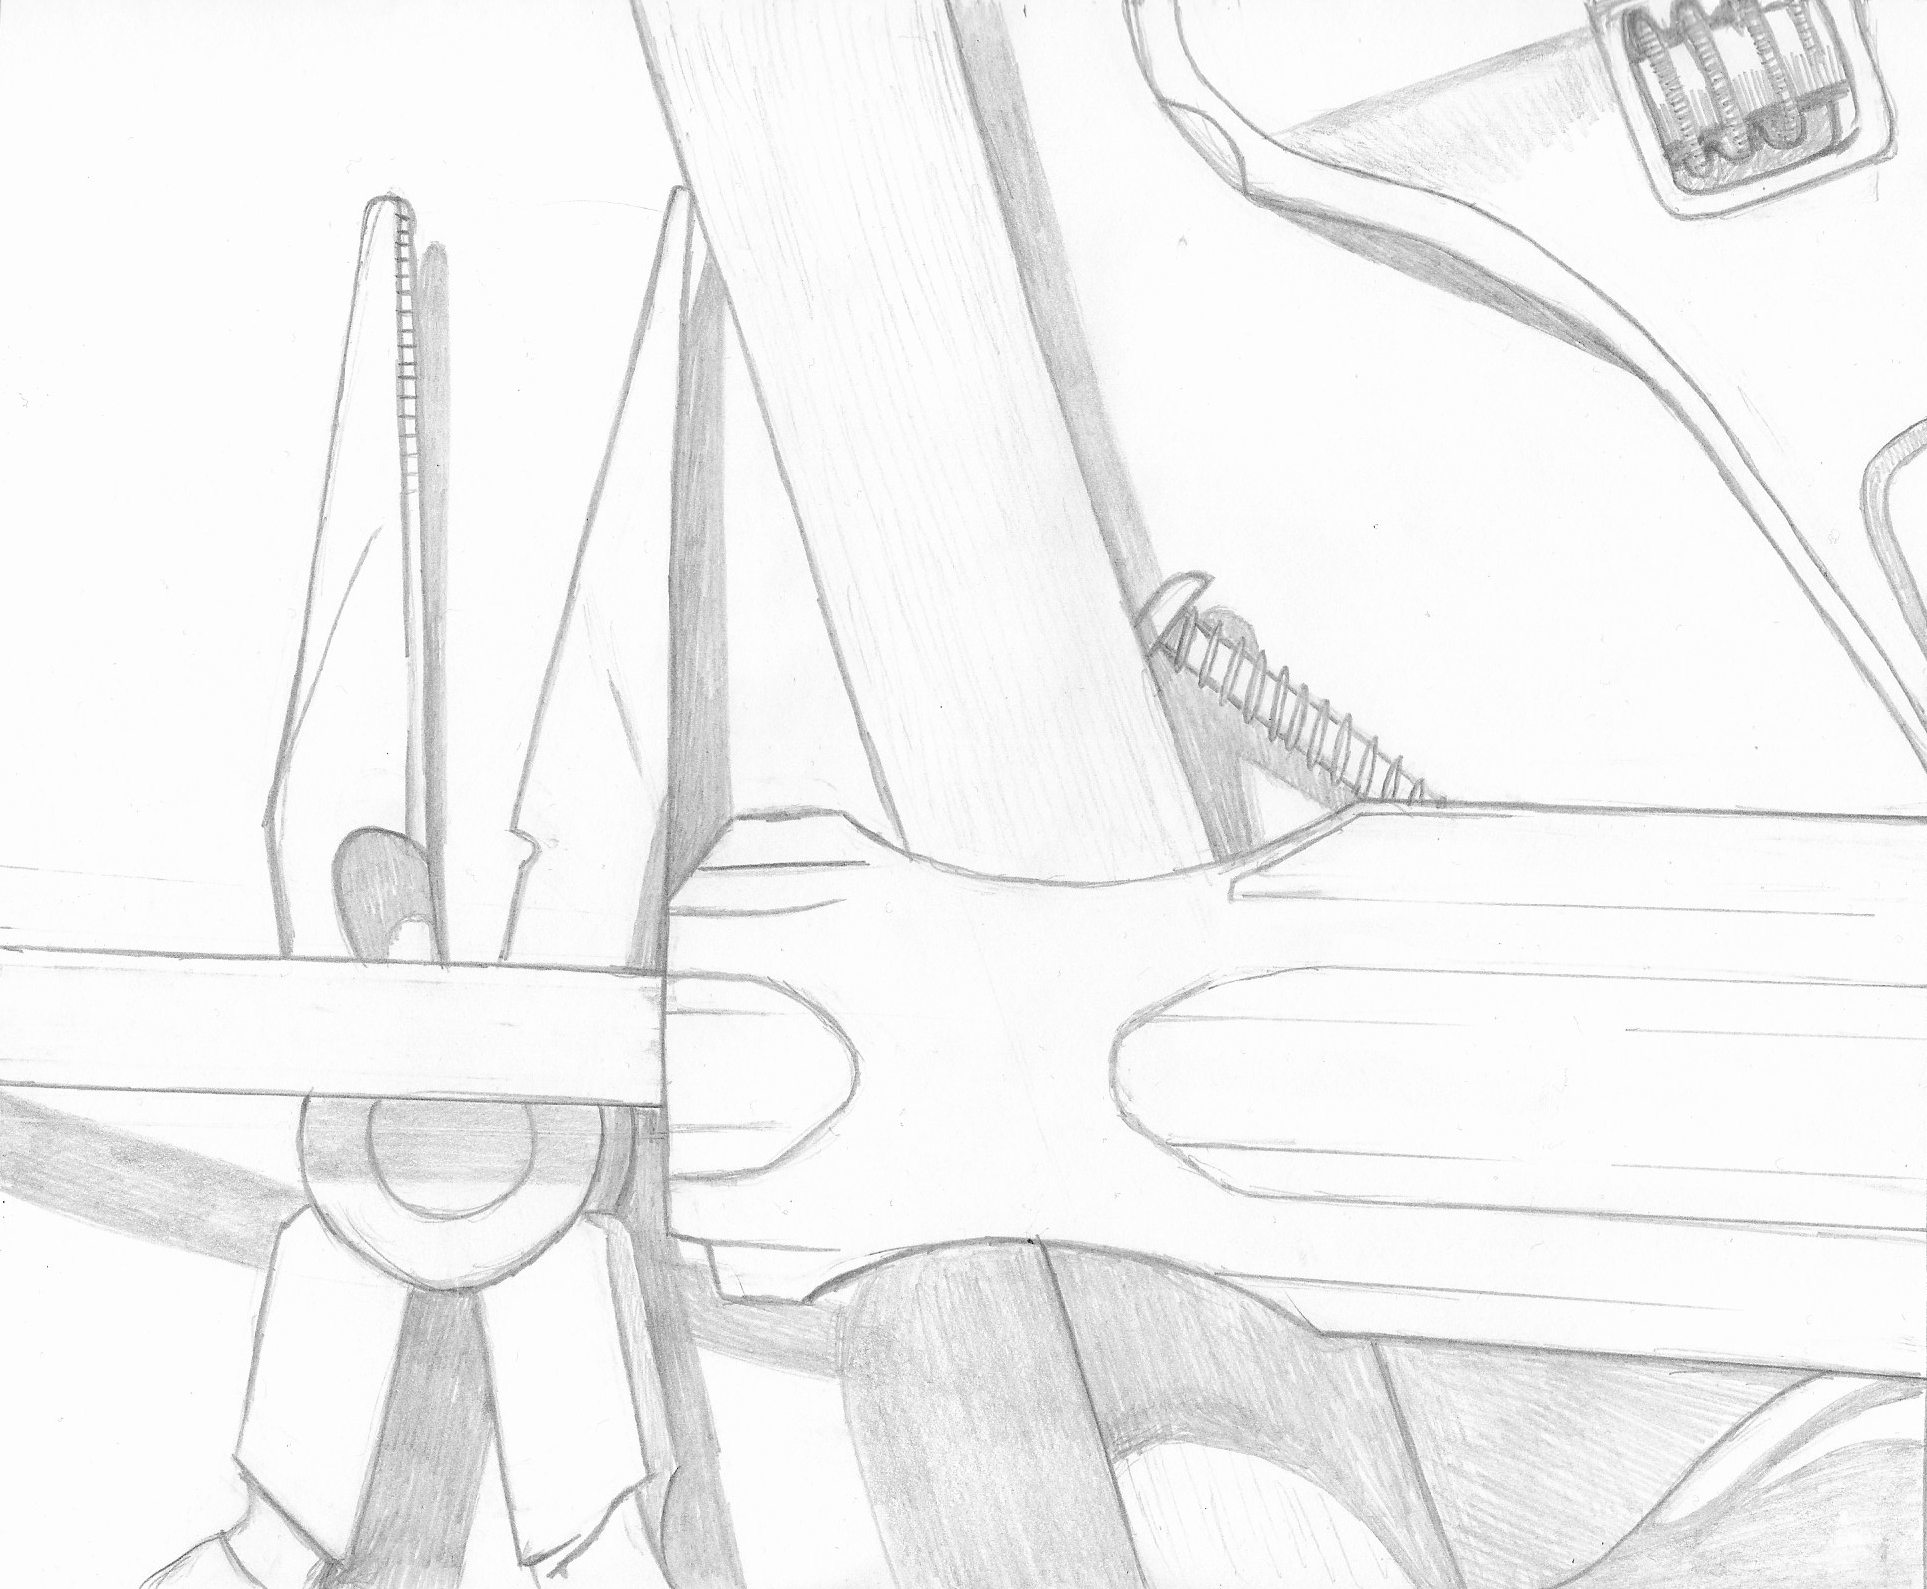
Line Drawing
I thought the photographs were much more successful than the sketches. I found it very difficult trying to use a viewfinder whilst drawing the tools. I thought they worked well enough as thumbnails, but to use them as reference for a more detailed line drawing would have been challenging. I, therefore, selected one of the photos as the source for my line drawing.

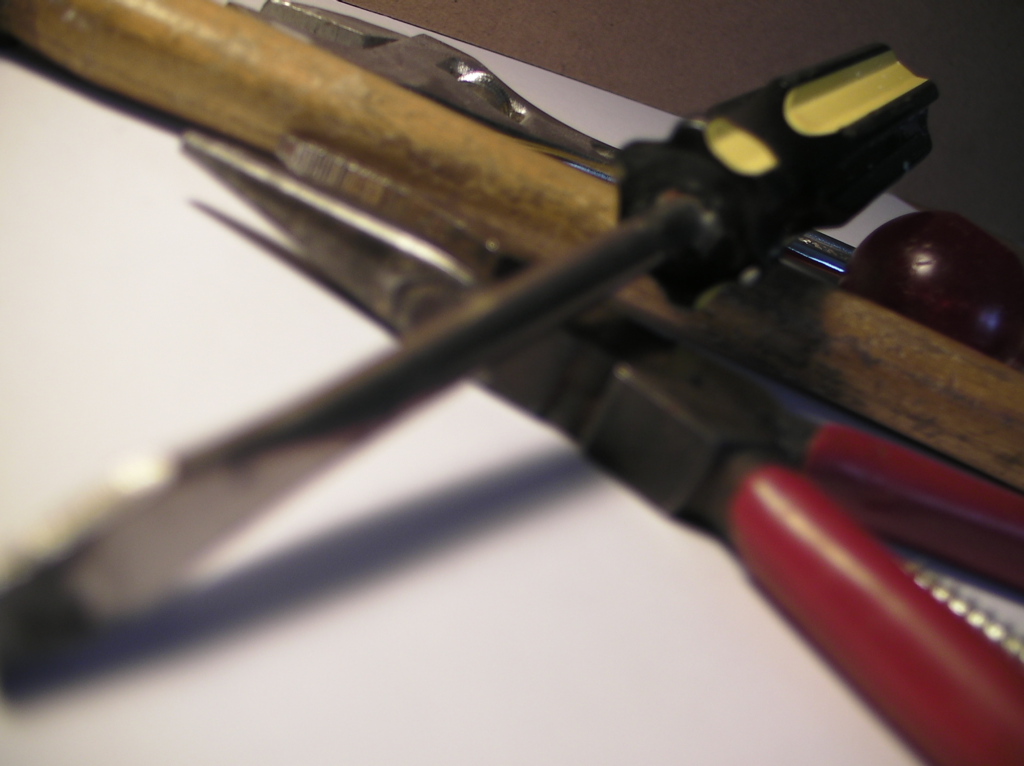
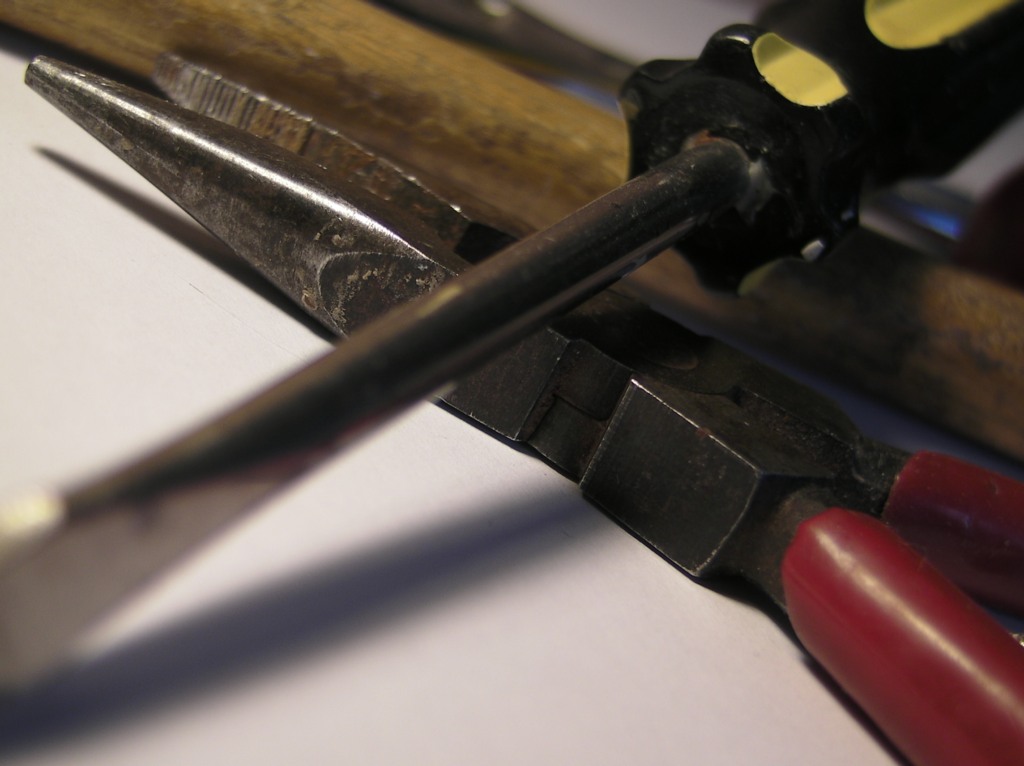
Which viewpoint best fitted the words your objects illustrated? Why was this?
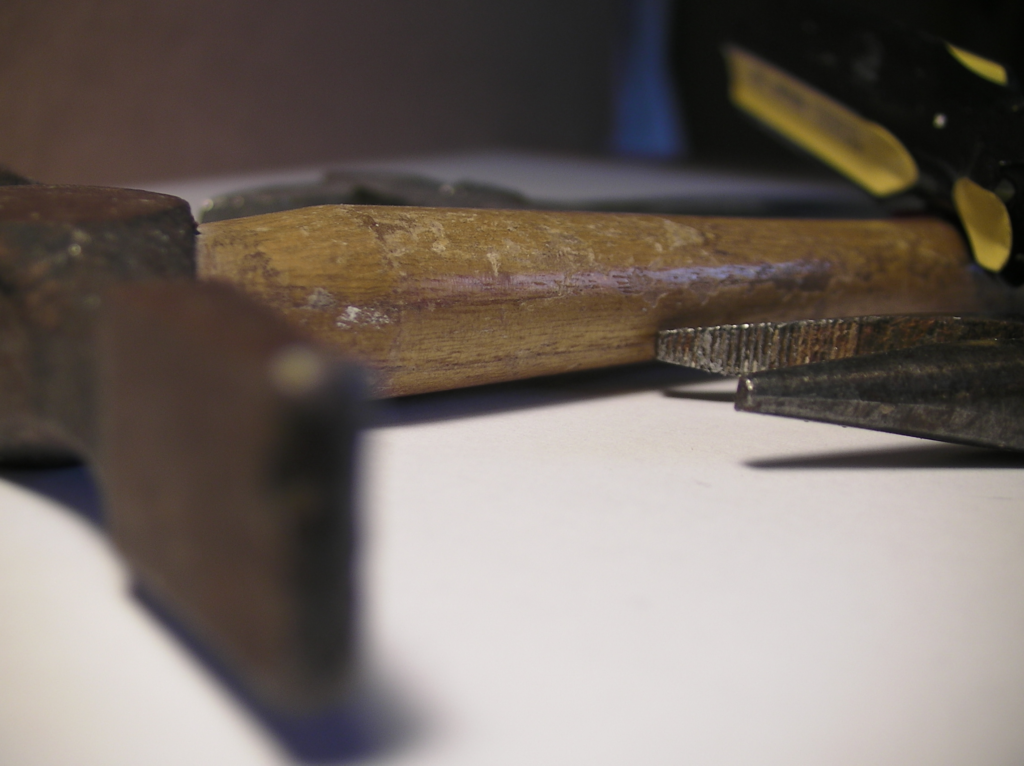
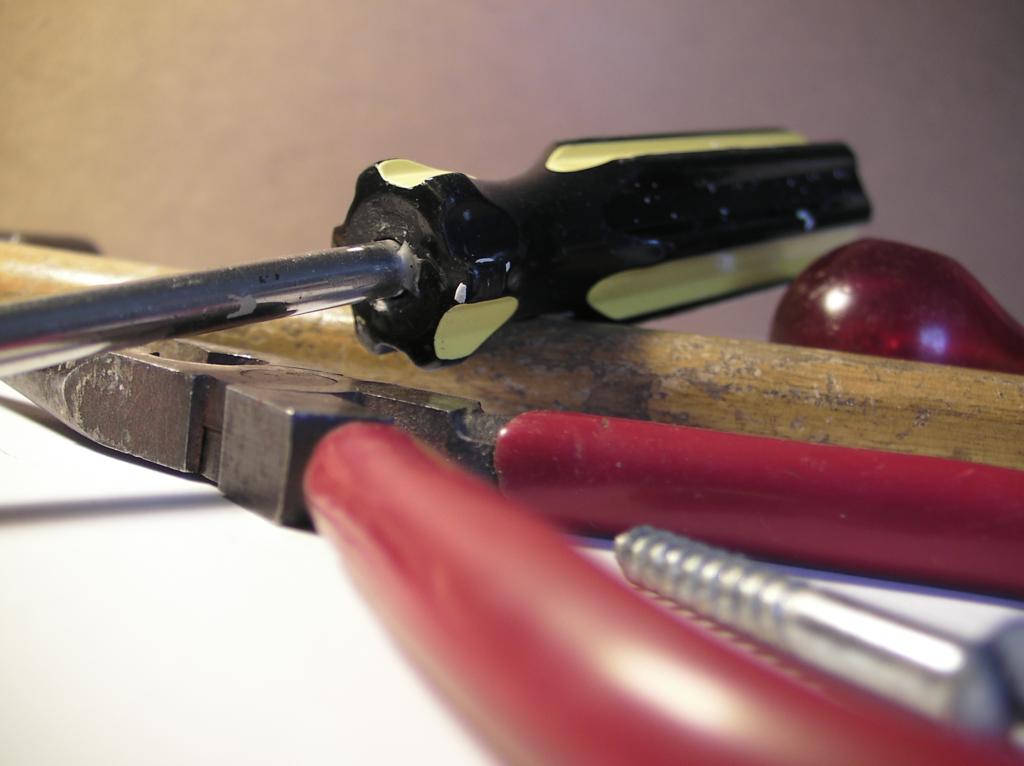
I think the close up photographs of the tools were the most successful as the set-up was not actually in a workshop. It added to the sense of the tools being used and piled up haphazardly, as if a task was being undertaken out of shot.
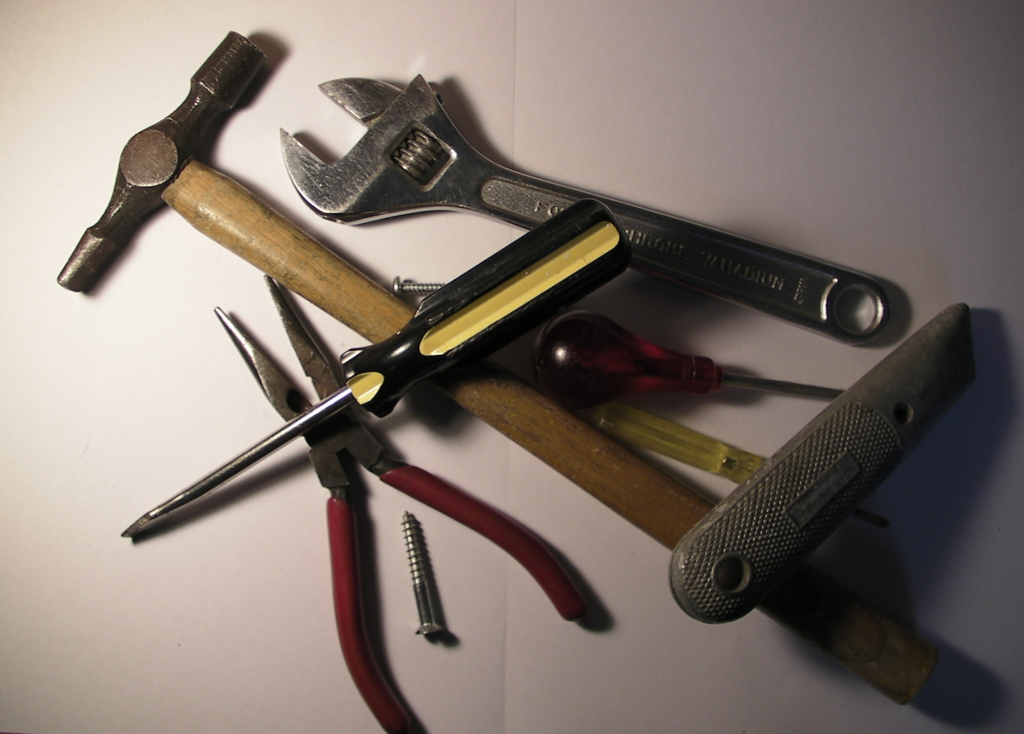
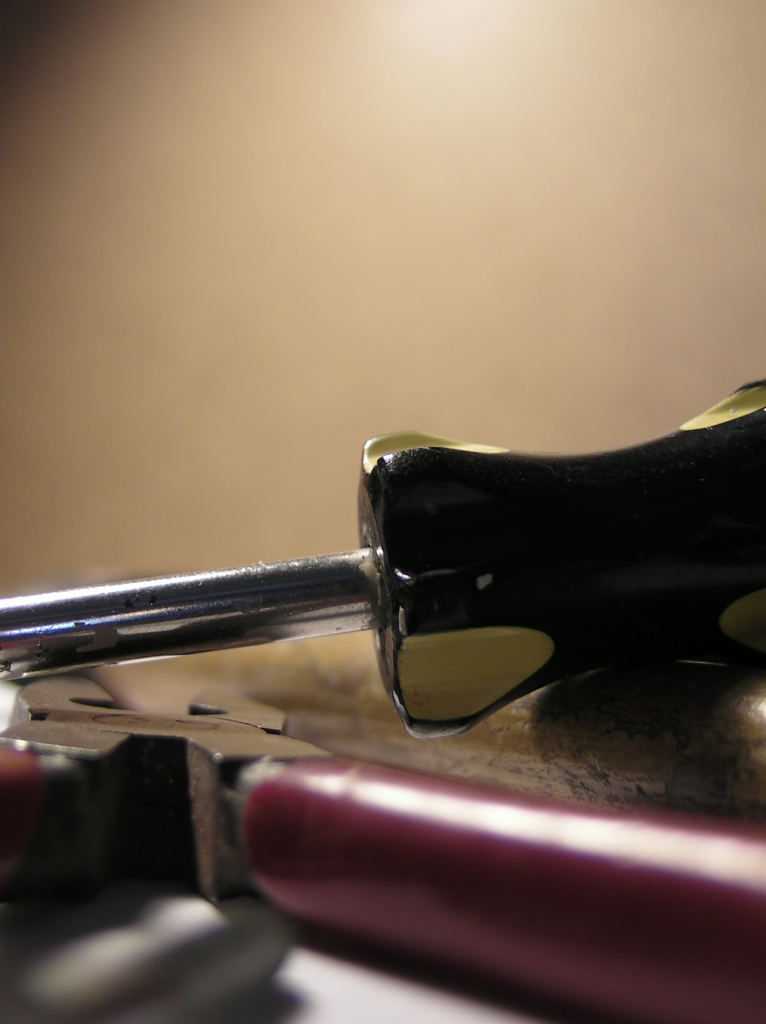
Which format best illustrated your words?
I did not have much success trying different formats apart from the square viewfinder, but as previously stated I found this hard to use. I’m not sure that different formats, e.g. circular, would have added much to this subject matter, but I can understand how it could for certain situations. I did think that the vertical photograph format (above) was quite successful, as it added depth to the composition, and I did think of using this for my line drawing, but was not sure how to depict the blurring of the objects going out of focus.
Did changing viewpoints make you think differently about your choice of objects and arrangement of them?
I think it would have been better to have a wider selection of objects and, perhaps, consider the background. I also felt I should have arranged the tools with greater thought, as the overlapping of certain ones was not as good as it should have been. I would have also liked to have found better angles in the photographs, e.g. underneath the tools.
Final Thoughts
I found the brief for this exercise quite hard to decipher, so I tried my best to work out what I was being asked to do. I enjoyed taking the photographs, but was not happy with the viewfinder attempts. I was actually pleasantly surprised with the line drawing. I had some trouble getting the positioning of the tools satisfactory, but it turned out better than I expected. Although it is meant to be a line drawing and not the final artwork, I added some basic shading as I felt this was quite important to give a sense of depth.
Reflection on Tutor Feedback
Although the brief required a line drawing rather than a tonal drawing I did attempt to incorporate this, and my tutor made the suggestion that a stronger source of light would have created a greater contrast with shadows and tonal depth, along with the stronger use of pencil. These are definitely considerations I need to implement in any future attempts as my final version appears to be rather ‘grey’ and flat.