Using a grid format of pixels, create a series of illustrations that explores your relationship with digital technologies. This might be a love or hate relationship, a document of all the forms of technology you engage with, the games you have played or pixel portraits of your friends on Facebook. Be imaginative with how you approach this.
You may want to work on graph paper or create your own grid on the computer or by hand. The size of the pixels is up to you, but stick to the rule of only using one colour per square. You may want to limit your palette or perhaps work in full colour.
Initial Thoughts
The factor that I found most appealing about the prospect of this exercise was the subject of my relationship with technology. As expressed numerous times throughout the course, to put it mildly, I do not generally have positive experiences with my computer! I was quite looking forward to depicting this in an illustrative format.
Additionally, I also felt quite positive about working in the pixelated format, as I tend to work more productively when I have restraints and so I found the prospect of using a limited number of squares to produce an image very appealing.
Research
Although I did have a very general understanding of what pixelated images meant, I wanted to find some information and examples that would clarify and expand on this.
I have found the Adobe website to have a wide range of information (along with tutorials) about creative topics, including Pixel Art. Reading through the article made me feel quite nostalgic about the early game consoles, such as the NES and Game Boy by Nintendo, which were a big part of my childhood. I find the aesthetic of these images to be really appealing – they have a certain charm about them.
Following on from the Adobe article, I ended up on a site called Lospec, which provides a wealth of information, examples and tutorials regarding pixel art or ‘digitally restrictive art’. I spent quite some time reading through several of the tutorials for beginners. Some of the key terms and concepts that I noted included:
- Pixel art should be saved in either GIF or PNG format, saving a file as JPEG allows anti-aliasing to occur, which smooths out the image.
- Pixel art is all about having control of the pixel and the computer not ‘doing it for you’.
- An image can be pixelated, for example by a piece of software, but is not pixel art.
- A limited palette is advisable for beginners.
- The pencil tool is your friend. It can be used to draw an outline, which can then be filled in with colour.
- The eraser should also be used in the pencil form. This also allows for blocks of colour to be shaped by removing pixels.
- Pixels like being in clusters, not isolated, unless for a particular reason.
- It is fine for the effect of anti-aliasing to be used if it is created manually, as part of the artwork – as long as it is used with intent – remember you are in control of the pixels, not the computer.
First Attempt at Pixel Art
Although I had found the research about pixel art to be both interesting and useful, it was a fair amount of information to take in, so I decided to have a go at producing a very simple illustration.
I followed a tutorial on Mega Voxels, which has a step by step guide about creating pixel art in Photoshop. I found this to be essential as it advised how to adapt the settings for pixel art.
Once I had set up a canvas that was 32 x 32 pixels in size, and zoomed in 32,000 per cent(!), I could activate the pixel grid and make a start.
Rather than just continuing to follow the tutorial and copy the example design, I opted to create my own in the form of a cat’s head.
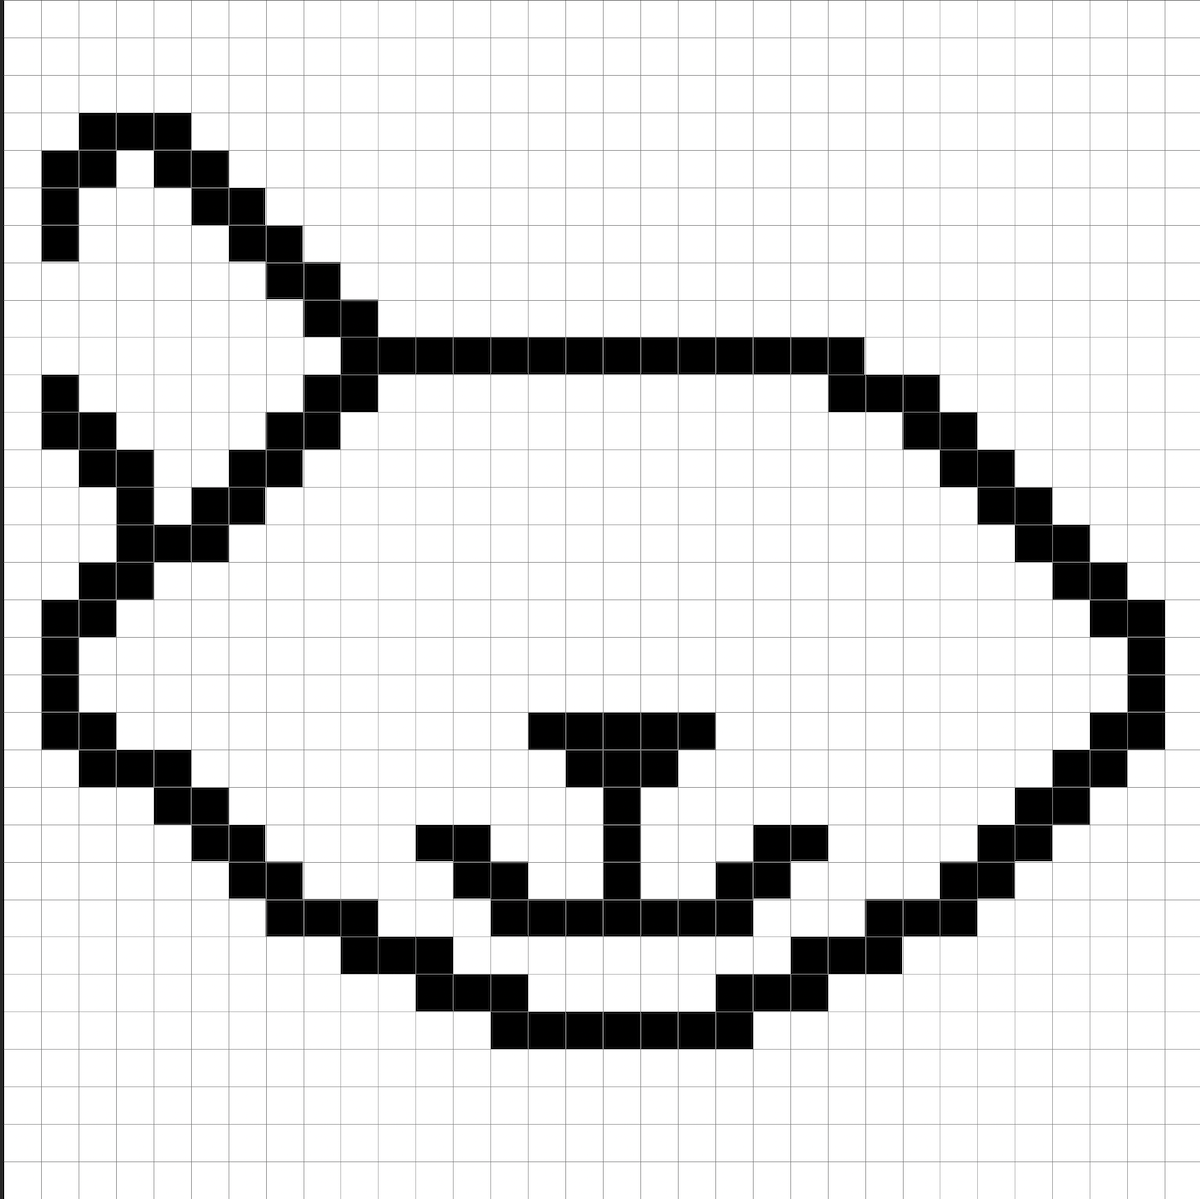
One of the most obvious challenges with pixel art is trying to produce curves that as smooth as possible whilst using squares. Perhaps the most apparent example I experienced with this at this stage was trying to draw the ears. I cannot remember how many times I redid these! It felt a bit like a puzzle that I had to work out.
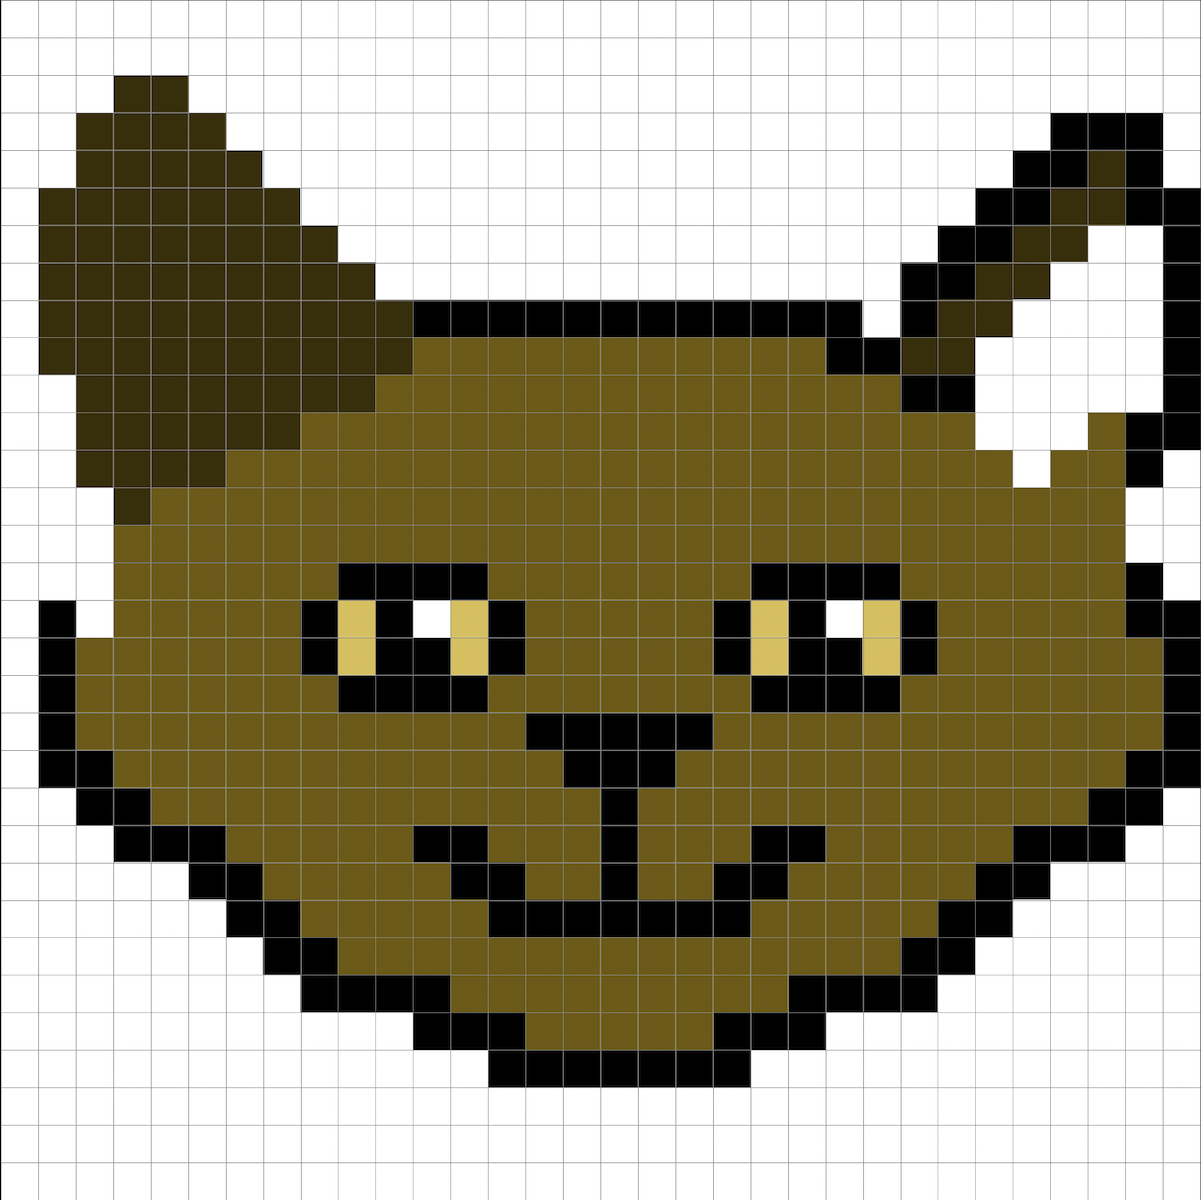
Finally, I did produce the version below, with acceptable ears. I was not happy with this representation of a cat, however, and wanted to make further improvements. I also did not like that it was not central within the grid, but this was due to not taking into consideration the number of pixels at the start.
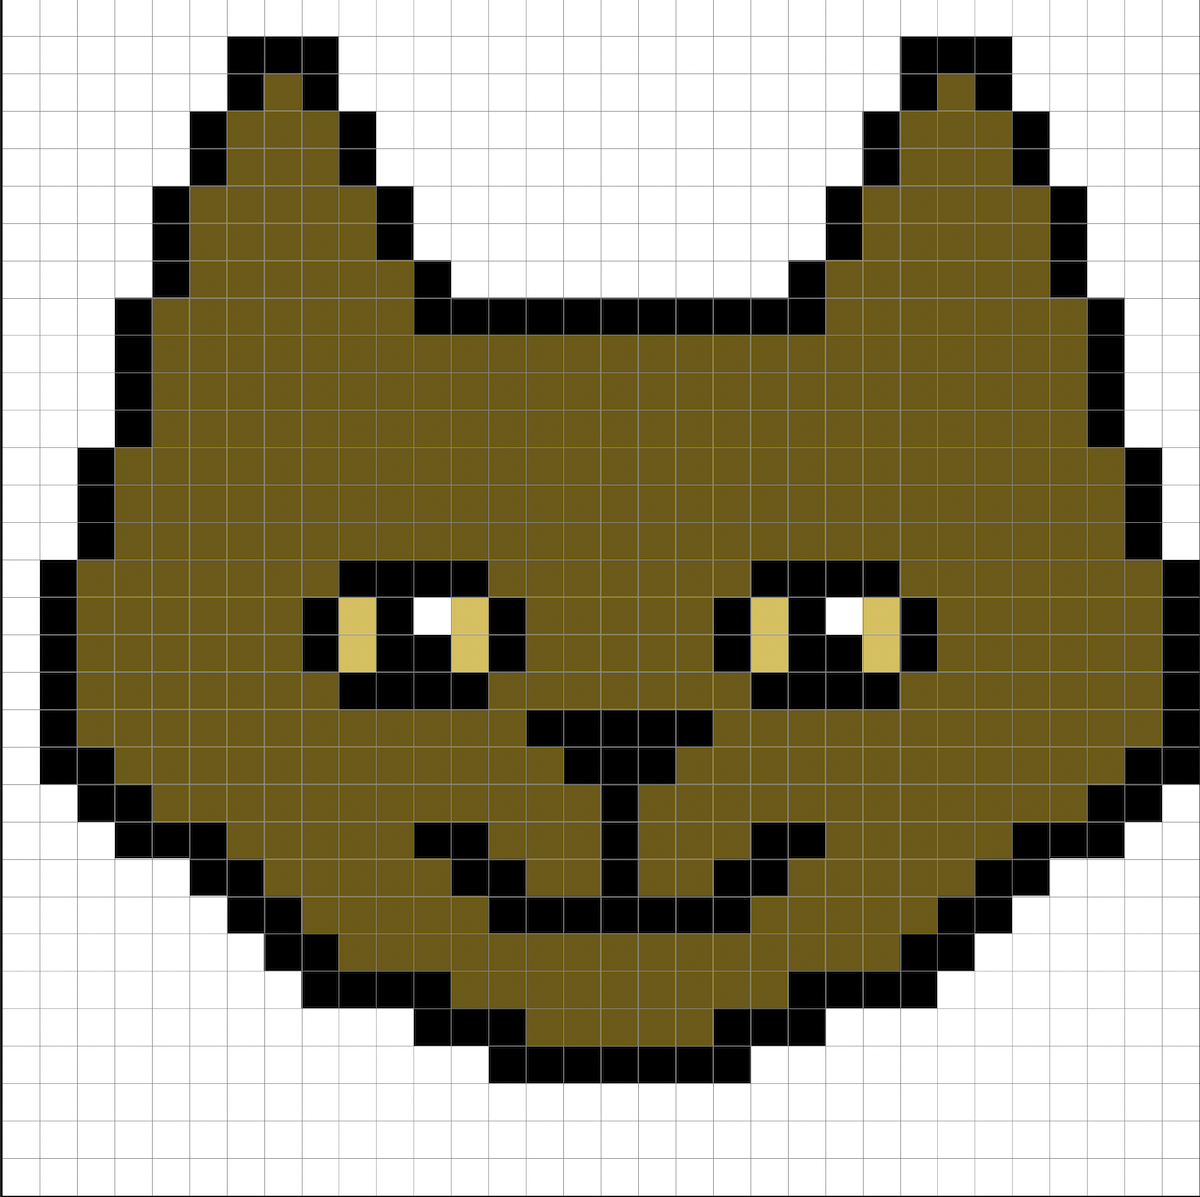
After spending more time erasing and redrawing the cat several times, I eventually felt content with the revised version below. I thought the curves and ears were much better in this one. The bigger, rounder eyes added greater character to the head, along with the lighter snout and simple fur markings. I was quite pleased with this version.
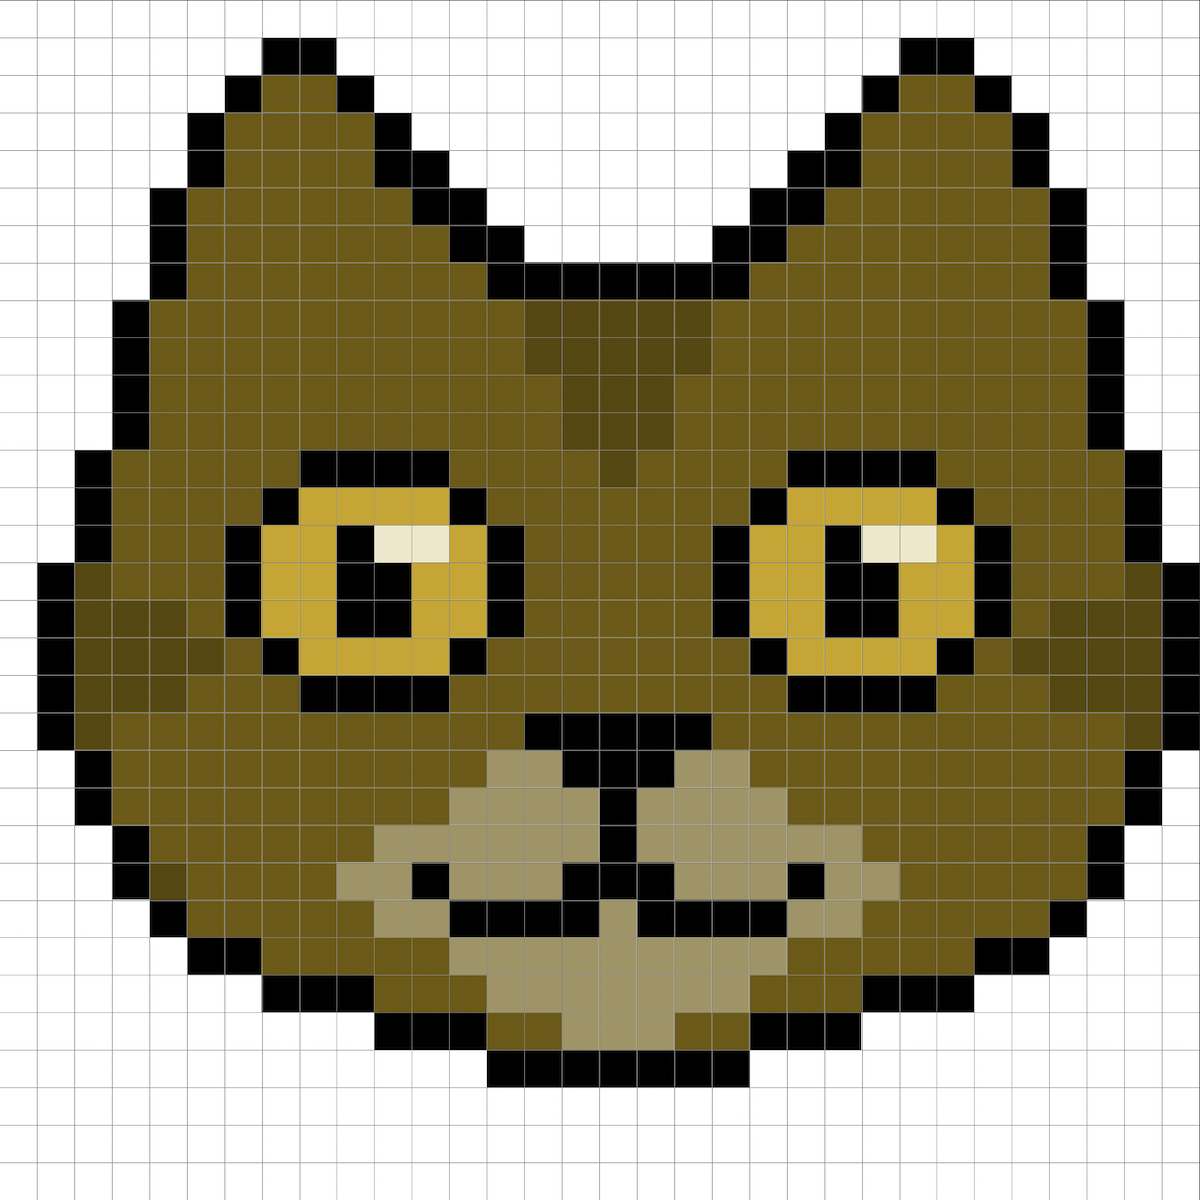
As the image above was tiny at 100% zoom, I decided in order to export the version below, I would increase the image size by ten. The most important thing to remember was doing this was to make sure I kept the hard edges otherwise Photoshop would automatically add anti-aliasing and my cat would not be accepted into the pixel art fold.

Creating the Pixelated Series of Images
I had a fairly clear idea of the overall theme for the series of images I intended to make, as previously mentioned, based on the tempestuous relationship I have with my computer.
For this exercise, I decided to work directly in Photoshop and not produce any rough drafts by hand first. As with the test pixel image of the cat, I opted for a 32×32 pixel grid.
My first task was to produce a pixelated version of myself. This required several revisions, but I eventually managed to come up with an image that was I was reasonably happy to use.

I then drew out a simplified representation of my computer, this was not quite as challenging as my face.
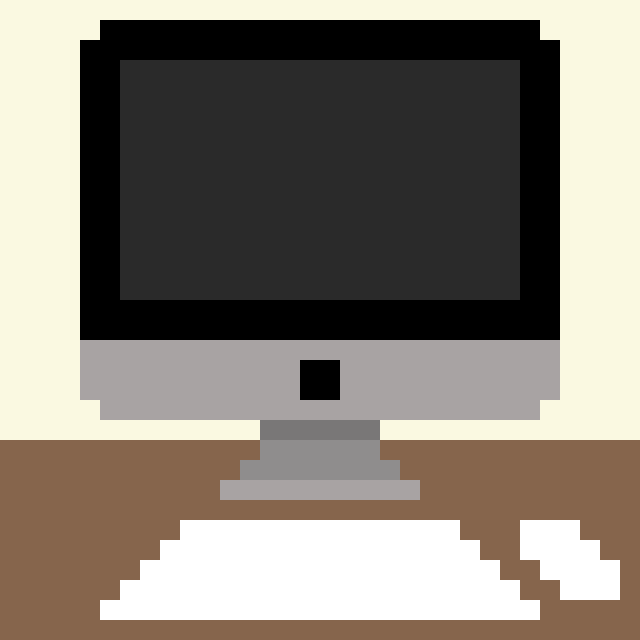
By now I was learning that I needed to keep it VERY simple, whilst trying to communicate clearly what was being shown in each illustration.
Once I had these two key elements in a form that I felt fairly confident with, I was able to proceed with making the rest of the series. I used a new layer for each illustration and spent a particularly long time on the expressions, especially those on my face. This aspect proved to be really hard to do as there was such a limited number of squares to work with.
Final Series of Pixelated Images
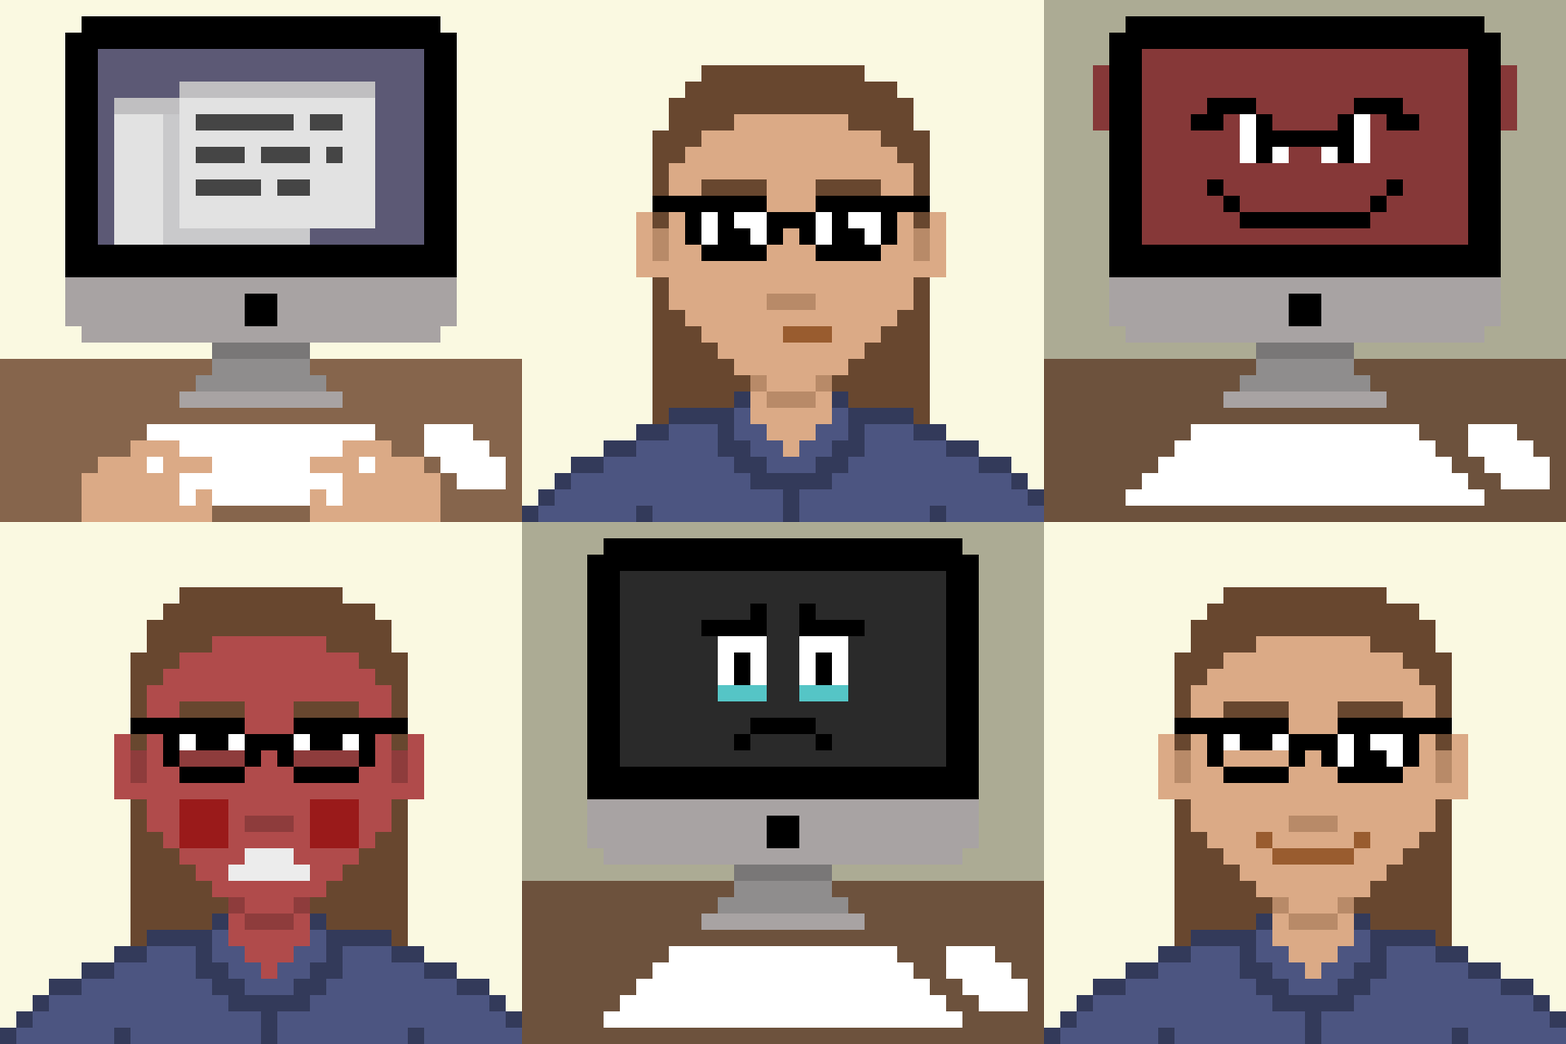
I eventually reached a conclusion and ended up with 65 images in the series. From the start of this exercise I saw the group of illustrations as working in a simple animation format, which explains why I ended up with quite a large number.
The final series of individual images can be seen below.
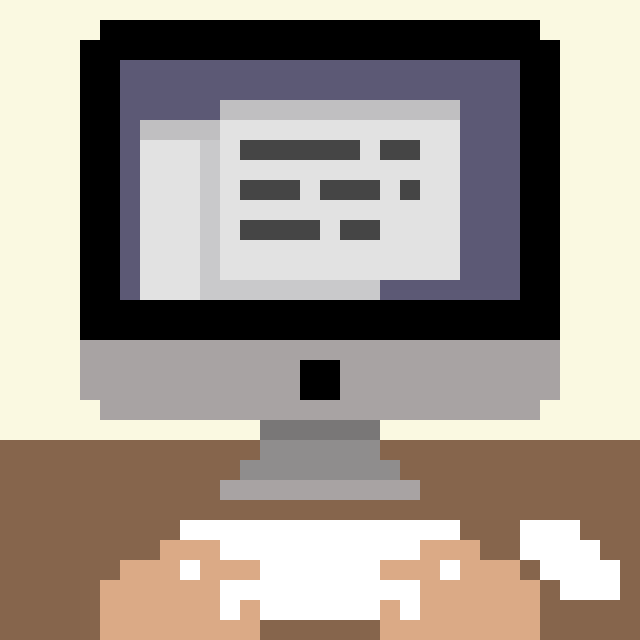

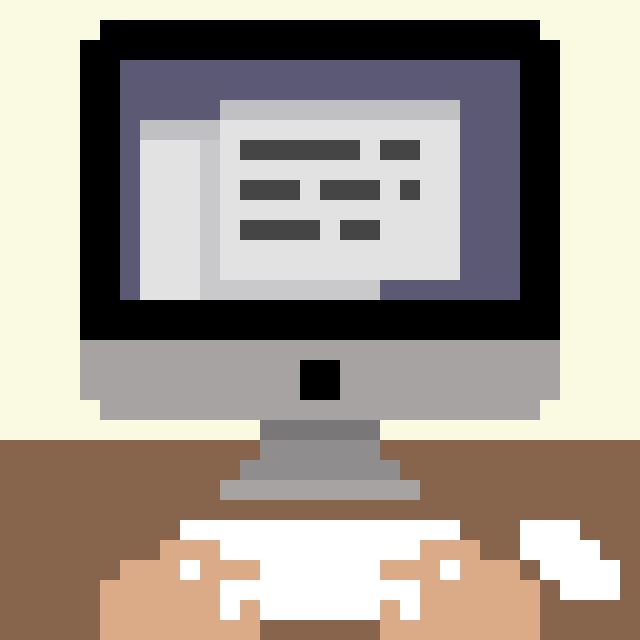
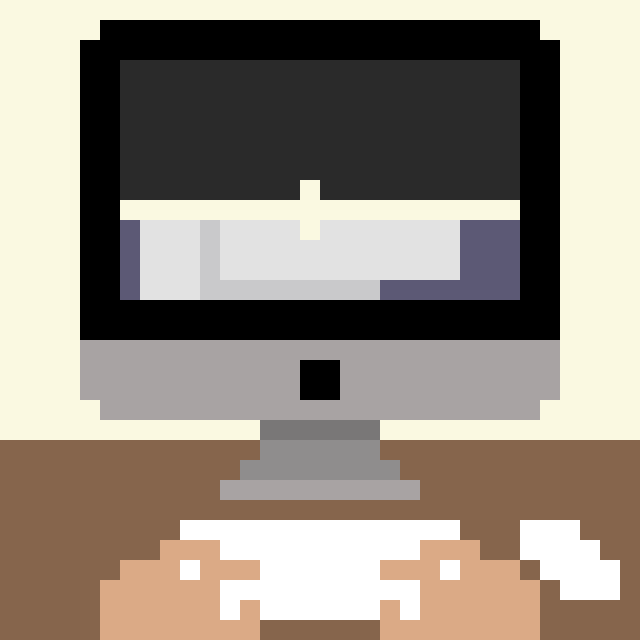
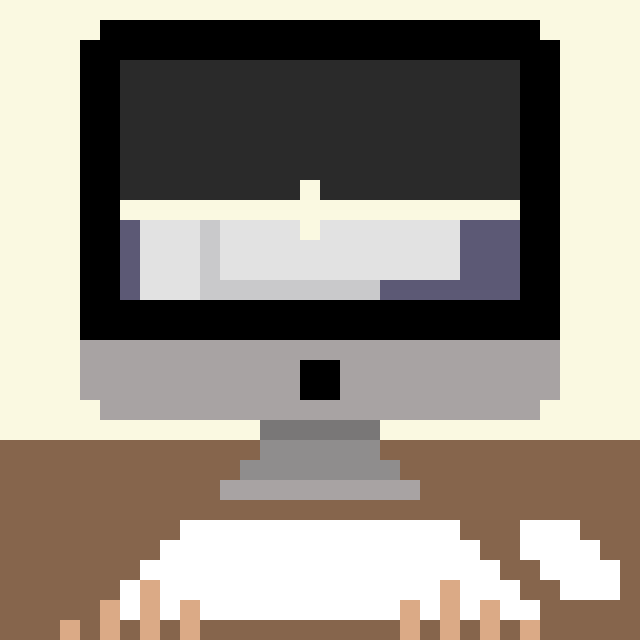

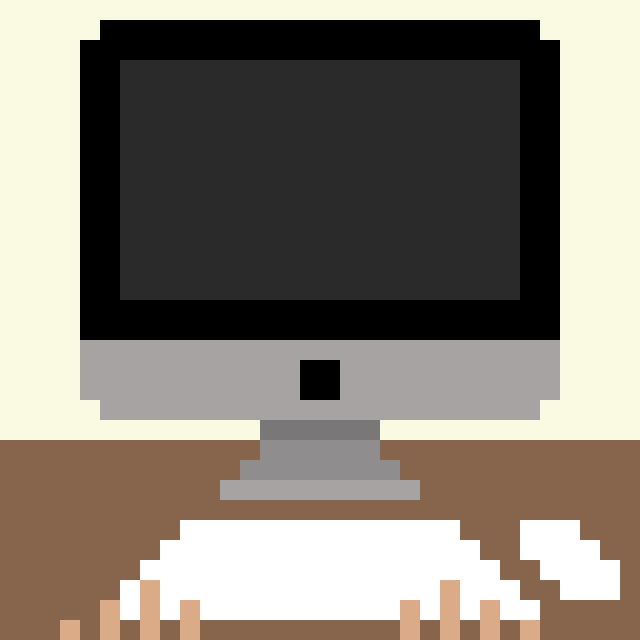

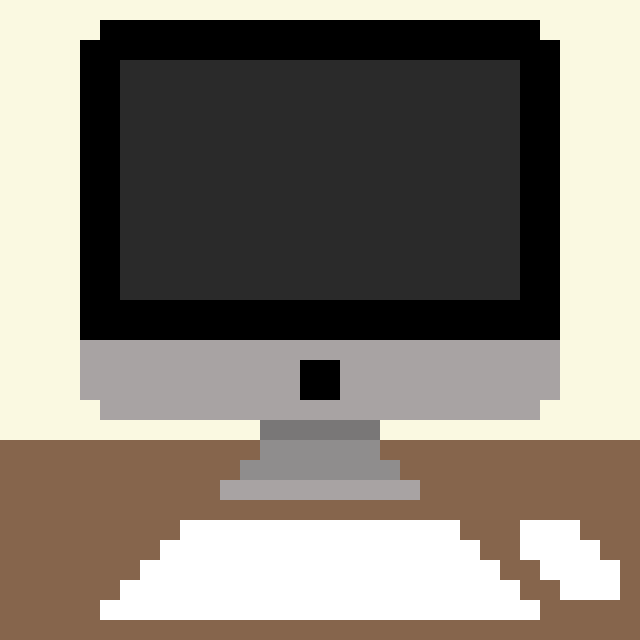
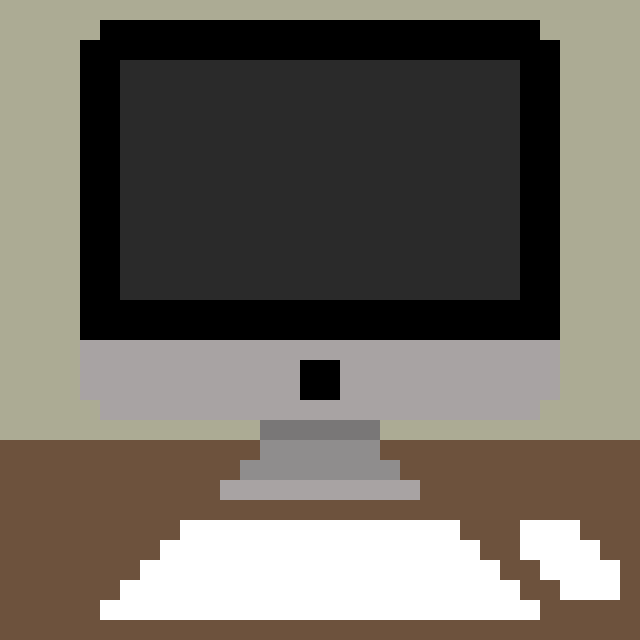

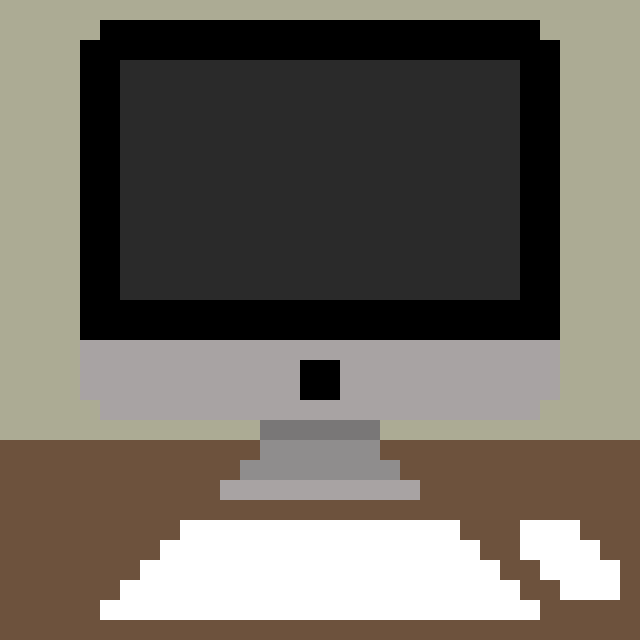

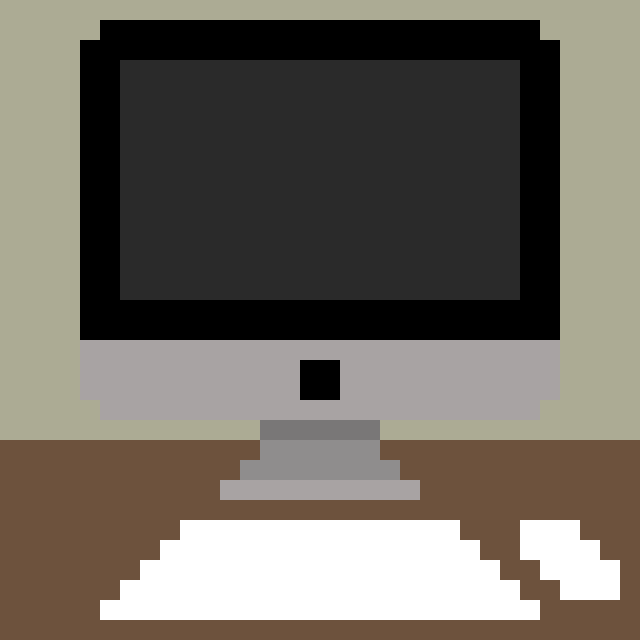
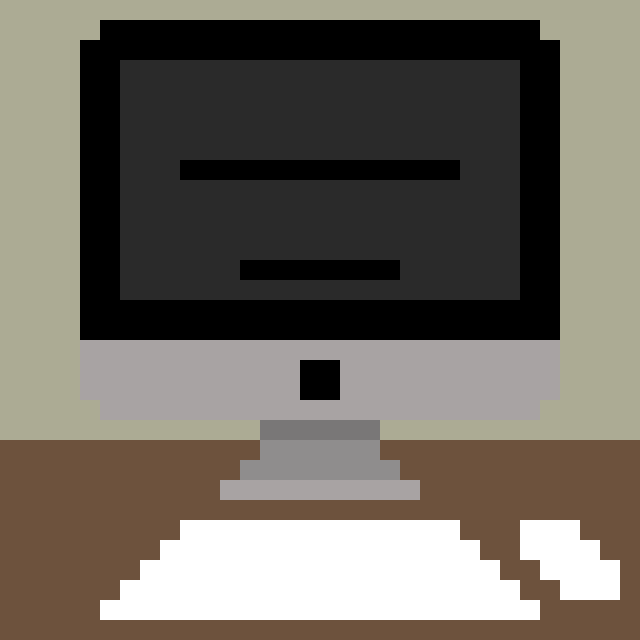

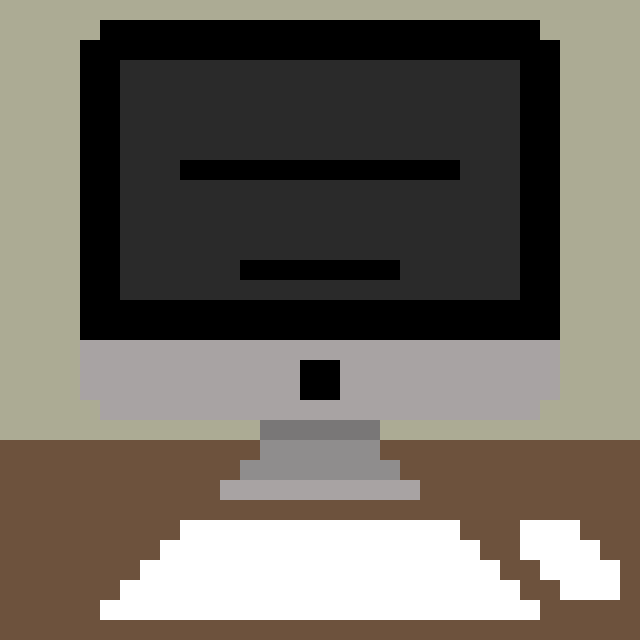
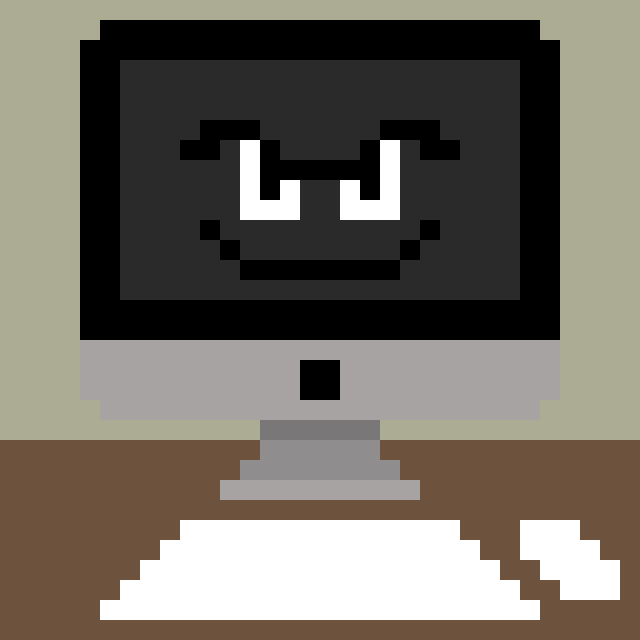

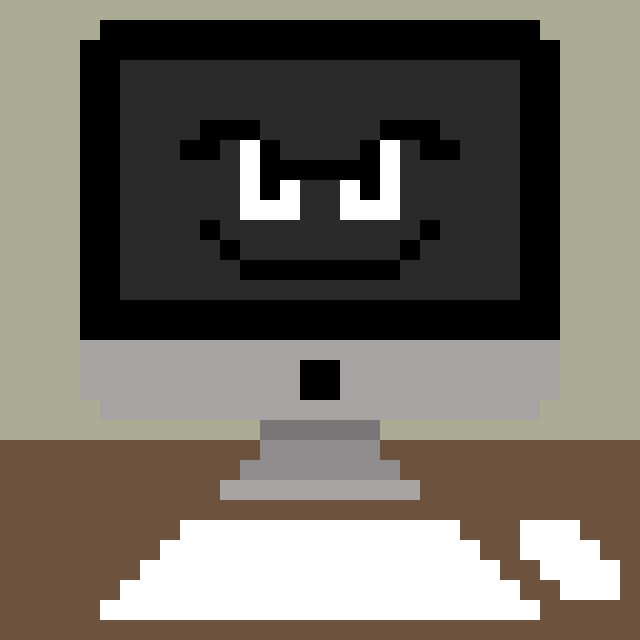
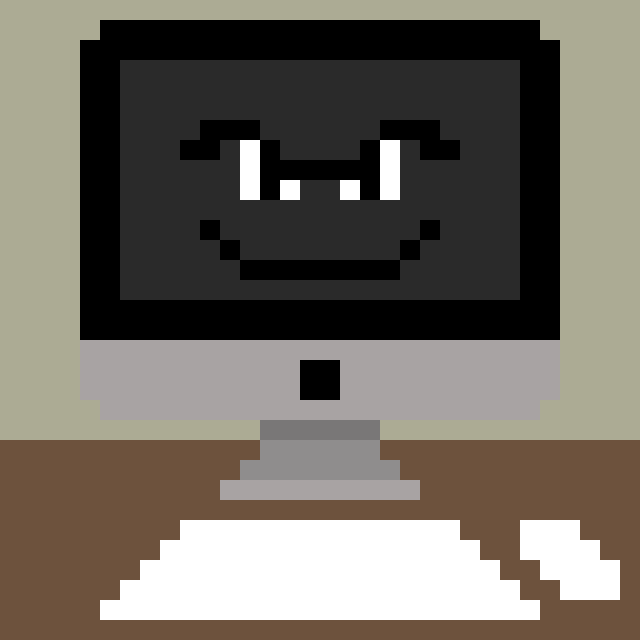


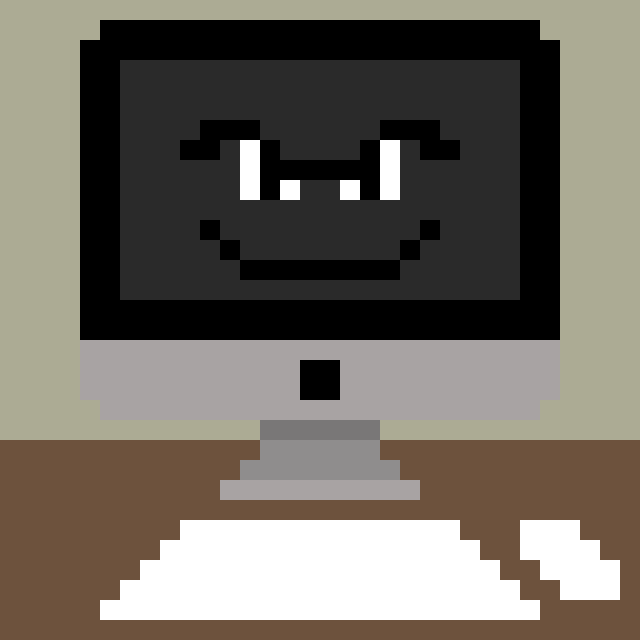
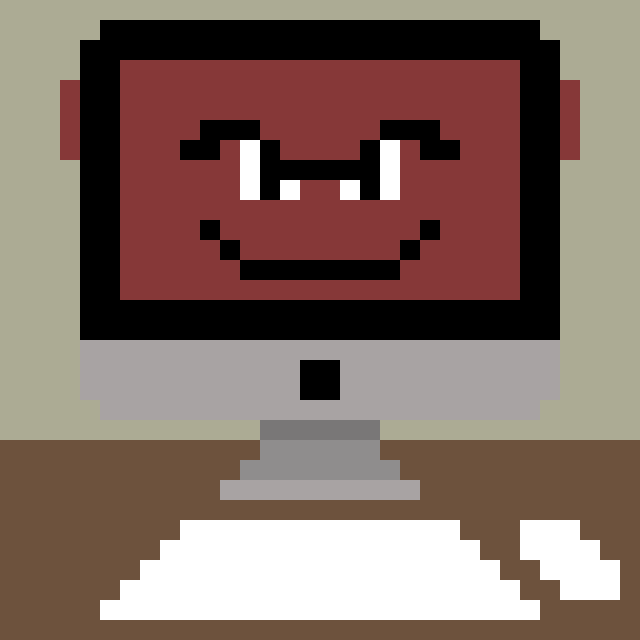

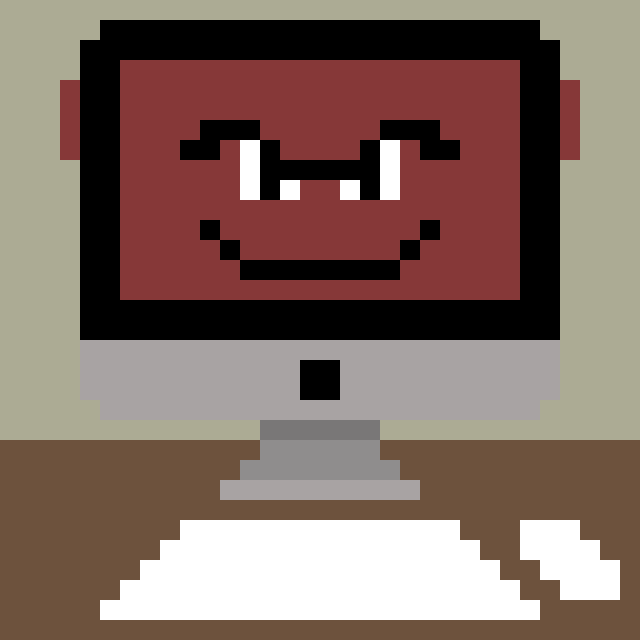

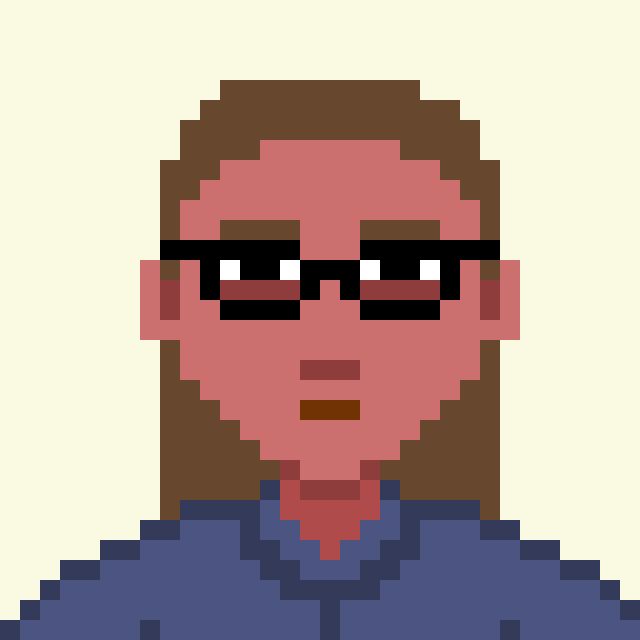
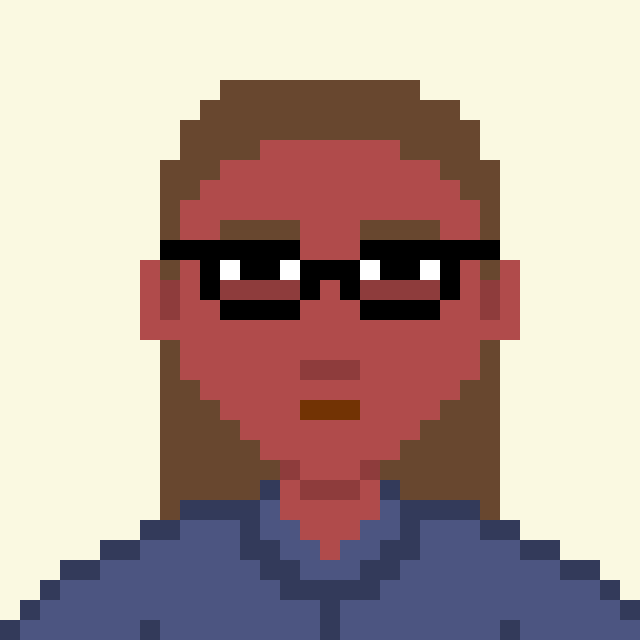
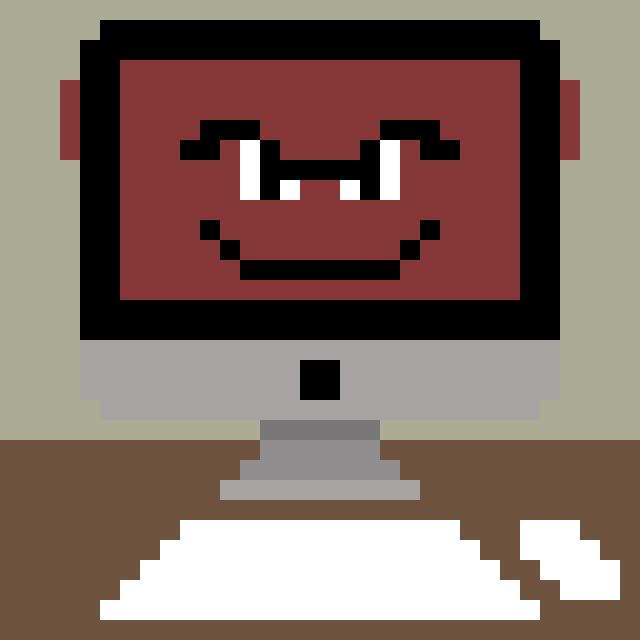
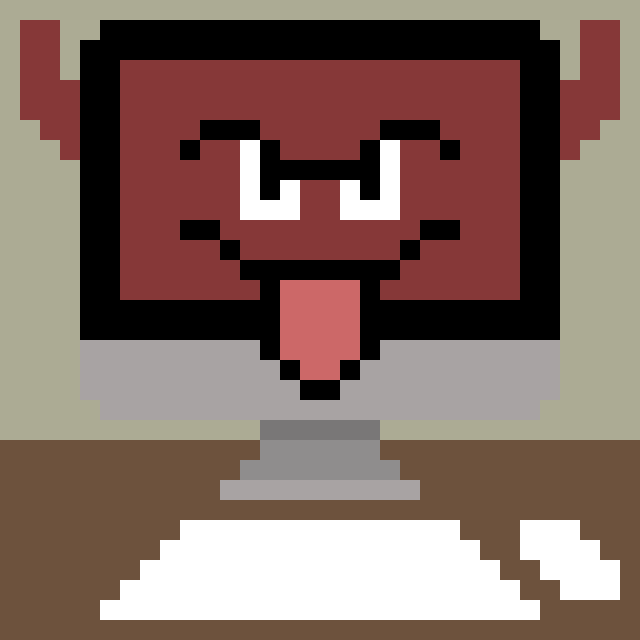
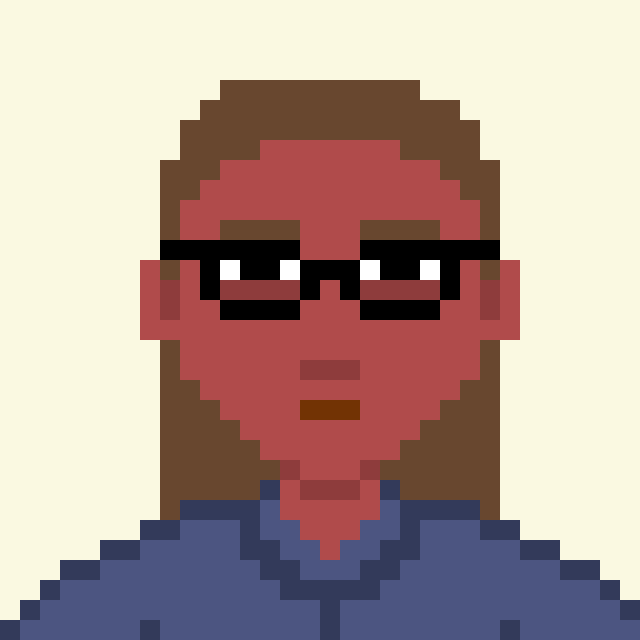
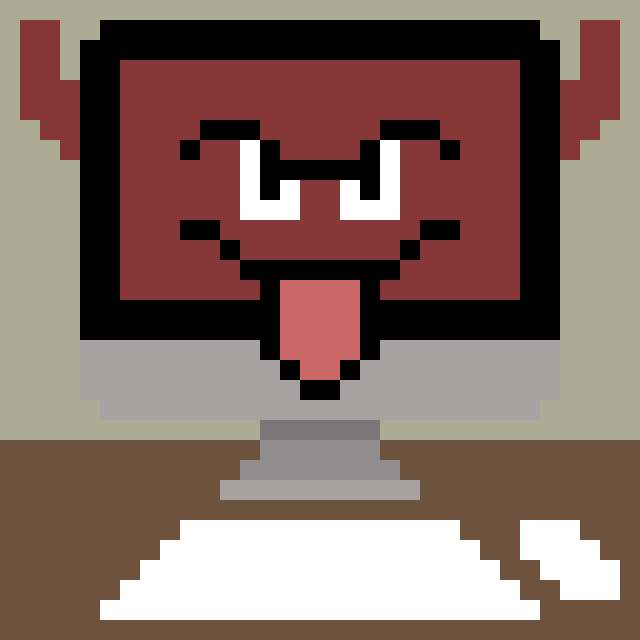
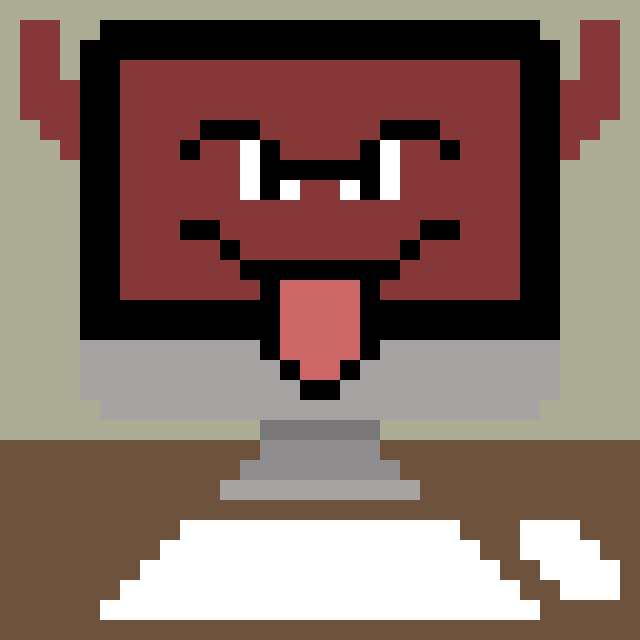
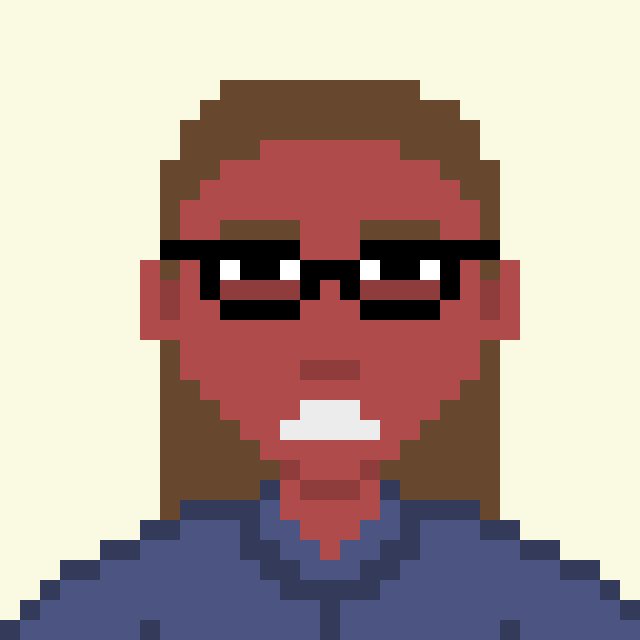
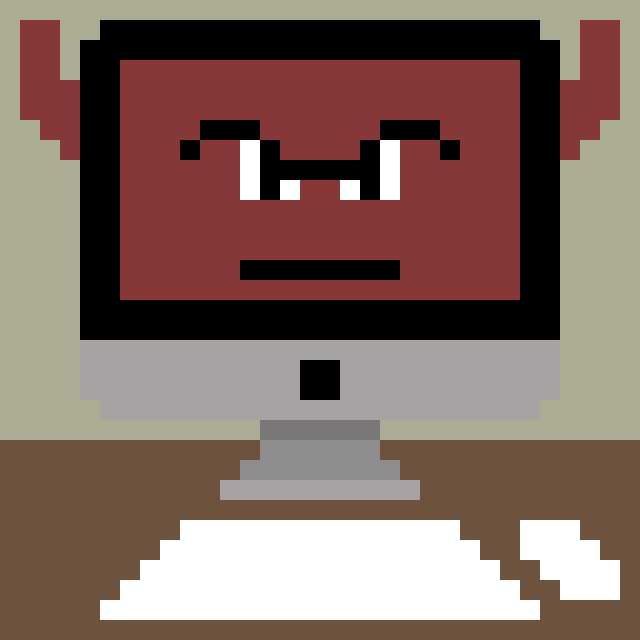
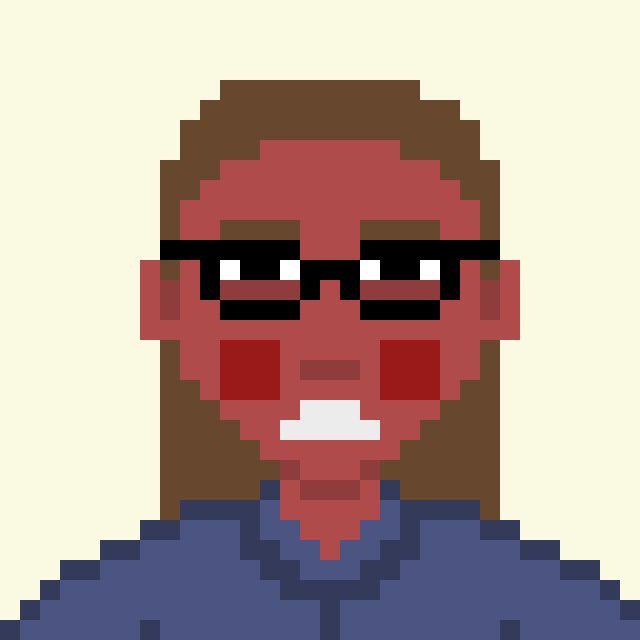
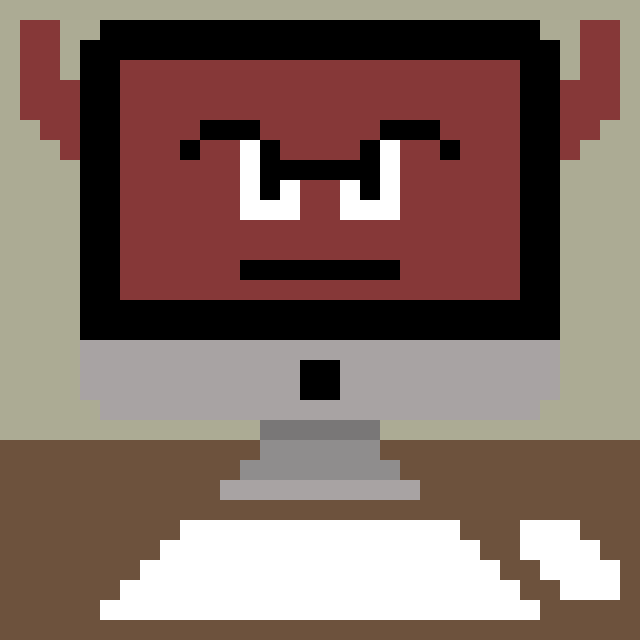
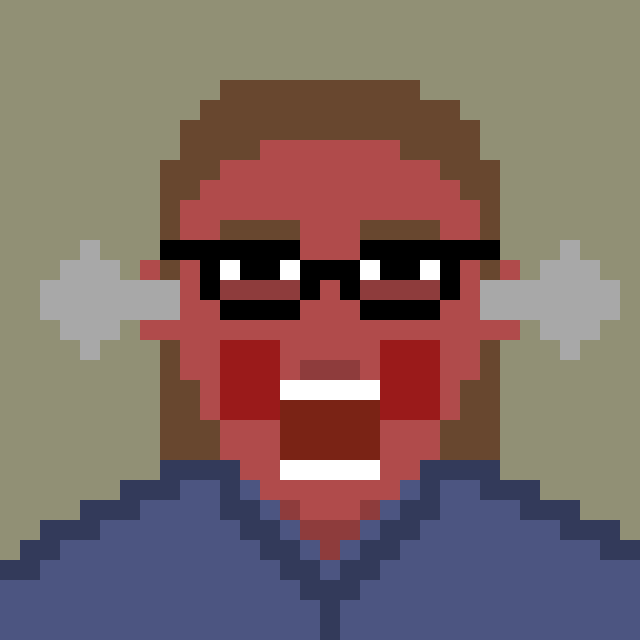

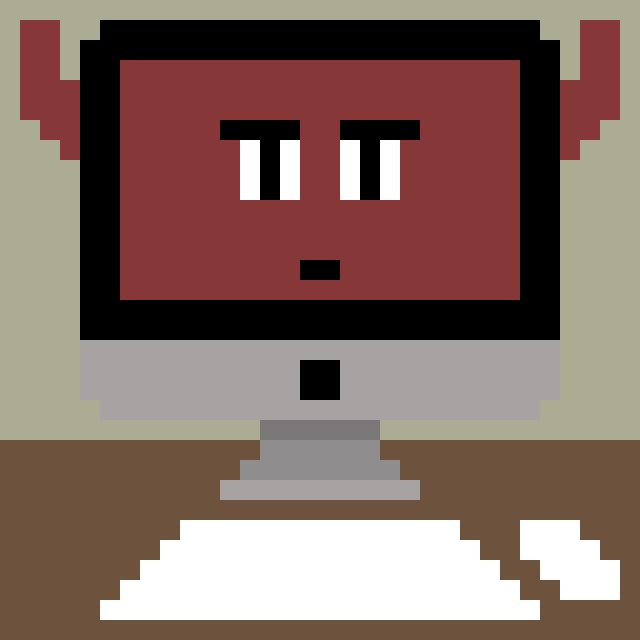
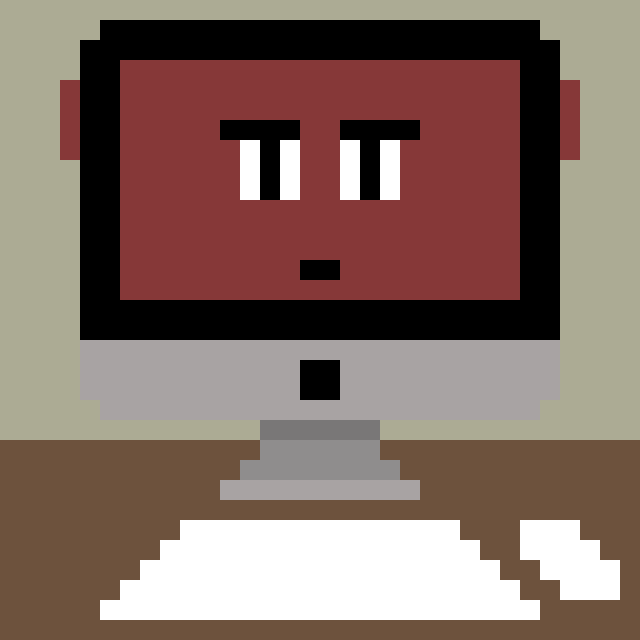
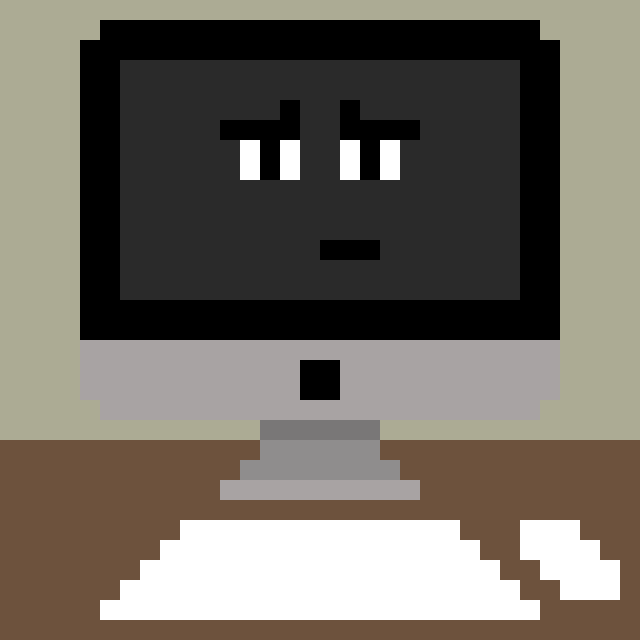
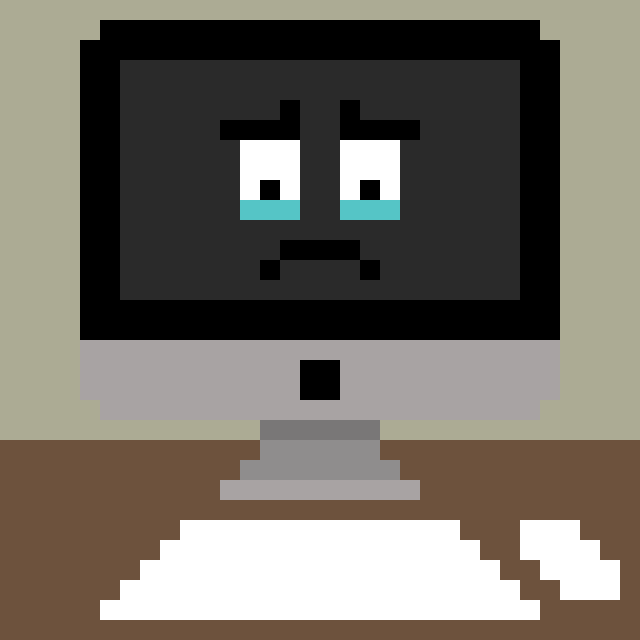

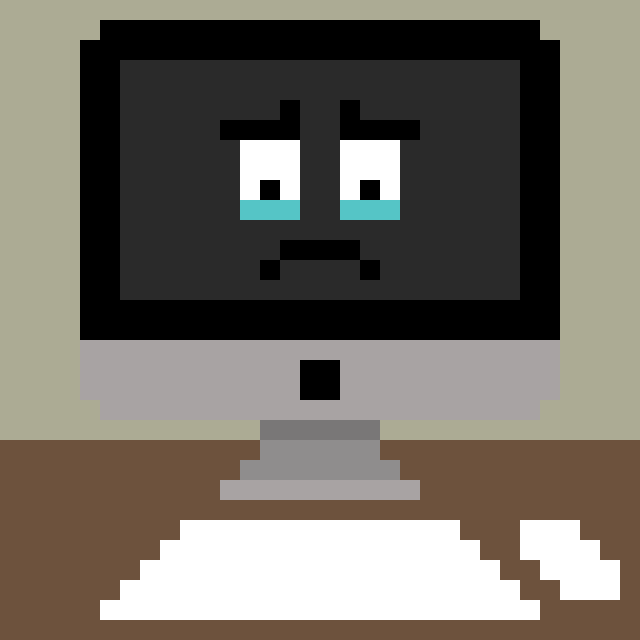
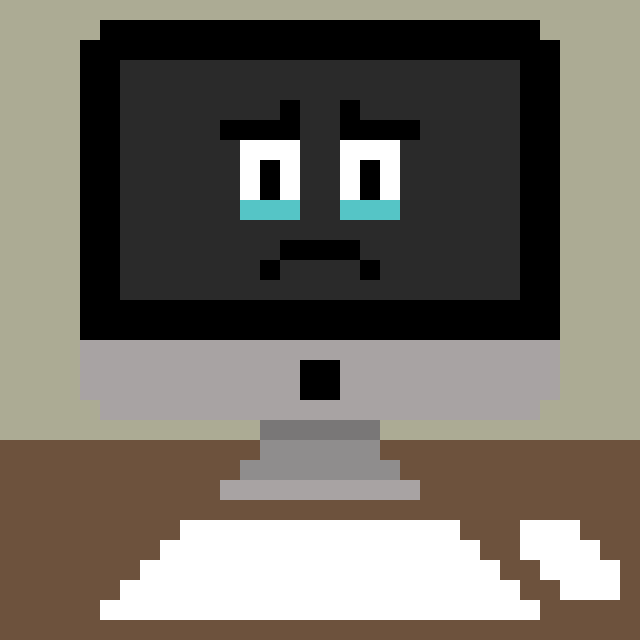


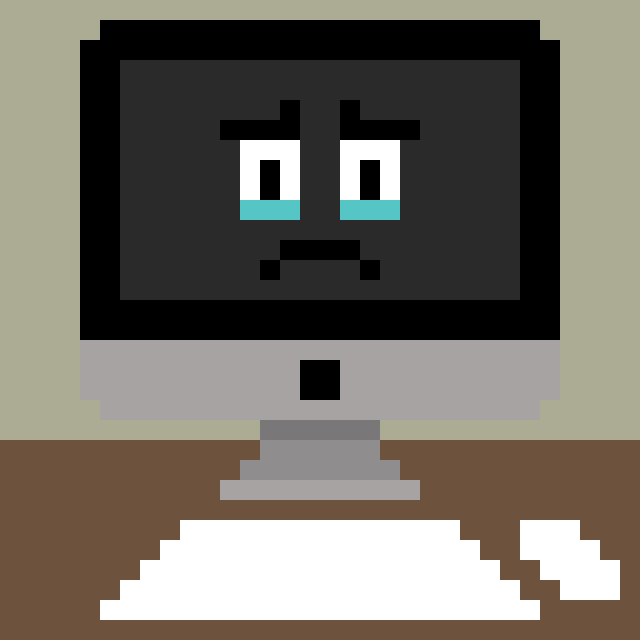
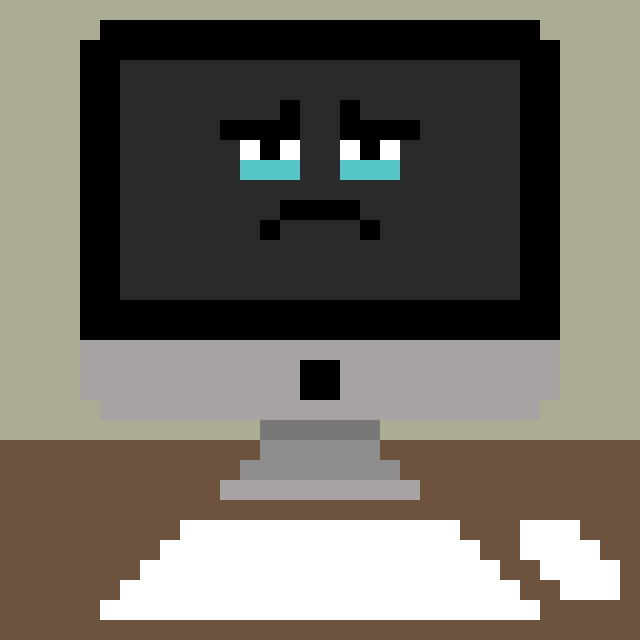
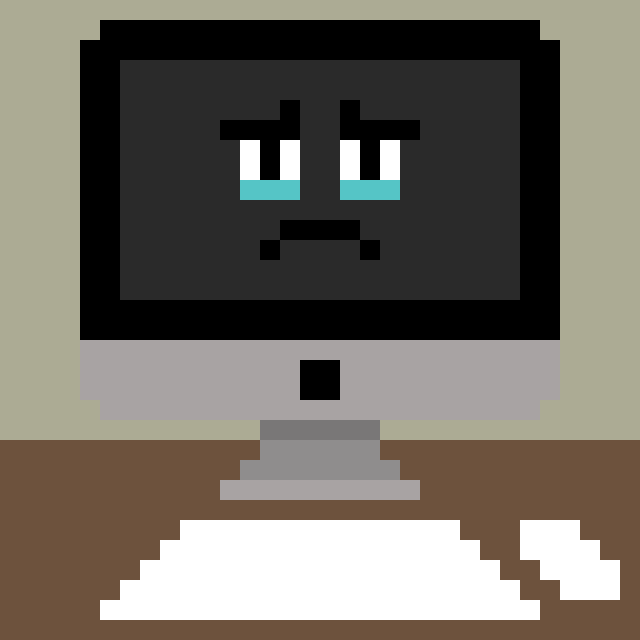
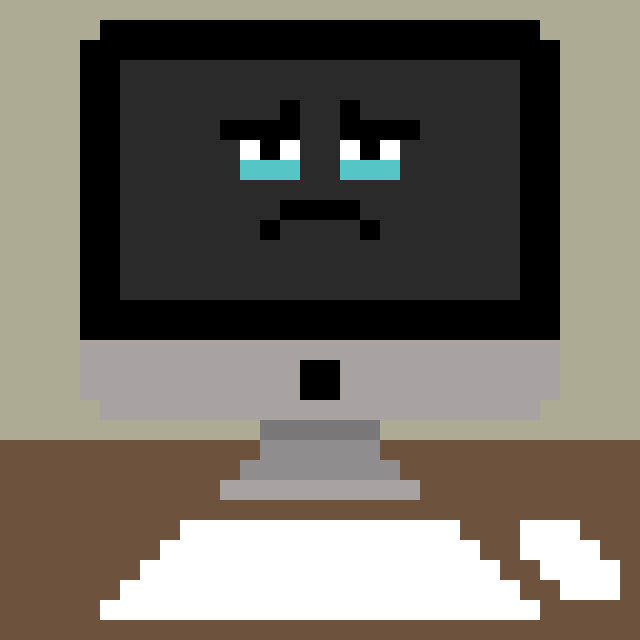
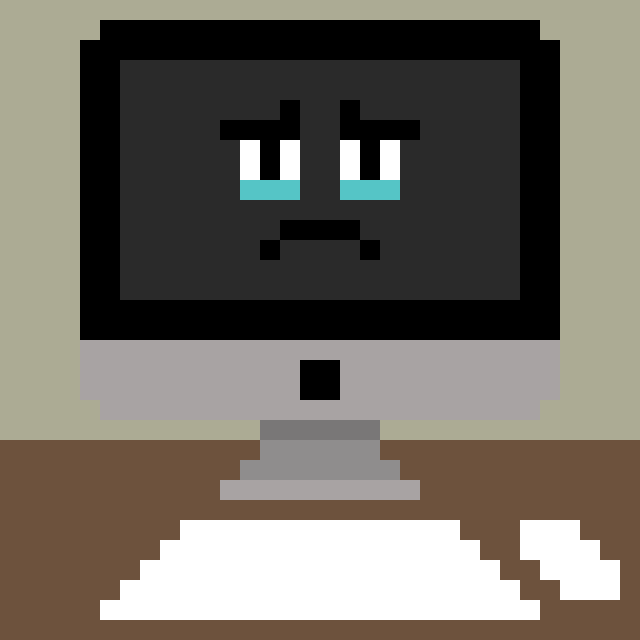

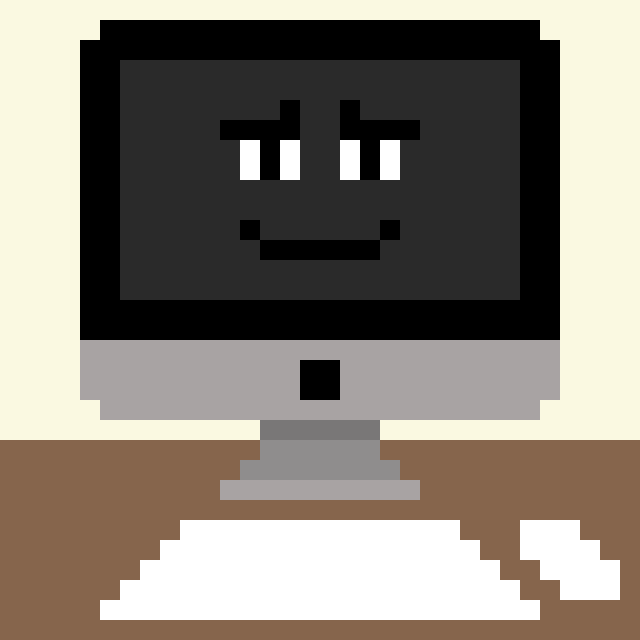
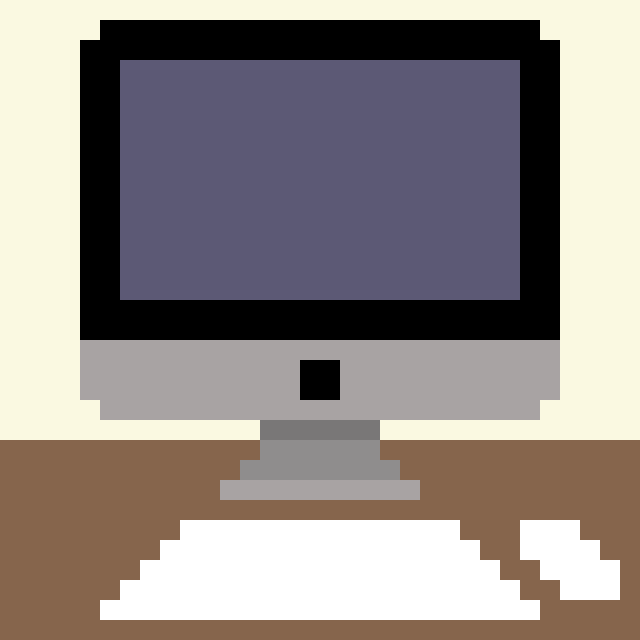

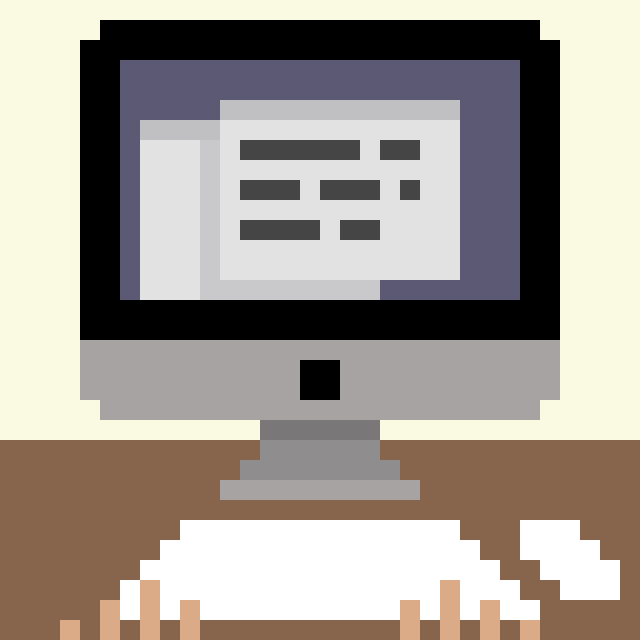
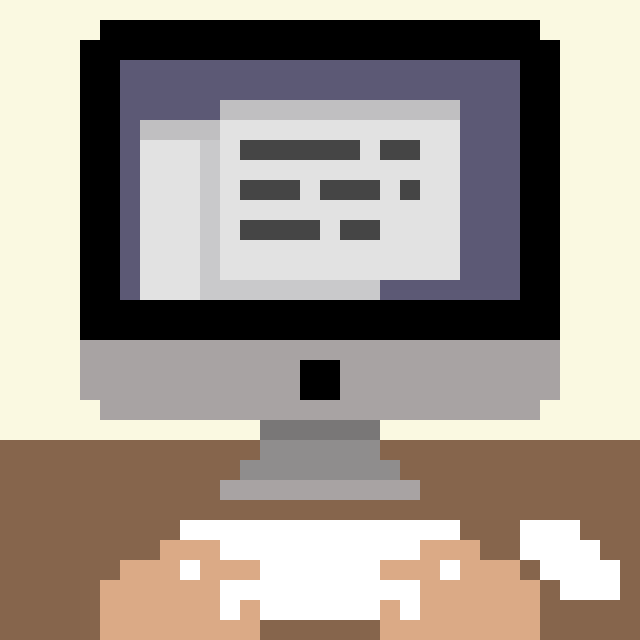


I then added these frames to the timeline in Photoshop and experimenting with the timing of each one. I exported the result as an animated GIF and the final, very simple animation can be seen below (on a loop).
Final Thoughts
I found this exercise to be highly enjoyable and learning about the intricacies of pixel art to be quite fascinating. Once I began finding out about this genre, it became clear that it is a topic that I would be more than happy to explore in greater depth.
I believe that although my pixelated series is extremely simplistic in its style, I have managed to succinctly capture an accurate representation of both myself and the ongoing relationship I endure with my computer.
What went well:
- As stated at the start of this exercise, I generally work much better within clear boundaries (open briefs are definitely not my favourite), so having a set, limited number of squares to fill was a task I felt comfortable undertaking.
- I was quite pleased with the colour palette I ended up with, which was fairly limited and not saturated. None of the colours appear to clash with each other.
- I am glad I took the time to read through a fair amount of information about how to create pixel art, as I felt this knowledge really helped as I attempted my own images.
- From undertaking this exercise I was introduced to several features of Photoshop, such as preserving the hard edges of pixels and using the pixel grid.
- I was particularly proud of successfully making the computer sniff in the animated version.
What could been improved:
- A poorly selected colour choice for the darkened wall behind the computer in the latter images meant that it was difficult to distinguish between the two and I found this distracting.
- The eye level of the computer is too high and should have been either lower than or equal to mine. This is especially evident in the moving version as it is slightly visually disconcerting for the viewer.
- I would like to experiment with a larger pixel grid, so that I could try to add more detail, such as shading. There would also be more space to play with in terms of drawing the expressions.
- It would have been good to have included more movement in my upper body as this would have added to the sense of emotion, for example dropping the shoulders for the sad me.
- Although animation was not a requirement for this exercise, I was not fully satisfied with the timing in my animated version as some of the frames are visible for too long.
Bibliography
Adobe (n.d.) How to make pixel art. Available at: https://www.adobe.com/uk/creativecloud/design/discover/pixel-art.html (Accessed 30 September 2023).
cure (2010) Topic: The Pixel Art Tutorial, Pixel Joint Forum. Available at: https://pixeljoint.com/forum/forum_posts.asp?TID=11299 (Accessed 30 September 2023).
Instagram (2023) Kirokaze (@kirokaze). Available at: https://www.instagram.com/kirokaze/ (Accessed 30 September 2023).
Lospec (n.d.) Lospec: Home. Available at: https://lospec.com (Accessed 30 September 2023).
Mega Voxels (2023) How to Make Pixel Art in Photoshop for Beginners. Available at: https://www.megavoxels.com/learn/how-to-make-pixel-art-in-photoshop-for-beginners/ (Accessed 29 September 2023).
Pixilart (n.d.) Pixilart – Free online pixel art drawing tool. Available at: https://www.pixilart.com/draw (Accessed 30 September 2023).
skeddles (2019) Pixel Art: Where to Start. Available at: https://lospec.com/articles/pixel-art-where-to-start/ (Accessed 30 September 2023).
Wikipedia (n.d) Pixel art. Available at: https://en.wikipedia.org/wiki/Pixel_art (Accessed 29 September 2023).