You have been asked to create range of illustrations for contemporary ceramics that draws on the visual history and symbolism of pottery in some way. You can start with any historical period, draw on any tradition or image-making within ceramics, or perhaps make reference to the symbolism and visual storytelling of the blue and white Willow pattern, but you need bring this up to date through your own illustrations.
Create work within the context of plates, cups, saucers, teapots or vases. Either find cheap white ceramics to work on directly or mock up your work via Photoshop. It is a good idea to work at the same scale as the ceramics themselves, so you may need to increase the scale of your line to make your illustrations larger and bolder.
Reflect on the experience of applying your illustrations to a surface other than paper. What did this opportunity offer you and how can you take what you have learned back into your paper-based work?
Initial Thoughts
Following what I had learnt during the previous Research Point on this subject, I was most interested in attempting to recreate the sgraffito effect, considering how much I had enjoyed my first attempts using scratchboard in an earlier exercise. I was keen to keep the colours to a minimum and I wanted to try producing a modern version of a piece of pottery that could be linked back to one of the ancient civilisations.
Apart from these few inclinations, I was quite unsure of what the illustrations on the ceramics would depict, or indeed what item of pottery I would choose as the canvas. I found this vagueness and lack of ideas to be slightly unsettling.
Research
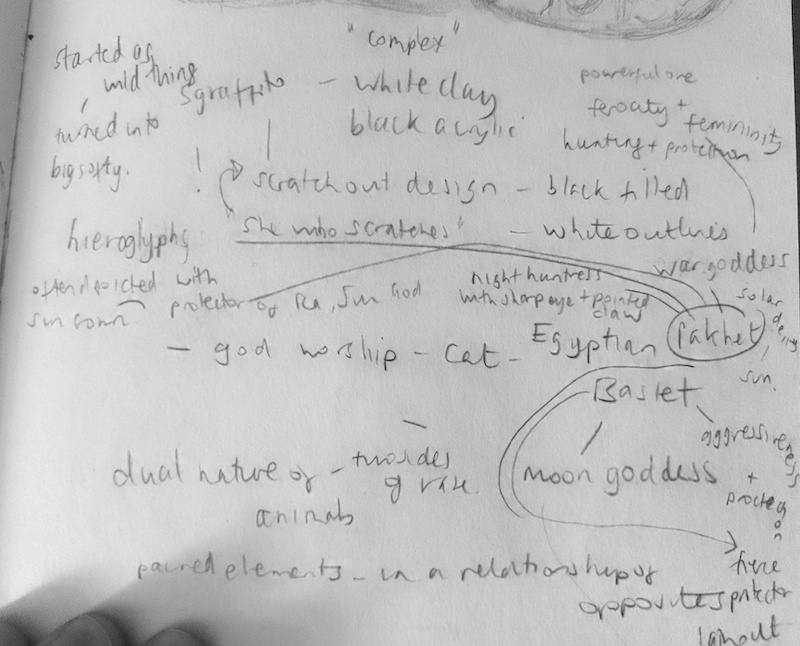
I had briefly looked at the Egyptian period during the research of ceramics and opted for this time in history as my source of inspiration. The reason for this was mainly because the Egyptians worshipped cats (although I am not sure the cats would have appreciated the sentiment of being offered as live sacrifices and mummified alive…).
I spent some time looking in particular at two Egyptian goddesses – Bastet and Pakhet, both of whom were goddesses of war. I particularly liked some of the key attributes of the latter, including a ‘night huntress with a sharp eye and and pointed claw’ and ‘she who scratches’ but I also liked the dual, contrasting sides of the goddesses – such as hunting and protection or ferocity and feminism.
(click on image for larger version, open in new tab)
I then learnt about canopic jars in which Egyptians would store certain organs (the liver, stomach, liver and intestines), once a person had died, in the belief that these fours organs were required for the afterlife. Each jar had a different head as the lid – a baboon, a jackal, a falcon or a human. I was interested in perhaps using a vase as the base for my design and, although I was not thinking in terms of storing organs in it, I liked the shape and style of these jars.

© The Trustees of the British Museum. Source: British Museum.
With all the above in mind, I sketched out a possible design of a vase/jar based on my cat and her likes. For some reason, I had lost the connection to the sleek shape of the canopic jars, which I liked, and instead my sketch looked more like an Easter egg.
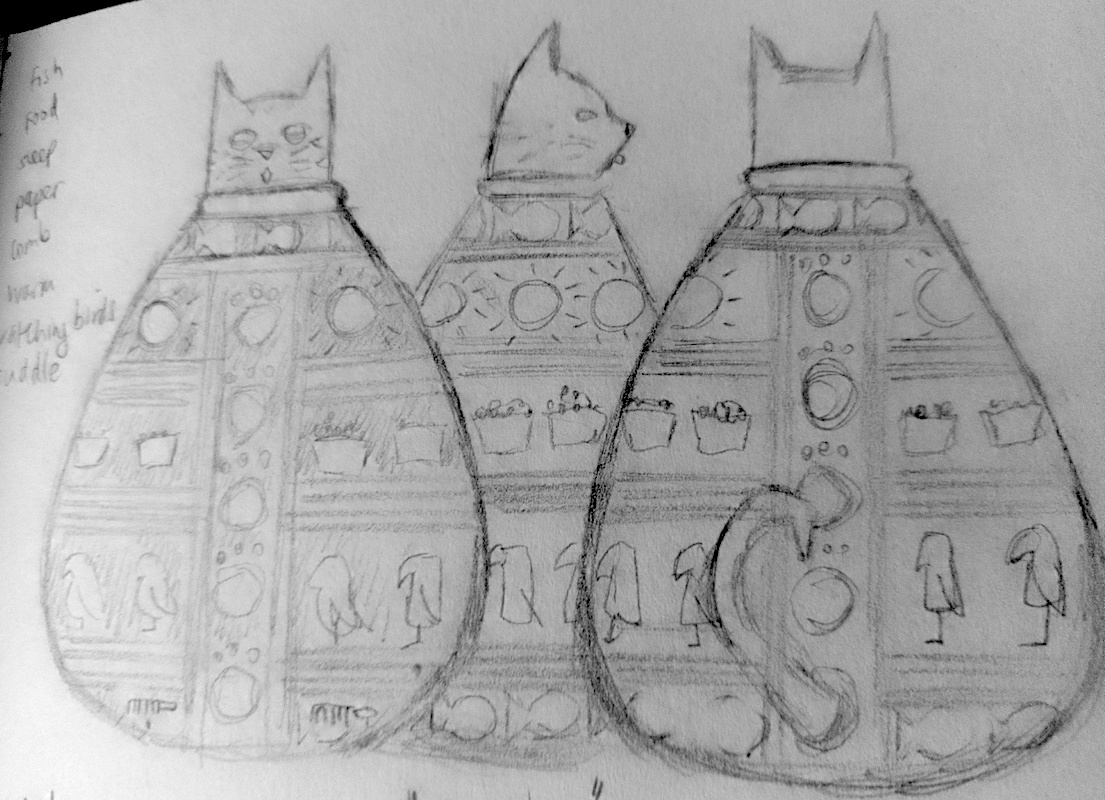
(click on image for larger version, opens in new tab)
On reflection, it is most probable that this exercise would have been much simpler and the outcome more successful had I chosen a straightforward item, such as a plate or a mug, on which to add a less complicated design, but by now I had gone way off on a tangent.
Making a Simple Ceramic Vase
I originally was planning on using a digital version of a vase, but there were several reasons I eventually decided against this. Firstly, I could not find any suitable free (or even paid for) 3D models of plain, non-rendered vase, let alone one that resembled a shape I wanted. Secondly, if I had managed to locate one of these, I would not have had any idea how to add a design to this in Photoshop, for example, and I could not find any basic tutorials to advise me how to do this, or even any templates that could be wrapped on a 3D shape.
I would like to have attempted designing a vase myself in 3D software such as Blender, for example, but I would have needed to learn how to do this and that would have taken me even further away from the goal of this exercise (and used up more time). I also did not have any plain white pottery to hand that I could paint directly onto.
After further contemplation, I remembered that I had a packet of white air dry clay and I thought that this could be the answer. This moment of clarity was also inspired by the Grayson Perry quote in the course notes about getting your hands dirty (so I can blame him!).
I found a beginner’s tutorial demonstrating how to make a simple vase using air dry clay.
Source: YouTube.
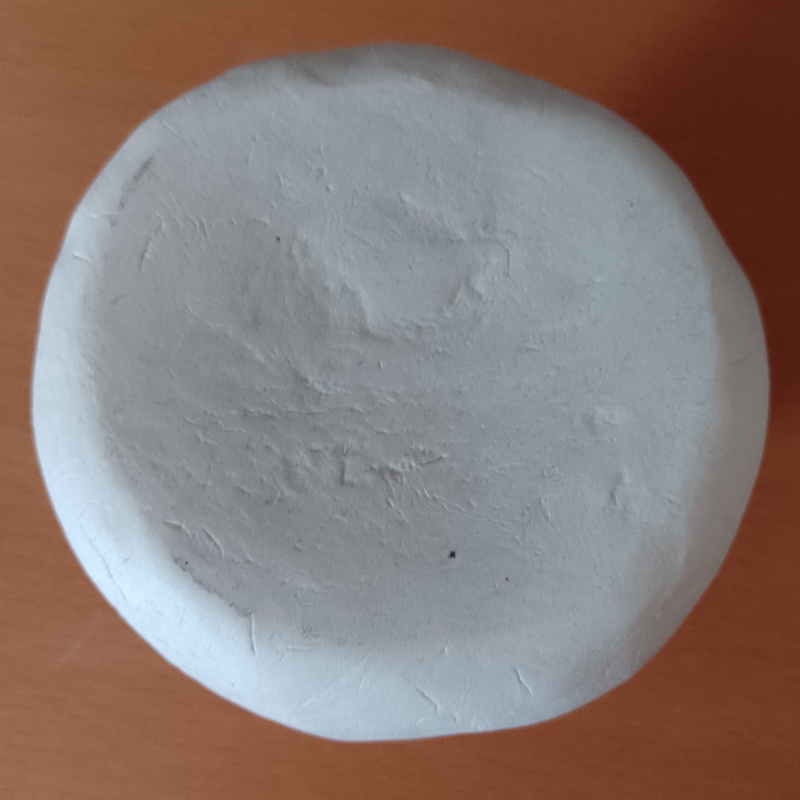
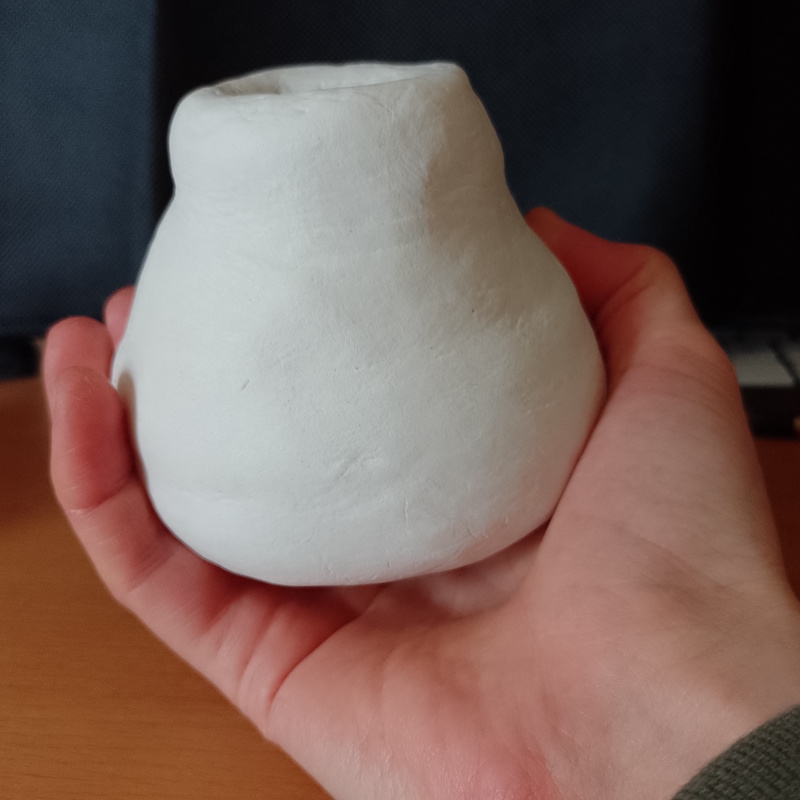
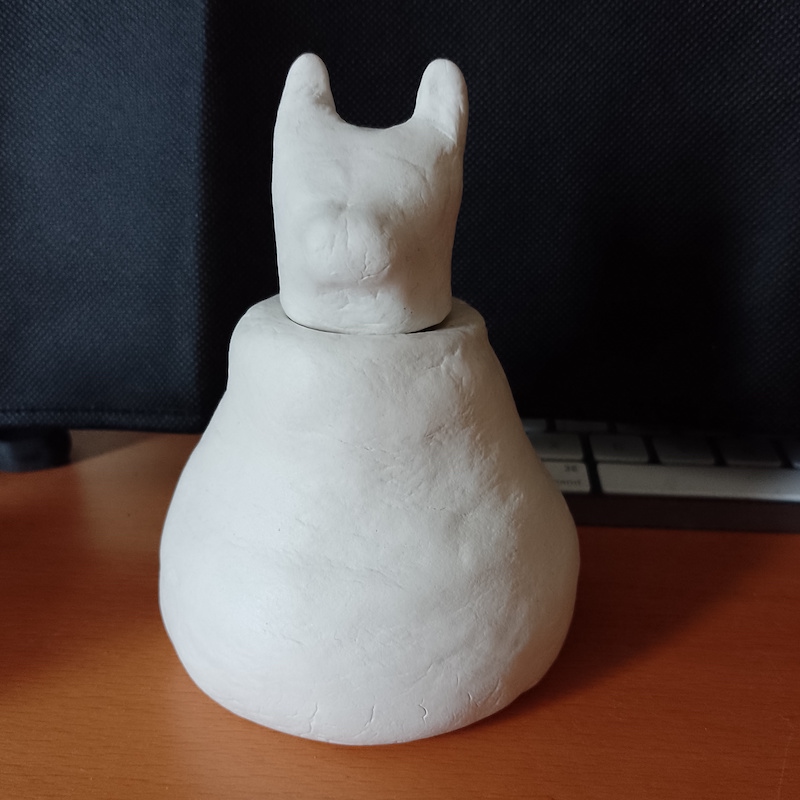
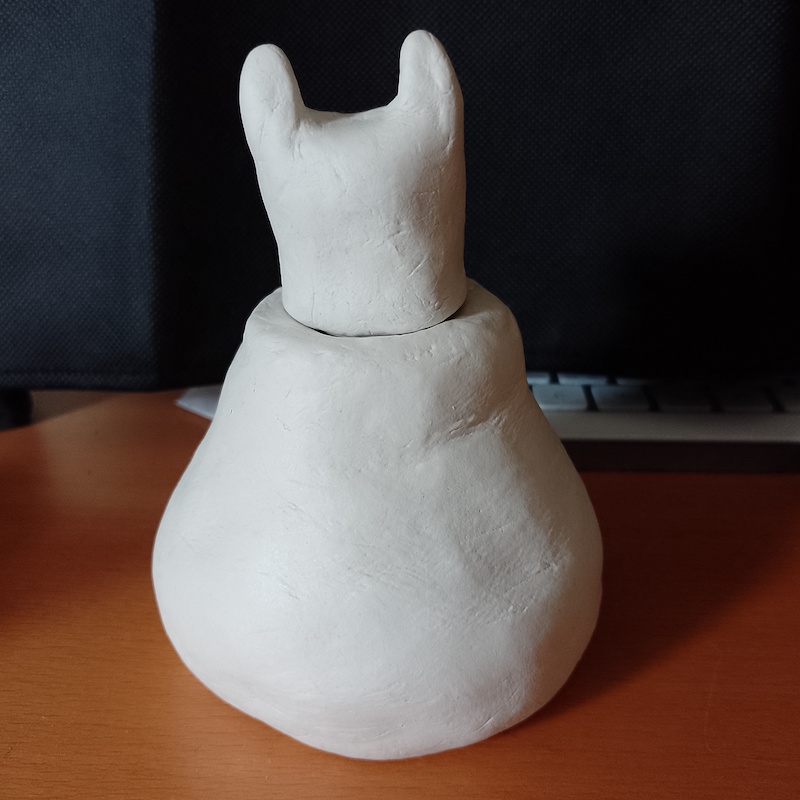
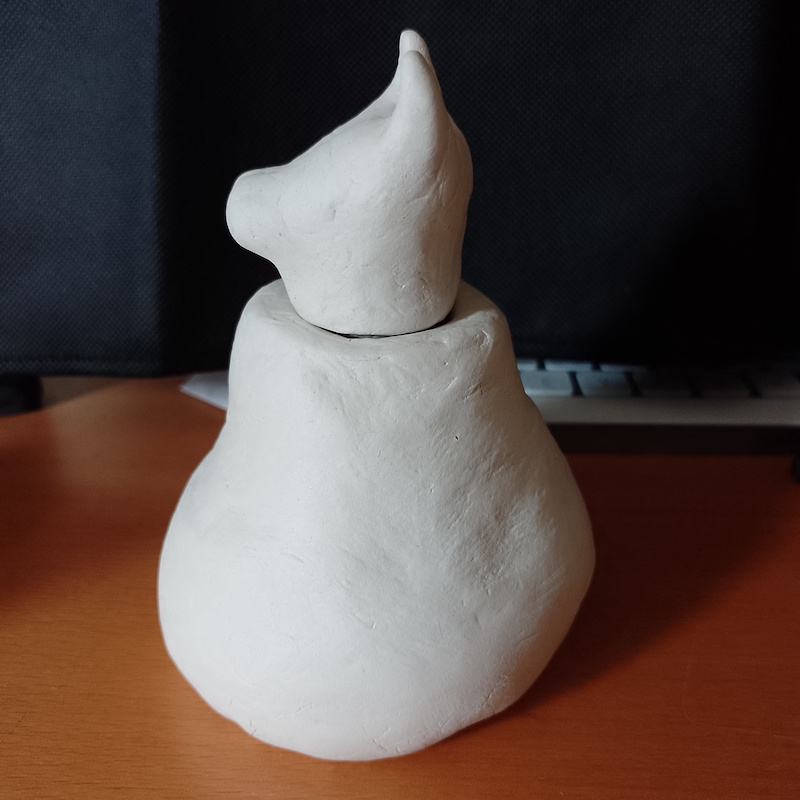
The pot I made did not look quite like that in the tutorial, but for a first attempt, it was reasonable. I also found that I made the sides far too thick so they took a long time to fully dry out (several days). The sides were also not smooth enough. Despite these issues, I really enjoyed making the vase and spent quite some time doing it. On reflection, it was the only part of this exercise that I believe I fully engaged with.
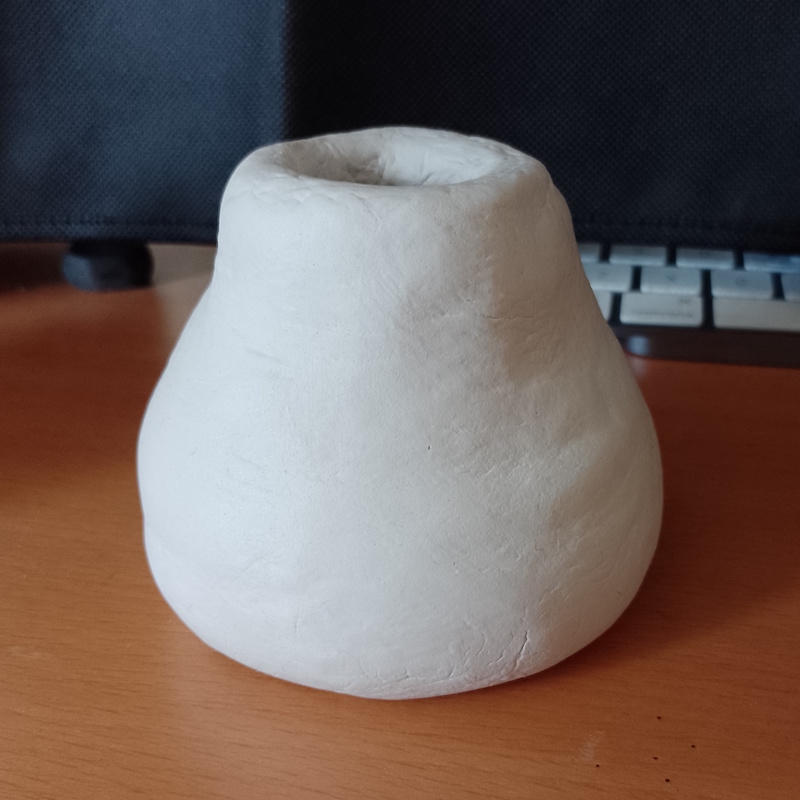
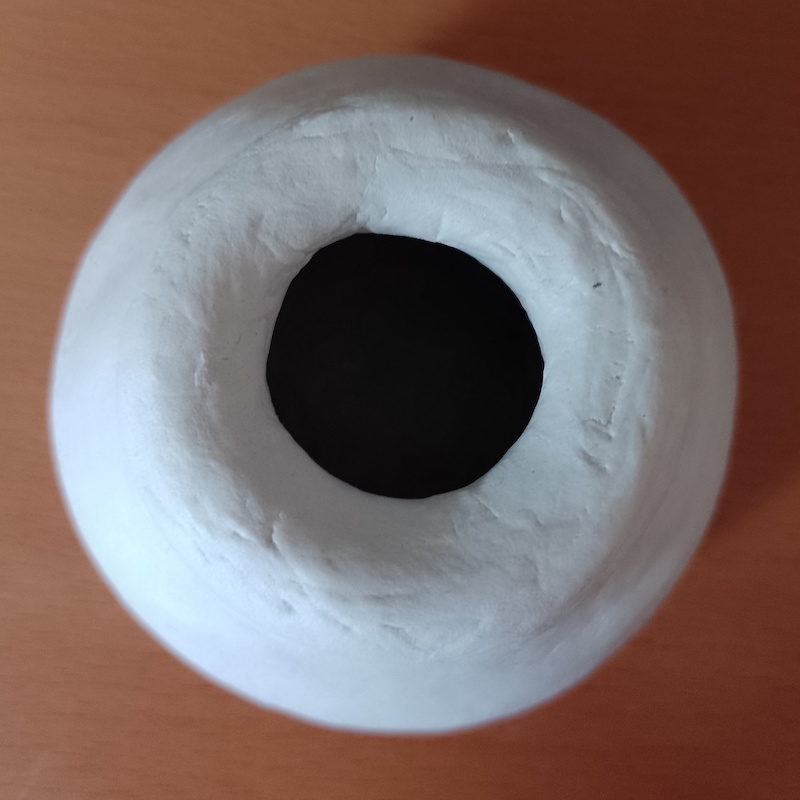

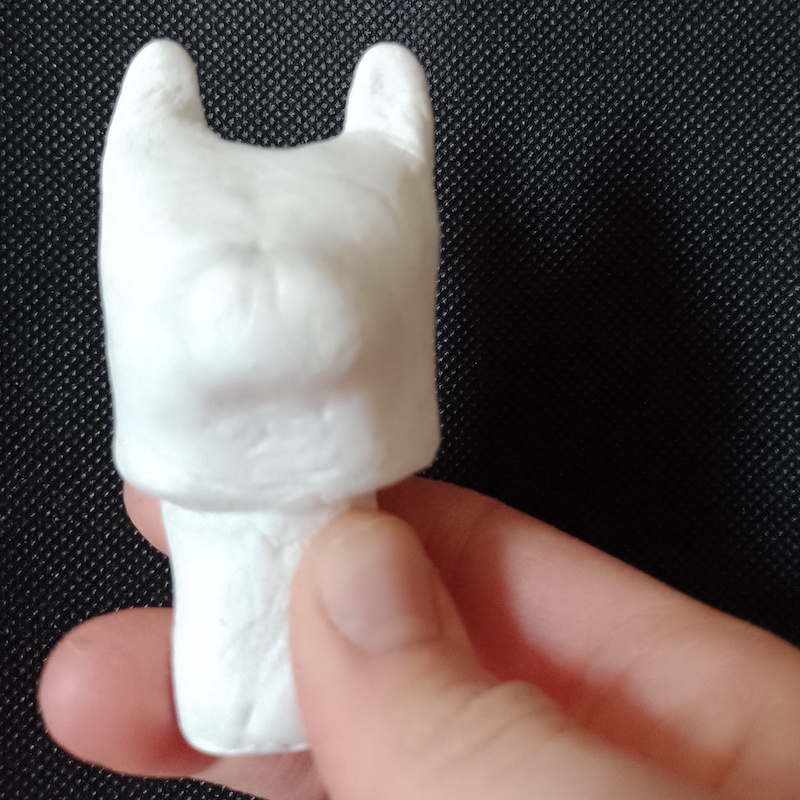
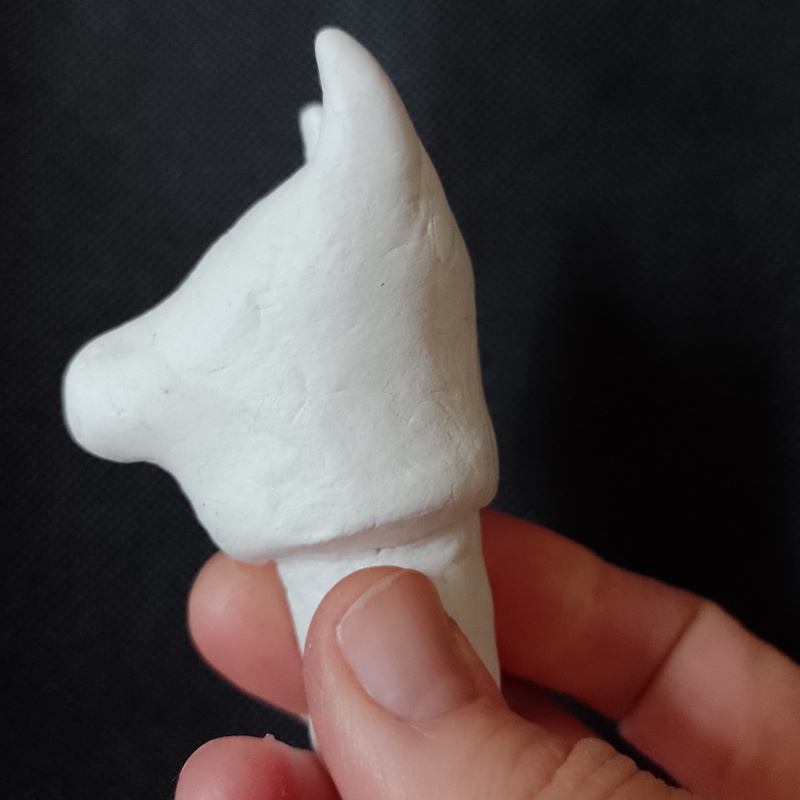
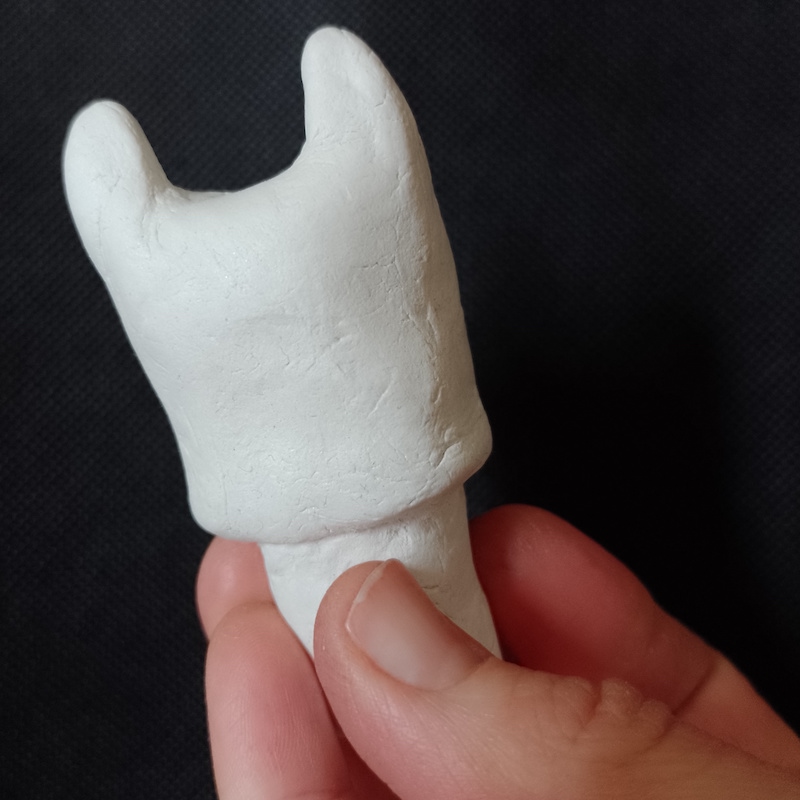
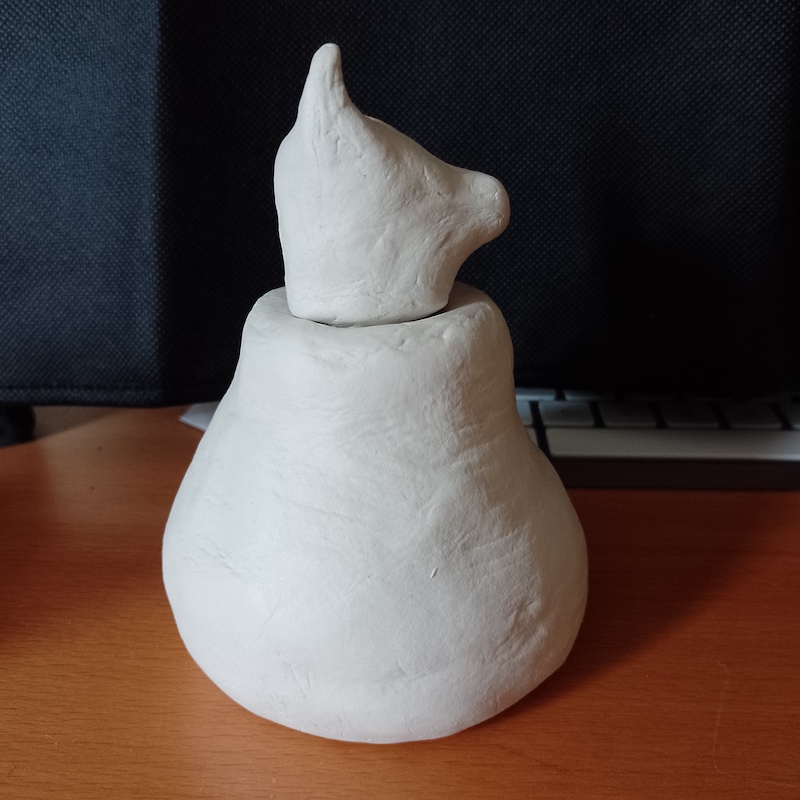
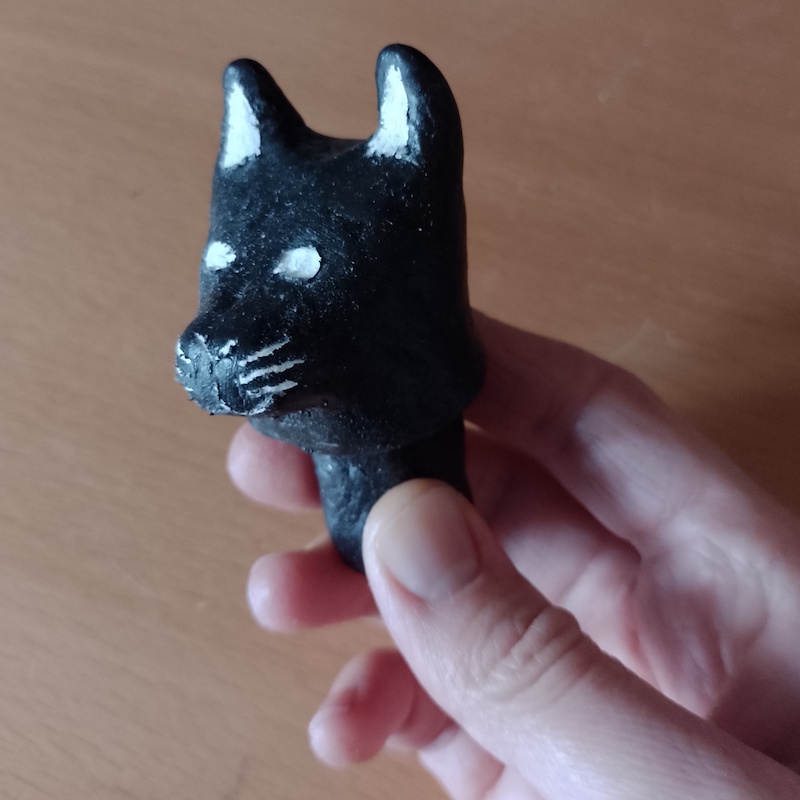
As I now had made the vase, I moved on to creating a cat-shaped head as a lid. This was quite fiddly and I did not get the nose/mouth area quite right (it looks more like a dog), but overall it was not too bad and, most importantly, it fitted in the hole at the top of the vase.
I would have been happy to just leave the vase as it was, but then reminded myself that I still had to complete the actual task for this exercise – to add the illustrations.
Making the Wrong Decision
At this moment in the exercise I made the mistake of blindly following advice I found online, when I should have used a small piece of clay to do a test run as I would have found the forthcoming issue earlier and perhaps gone down a different route.
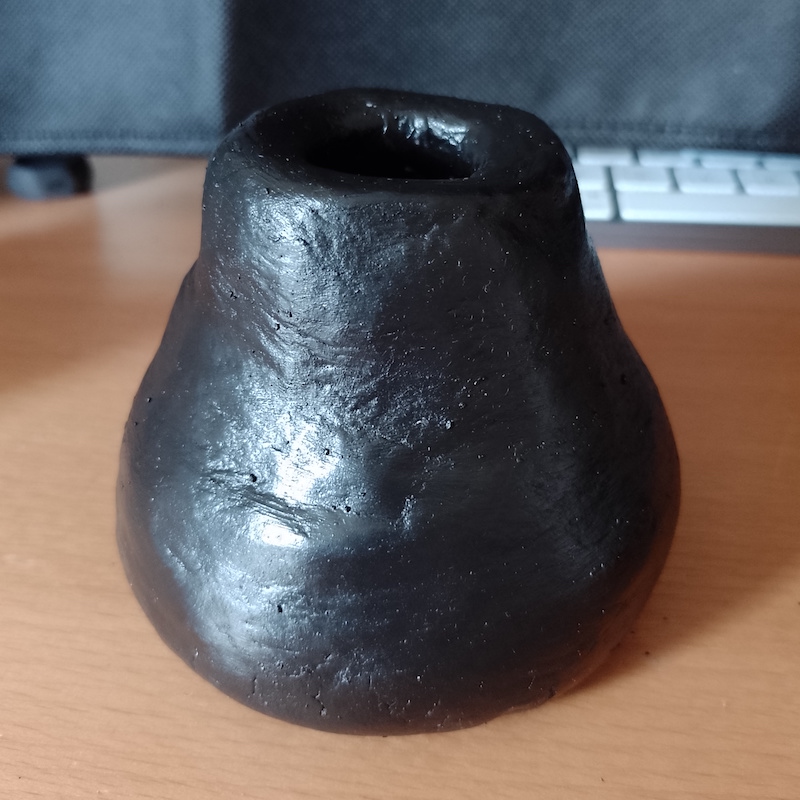
The problem was that I used black acrylic paint to cover the vase and lid, which, on first appearance, looked acceptable (apart from the fact that the paint I used was quite old and therefore had countless tiny lumps in it, which I had to carefully pick off).
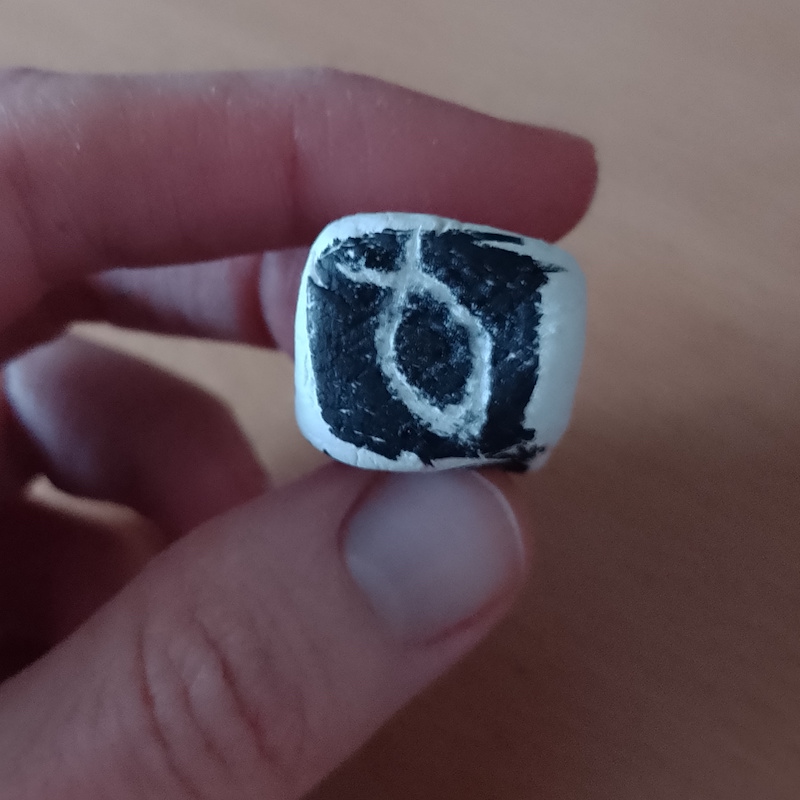
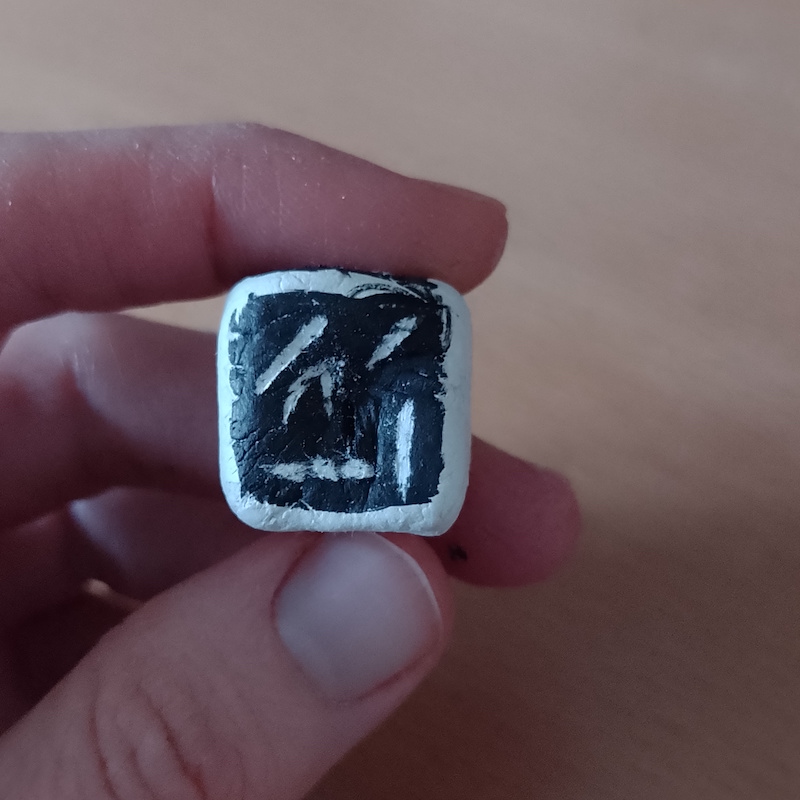
Scratching Design onto the Vase
Once the paint had dried, the next stage involved trying to replicate the sgraffito technique I had admired in my research and that was when I found the problem with using acrylic paint. I tried using a craft knife, skewer and pointed plastic tools, but every time I made a scratch in the surface, the paint had a gummy texture so it would stretch and then pull off sections I did not want it to – so it was not possible to make a clean mark. This combined with the fairly uneven surface and lopsidedness (basically poor design) of the vase was not ideal, to put it mildly!
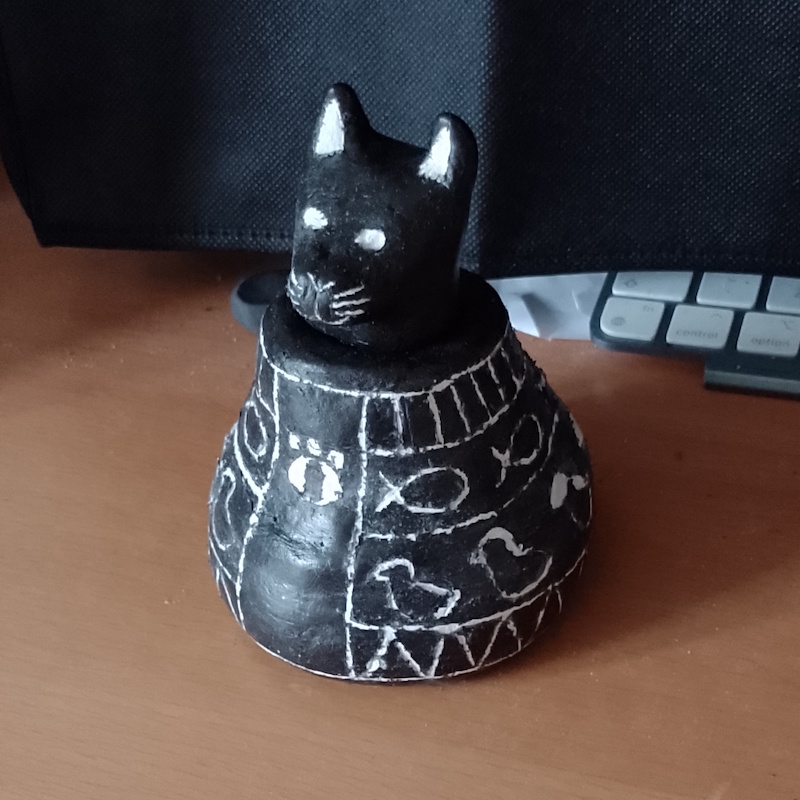
It meant that I could not really focus on the actual design and, as a result, this ended up barely looking as intended, with various mistakes. I became increasingly frustrated and annoyed because it prevented me producing the quality of work that I had hoped to. I did persevere for as long as possible, but in the end, I more or less gave up and decided to accept the whole sorry episode as a very steep learning curve.
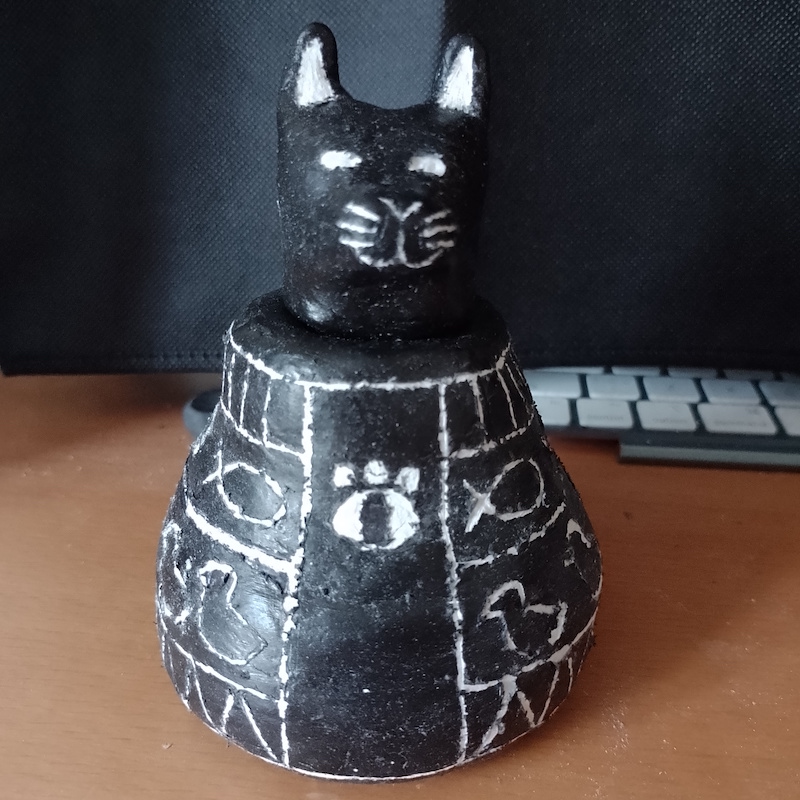
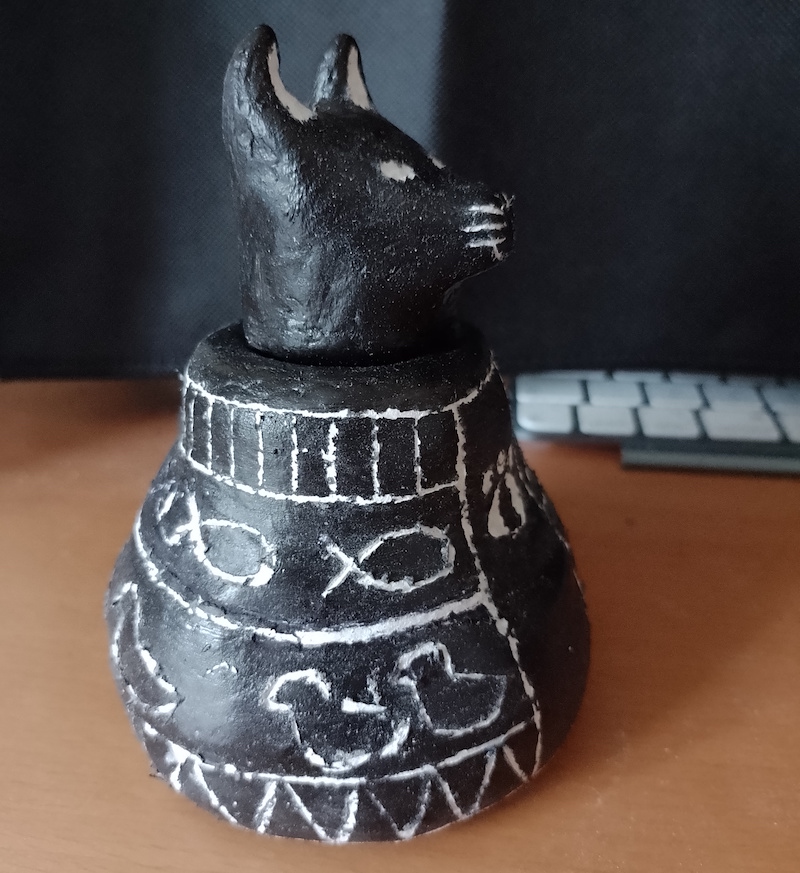
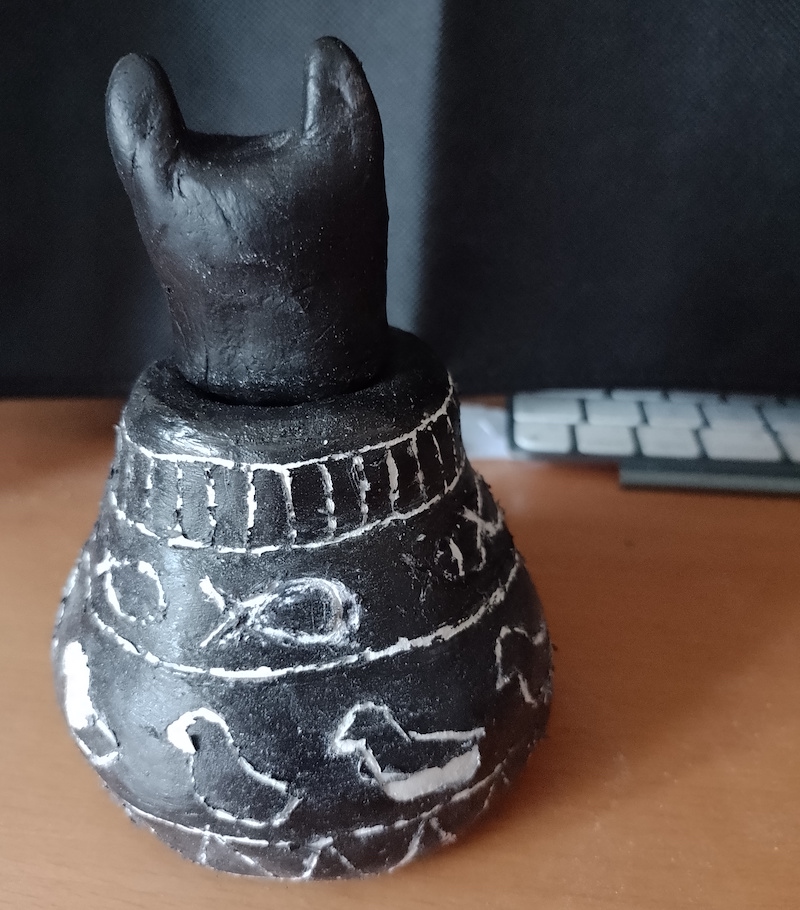
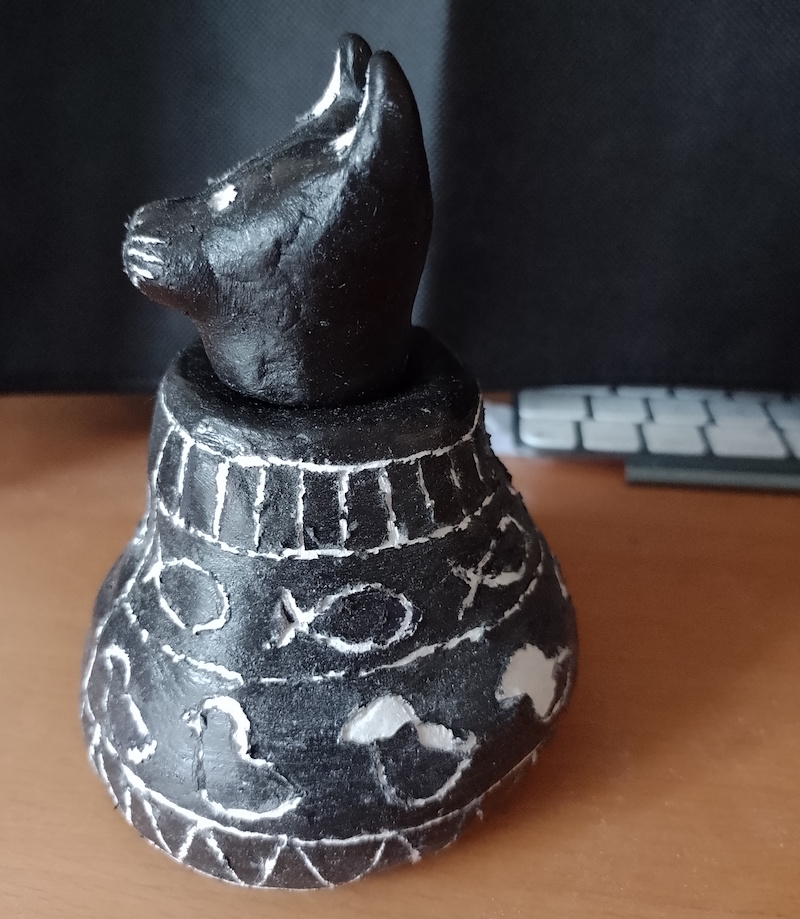
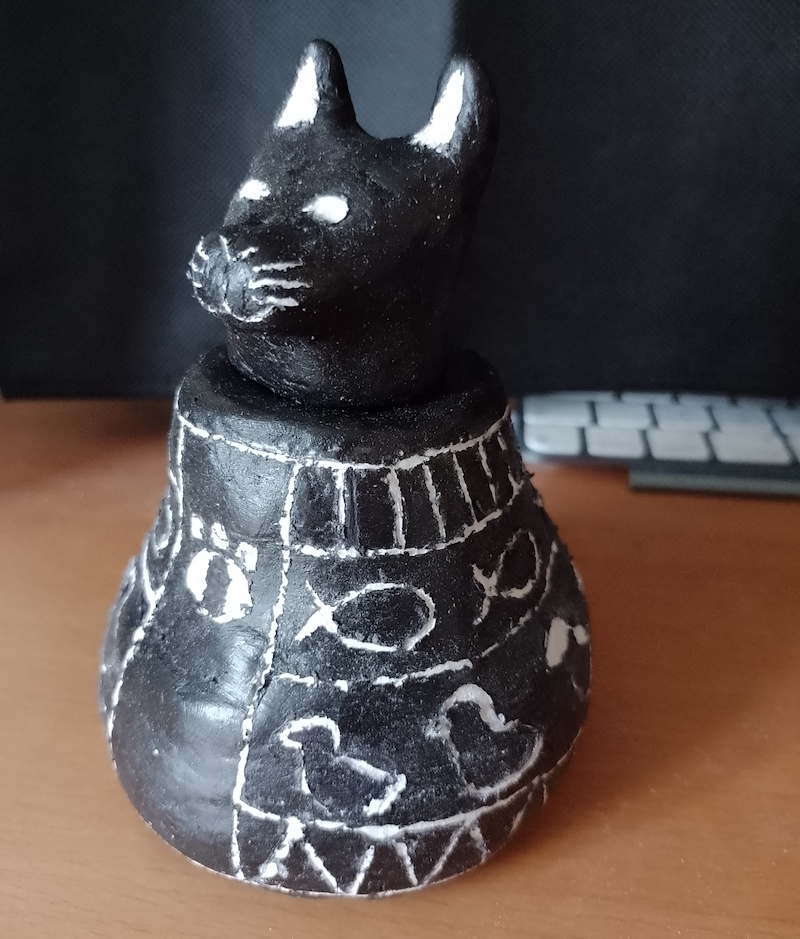
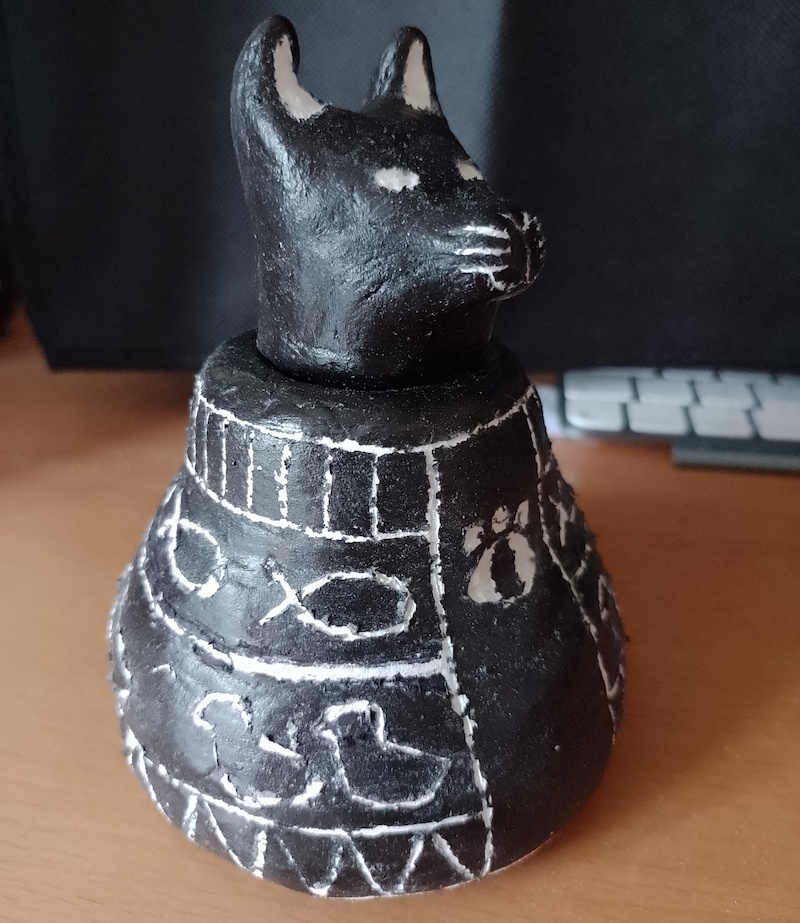
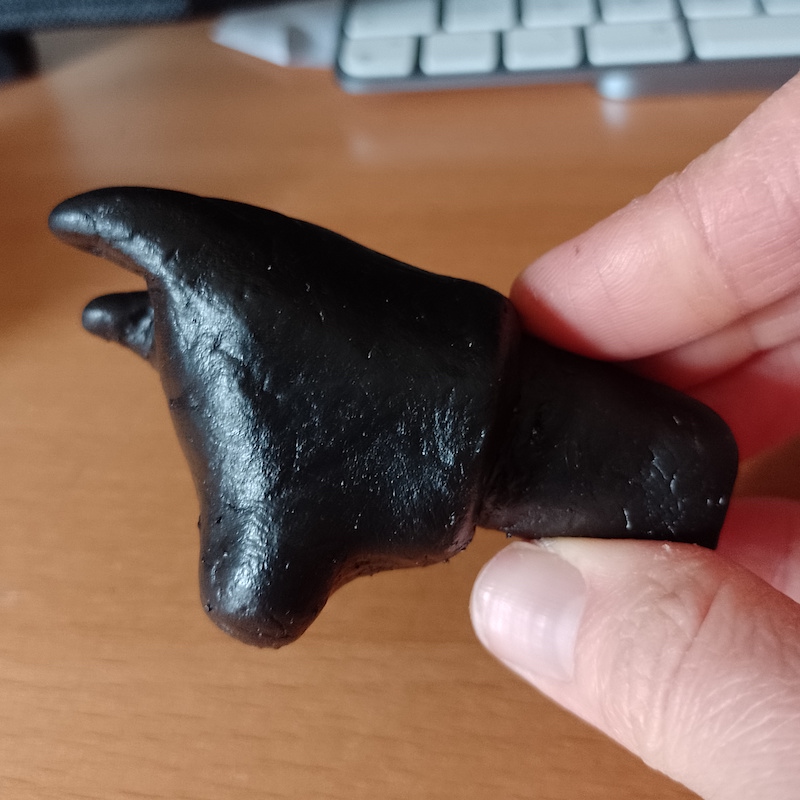
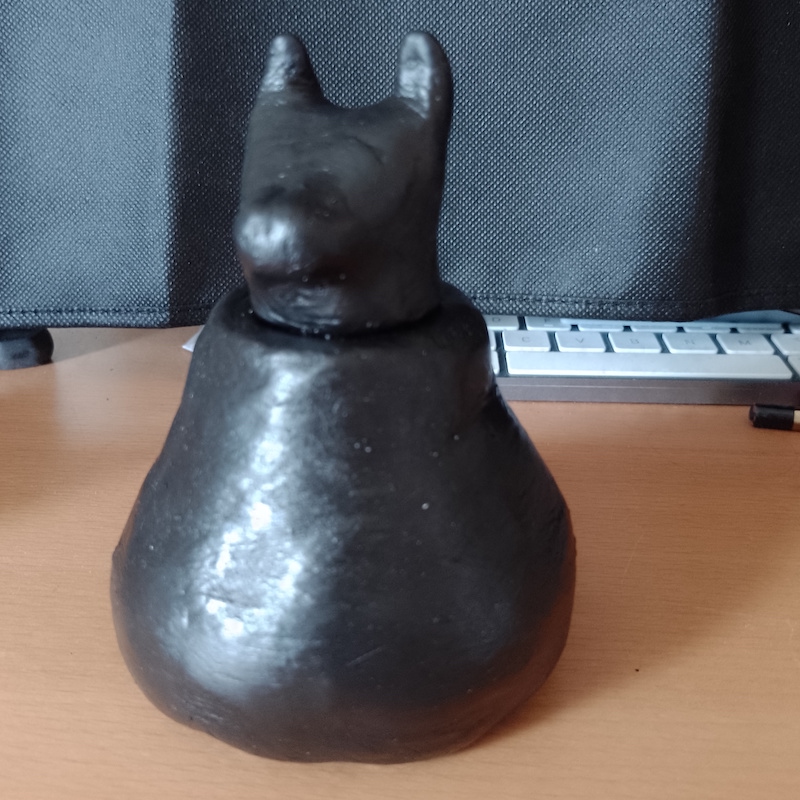
I felt the cat-head lid was more successful than the vase, but I was not able to add more detail, such as pupils, due to the aforementioned issue.
After some time out and looking at the result again, I did think that the vase looked slightly better from a distance, but I still felt extremely disappointed that I had not been able to produce what I wanted.
What I Should Have Used
Reflecting on the mishap of using acrylic paint, I realised that instead I should have tried using black ink, which is what is the surface on scratchboard is coated with. I tested this with a tiny square of clay and it worked much better. The surface of the clay was not particularly smooth in this test, but there was no gumminess or clinging involved!
Even the rough test pieces, above, are clear improvements on the original version, as shown in the close up images, below.
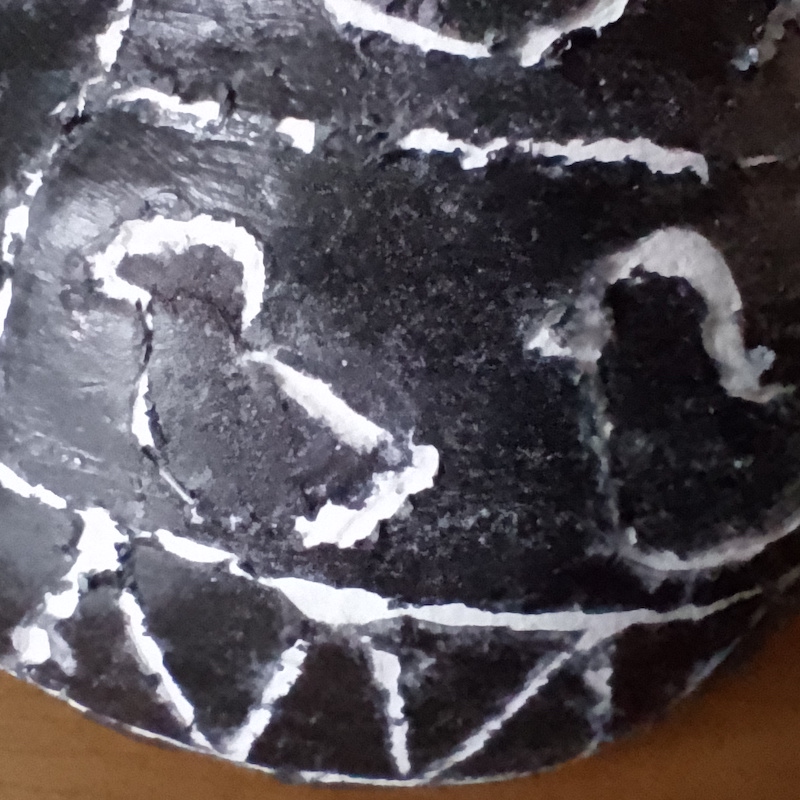
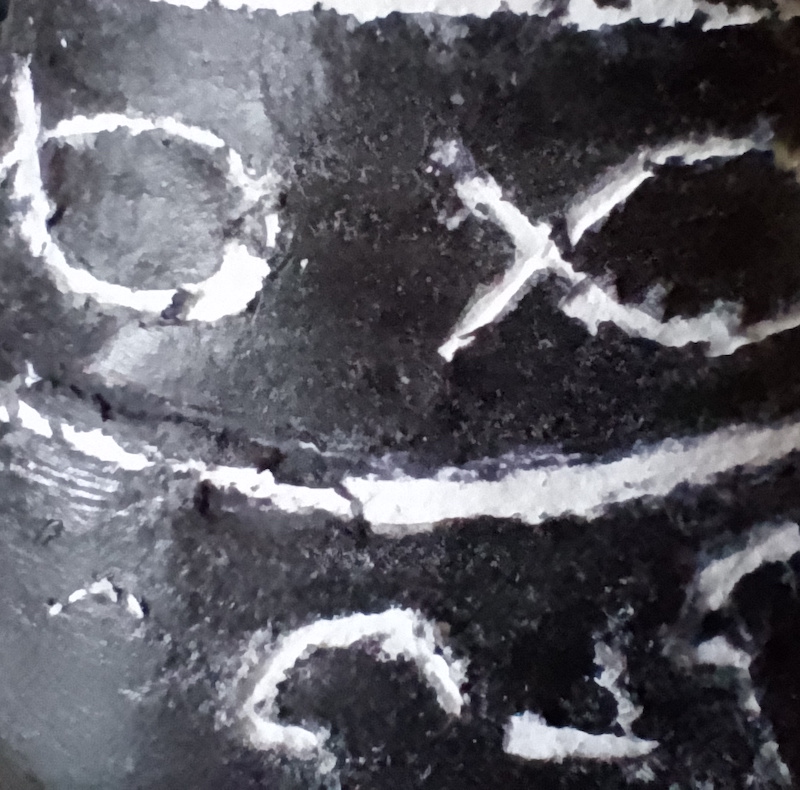
Although I was pleased that I had found a solution for future reference, I also felt more disappointed as I genuinely believed I could have made much better piece of work if I had this insight earlier in the exercise.
Final Thoughts
It is quite clear that I had several issues throughout this exercise and, frankly, did not really stay on track with the brief from the start. Partly this was do to being distracted by on-going issues not related to the course, which meant I was not fully committed to the exercise. I felt my concept, if it had been successfully resolved, did have potential, although it would have been better to have a clearer plan in terms of the design – it was all too vague.
In terms of how I could take what I have learnt from this exercise back to paper-based work… an increased gratefulness for working paper! This exercise reinforced my understanding that planning is key and doing lots of preparatory work, thumbnails, etc. is almost always worth the effort. It also made me think more about how to represent 3D objects in 2D space and how I can improve on this skill.
What went well (this was quite challenging!)…
- I thought the fact that I chose to create my own piece of pottery was either very smart or very stupid. I did enjoy the process of making it and I certainly would like to try to do more in the future.
- I thought the concept, although not fully explained, was quite unusual and gave the piece more meaning than simply being a ‘nicely’ decorated item of pottery.
- I reflected on and learnt from my mistakes. I also found a workable alternative for use in the future.
- I found the research to be insightful and it could be valuable for future ideas.
- That is it, I could not think of any more positives.
What could have been improved…
- THE CHOICE OF USING BLACK ACRYLIC PAINT TO COVER THE VASE/LID.
- The shape and size of the vase. It should have resembled the shape of the canopic jar from my research and been much bigger, which would have probably made it easier to add a clearer design to.
- I should have had a clearer plan in place in terms of design as it was far too vague, which only added to my woes.
- Further to the point above, it would have been better to have greater focus on replicating a particular style of ceramic design, e.g, Minoan Marine Style, rather than trying to pull in aspects from various styles and not in a cohesive way.
- I found myself becoming quite negative as this exercise progressed, which was not helpful or productive. I should have just accepted it as a learning curve at an earlier stage and taken this as a positive.
Bibliography
BBC News (2010) Temple to cat god found in Egypt. Available at: http://news.bbc.co.uk/1/hi/world/middle_east/8468803.stm (Accessed 11 December 2023).
British Museum (n.d.) canopic jar. Available at: https://www.britishmuseum.org/collection/object/Y_EA22377 (Accessed 11 December 2023).
Create & Craft TV (2015) How to Make an Air Dry Clay Pinch Pot Vase | Pottery | Create and Craft. Available at: https://www.youtube.com/watch?v=5Bo1WwW14S8 (Accessed 12 December 2023).
Donahue, M. Z. (2017) Eons before viral kitten videos, ancient Egyptians adored cats. Available at: https://www.si.edu/stories/eons-viral-kitten-videos-ancient-egyptians-adored-cats (Accessed 11 December 2023).
Grimm, D. (2021) Graves of nearly 600 cats and dogs in ancient Egypt may be world’s oldest pet cemetery. Available at: https://www.science.org/content/article/graves-nearly-600-cats-and-dogs-ancient-egypt-may-be-world-s-oldest-pet-cemetery (Accessed 11 December 2023).
Salford Museum and Art Gallery (n.d.) Sgraffito using air dry clay. Available at: https://schools.salfordmuseum.com/wp-content/uploads/2021/07/Sgraffito.pdf (Accessed 12 December 2023).
Tour Egypt (n.d.) The Gods of Ancient Egypt – Pakhet. Available at: http://www.touregypt.net/godsofegypt/pakhet.htm (Accessed 11 December 2023).
Wikipedia (n.d.) Bastet. Available at: https://en.wikipedia.org/wiki/Bastet (Accessed 11 December 2023).
Wikipedia (n.d.) Pakhet. Available at: https://en.wikipedia.org/wiki/Pakhet (Accessed 11 December 2023).