Create a sequential illustration that creatively re-tells the story of girl meets boy, girl loses boy, girl wins boy back, in whatever way you want. Make the re-telling entertaining. You’ll need to think about how you construct the different twists and turns of the story and decide on how you’re going to draw the characters and action, and how you’ll use your panels, speech bubbles and sound effects to make the story come alive.
This sequential illustration should be no more than one page but can be as short as a three panel cartoon if you can get the narrative to work in that format.
Feel free to replace the boy with a girl or vice versa.
Initial Thoughts
I had been looking forward to this exercise ever since I read through the course materials prior to starting the unit. I did not have any idea what I was going to do though! After reading through the brief again, I was particularly drawn to the last line, ‘feel free to replace the boy with a girl or vice versa‘, which I thought would make it even more interesting.
I was quite trepidatious about trying to keep the illustrations to one page and the idea of reducing it down further to three panels was slightly incomprehensible!
Rough Ideas
I started this exercise by noting down some vague concepts for storylines I had formed in my mind. However, it quickly became clear that the strongest idea involved a coffee shop, which may have been subconsciously influenced by the regular inclusion of these places in many rom-com films/TV series.
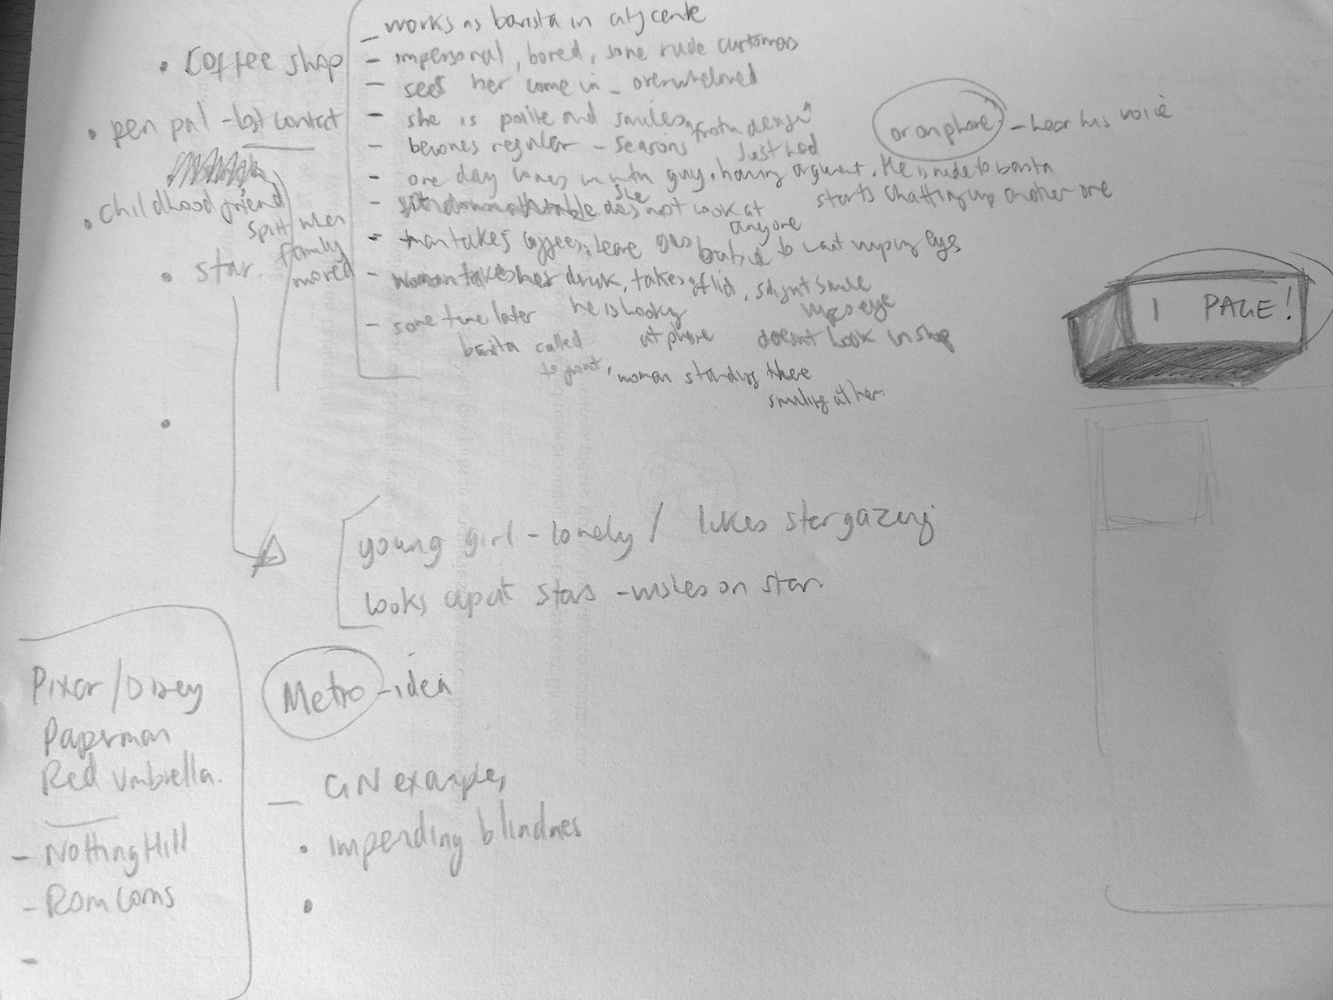
(click on image for larger version, opens in new tab)
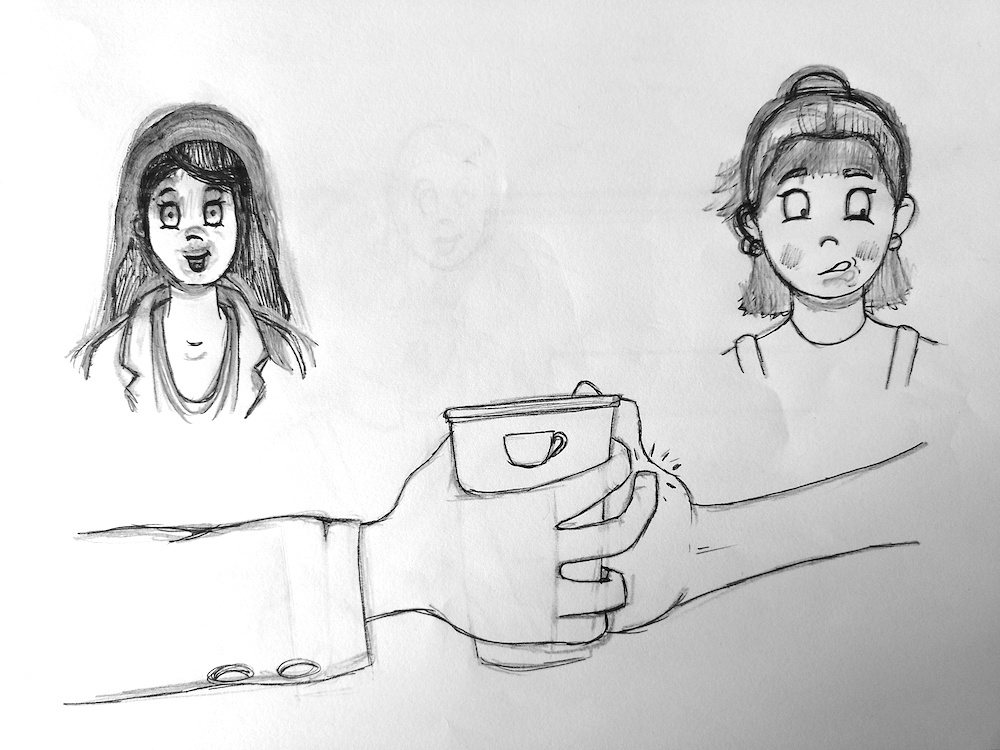
I then moved onto attempting to draft out a more comprehensive storyline. This where is my imagination started to get a bit carried away and dramatic, mainly because I could clearly see these situations occurring in film versions. I always feel a bit daft at this point and the thought of others reading it is quite embarrassing!
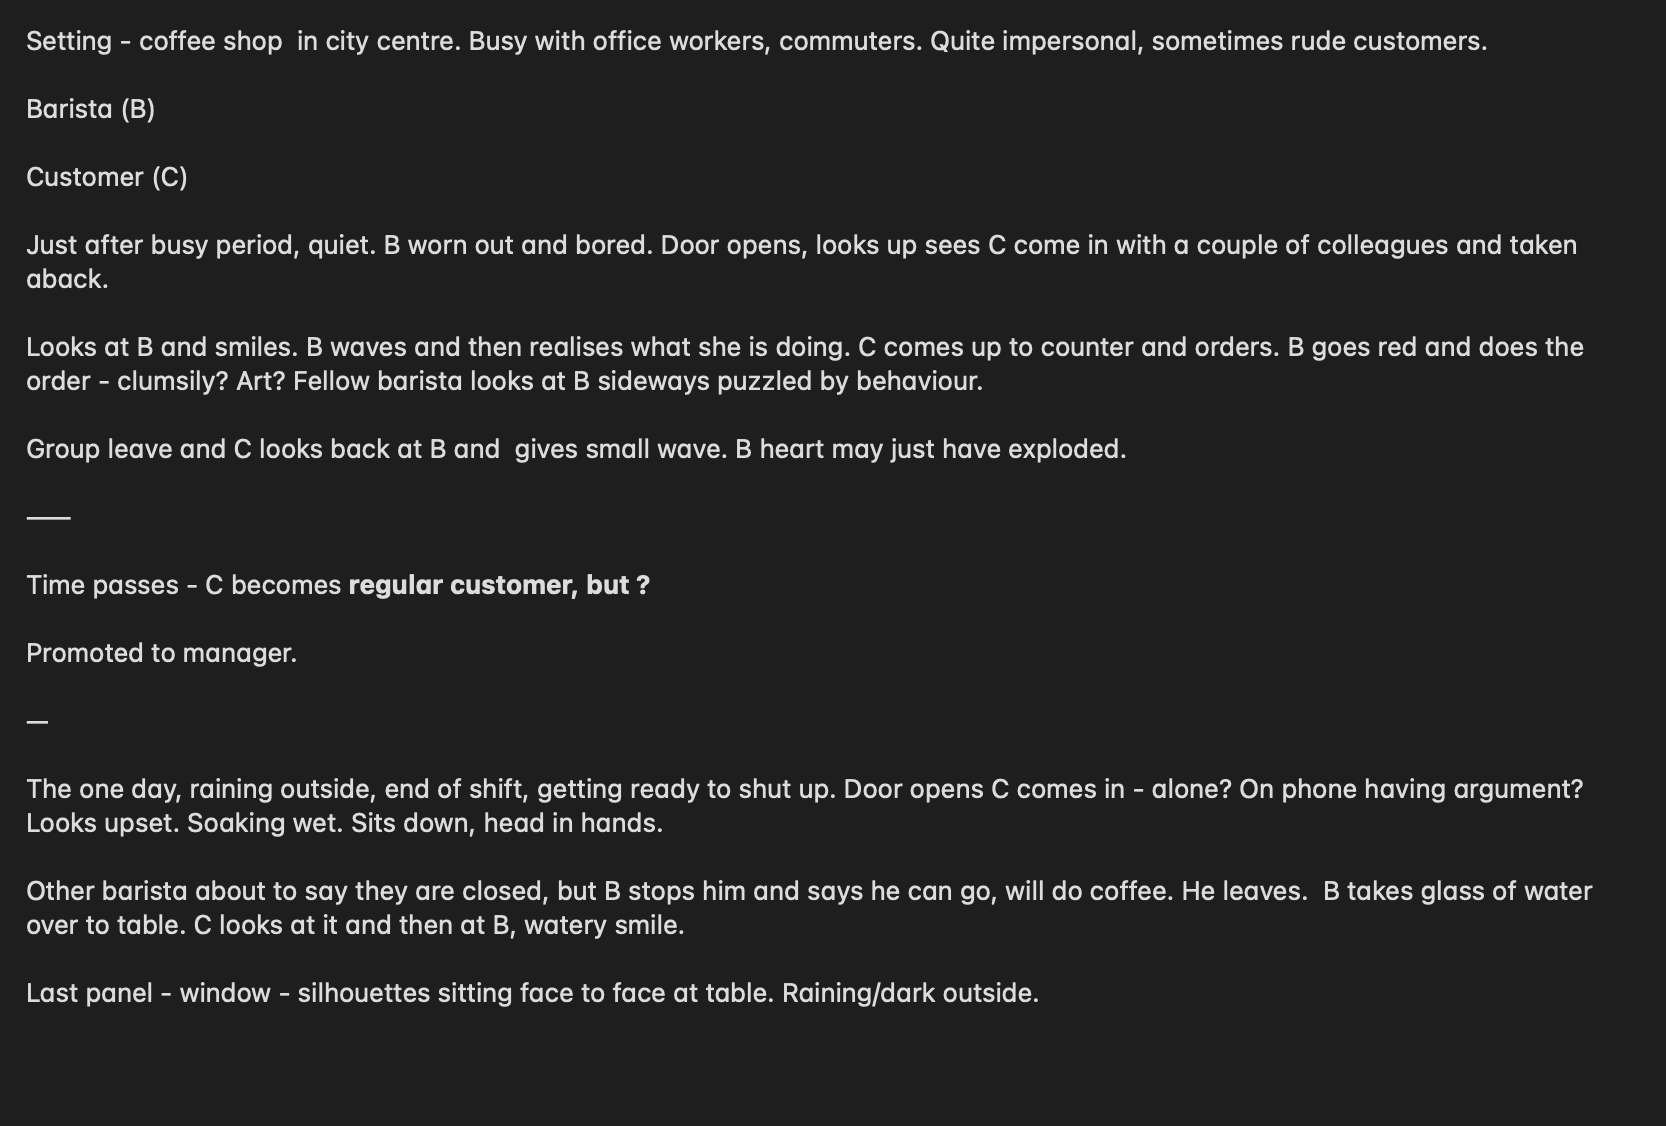
(click on image for larger version, opens in new tab)
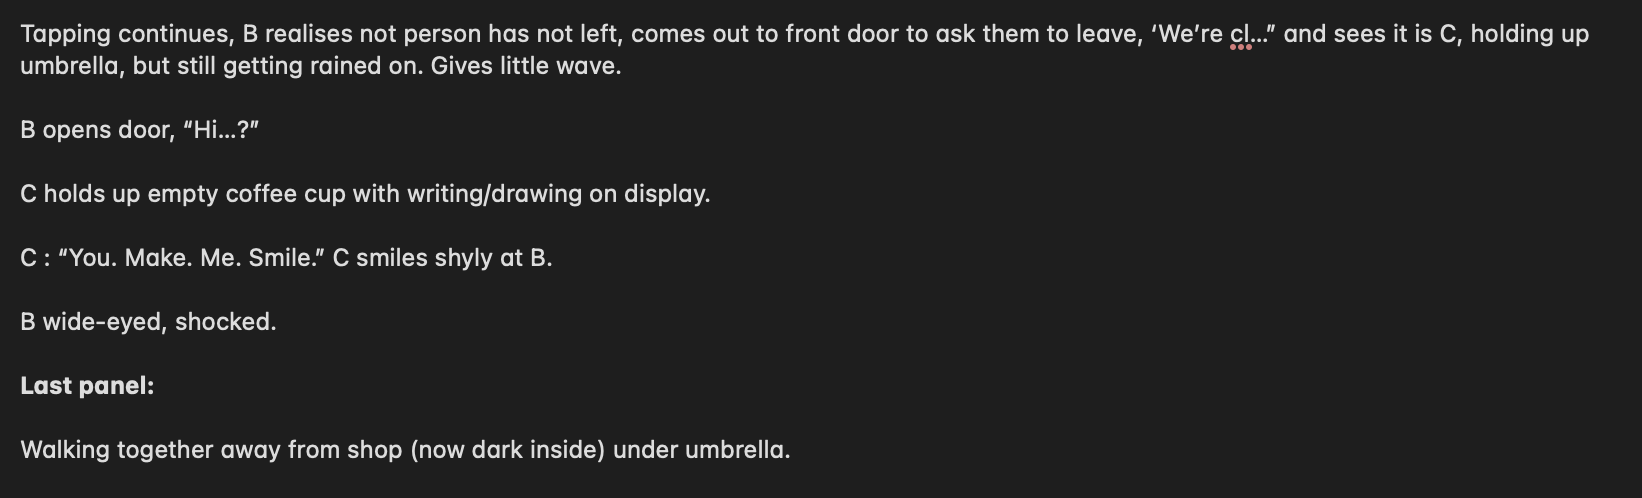
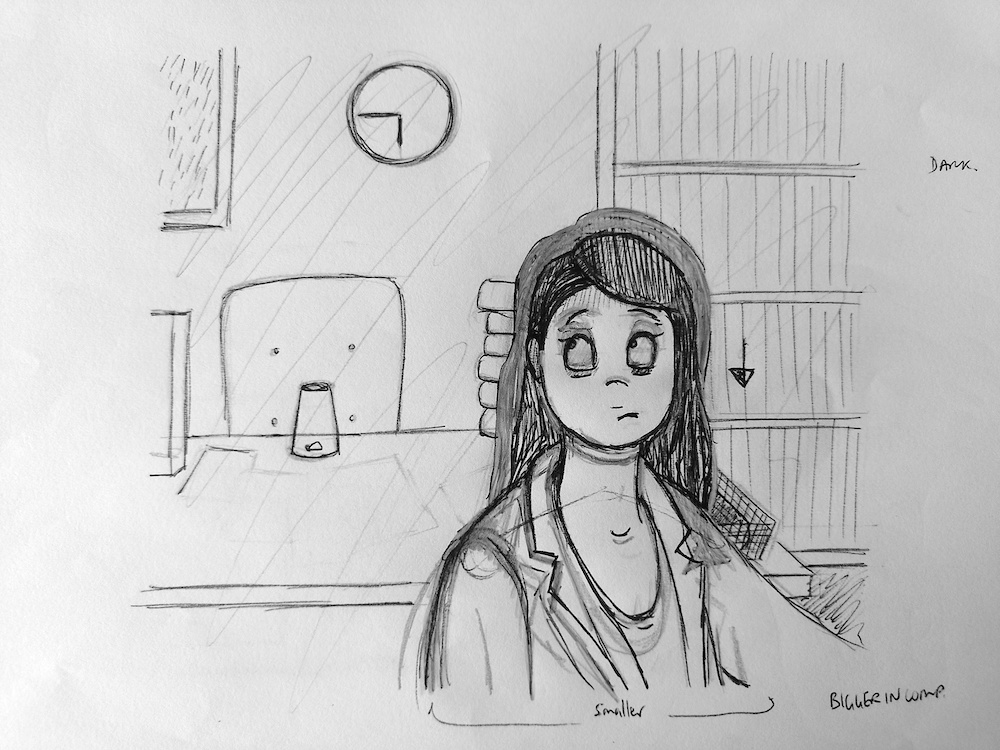
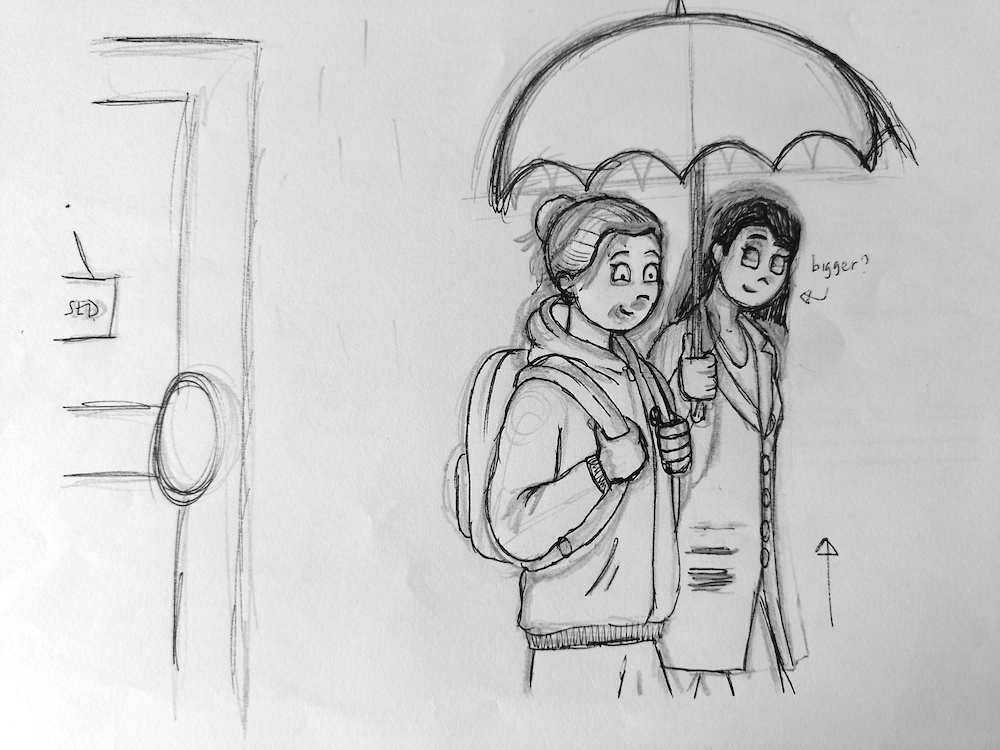
The story evolved multiple times.
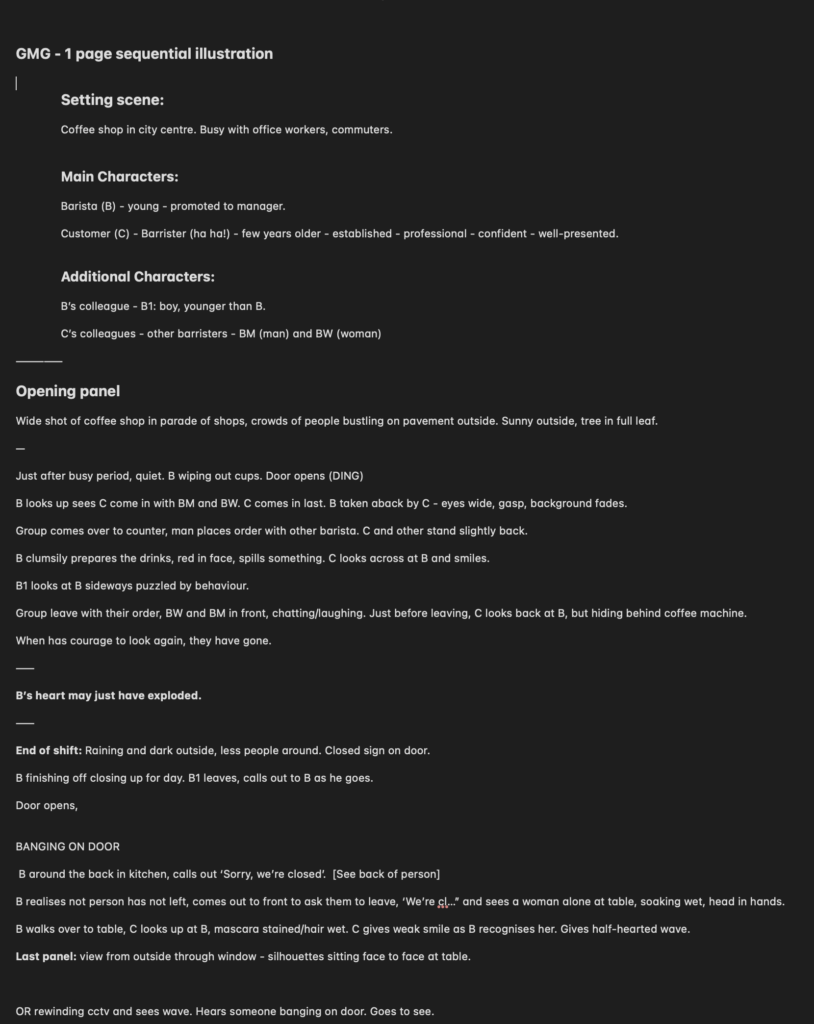
(click on image for larger version, opens in new tab)

(click on image for larger version, opens in new tab)
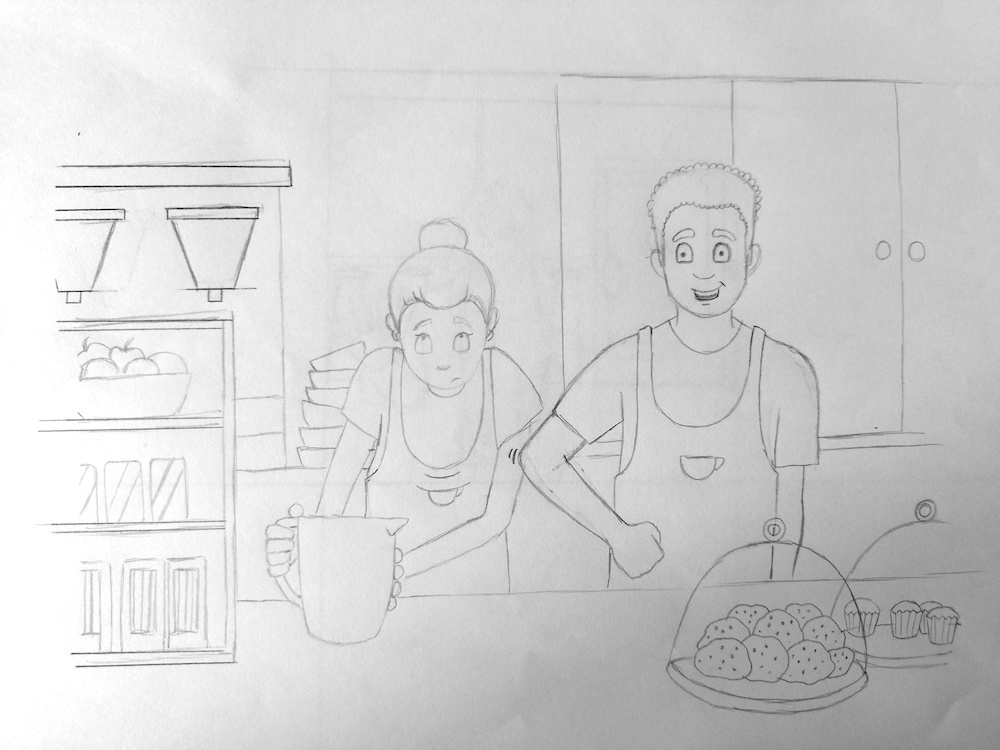
Once I had managed to extract these out of my mind, I was able to begin paring it down to a less dramatic, more simplified, 1-page friendly version, which was a relief. It certainly does appear, however, that I find it beneficial to take the time exploring narrative ideas in this way, rather than trying to think of something on the hop, as it provides a strong foundation to work from. I felt more familiar with characters and setting as these became embedded in my mind.
Drafts
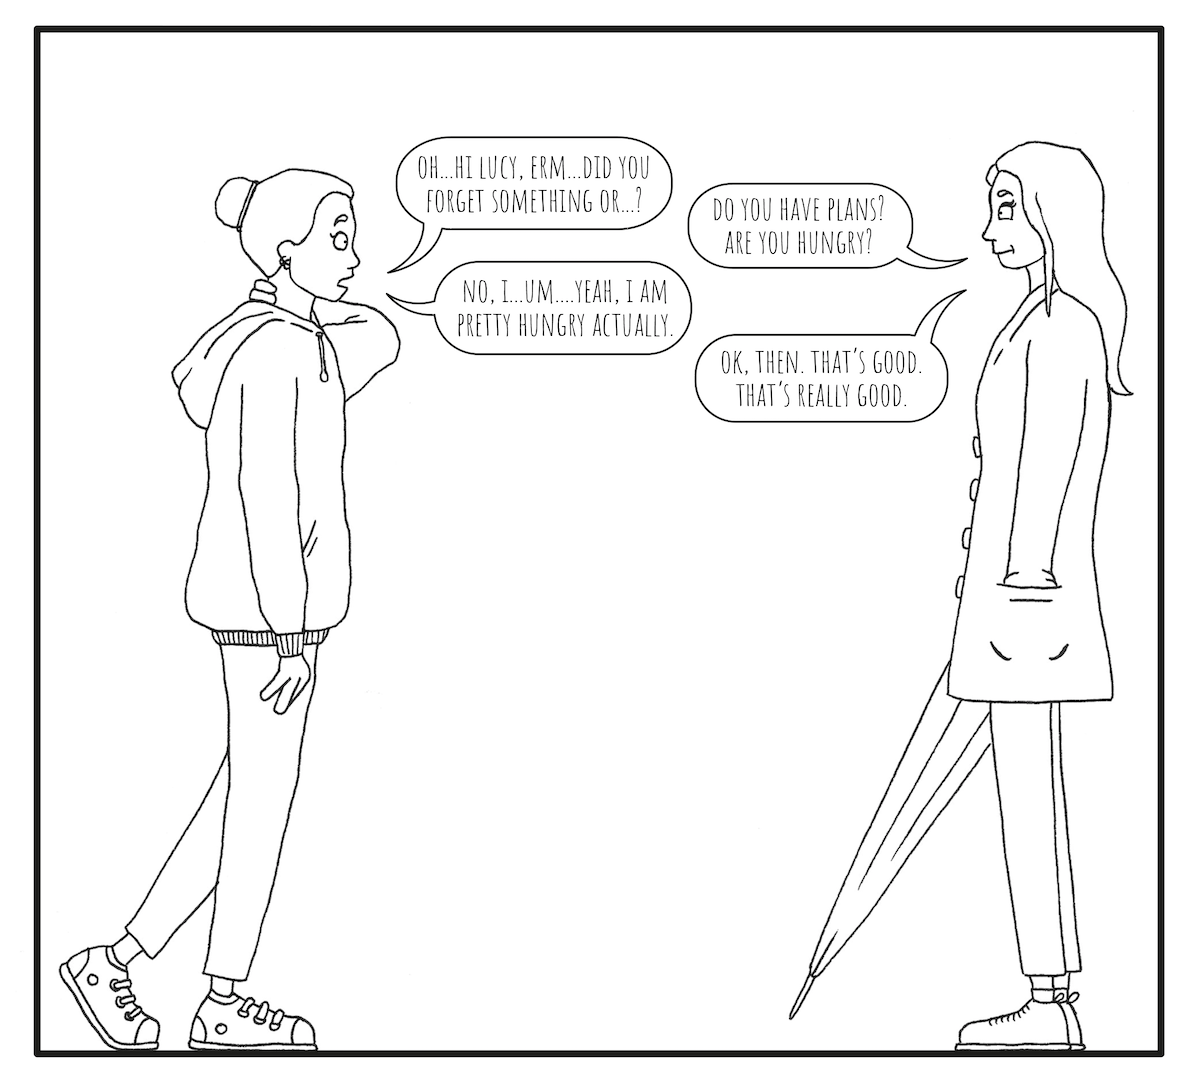
In terms of relating my idea to the brief of girl meets boy, girl loses boy, girl wins boy back, the very simple revised version was as follows:
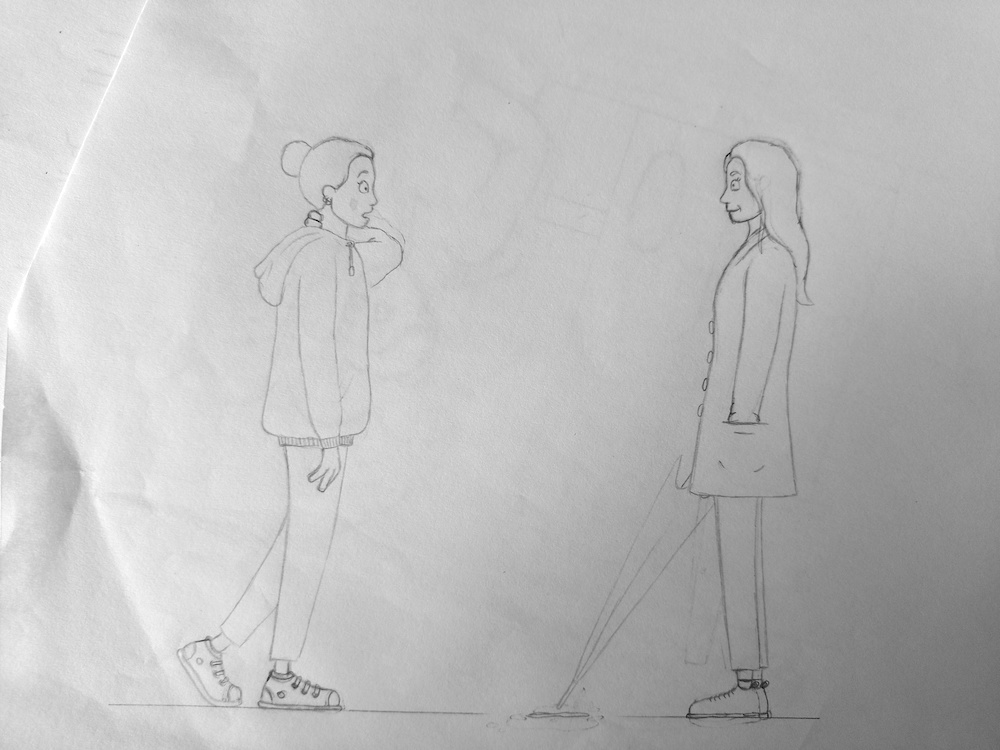
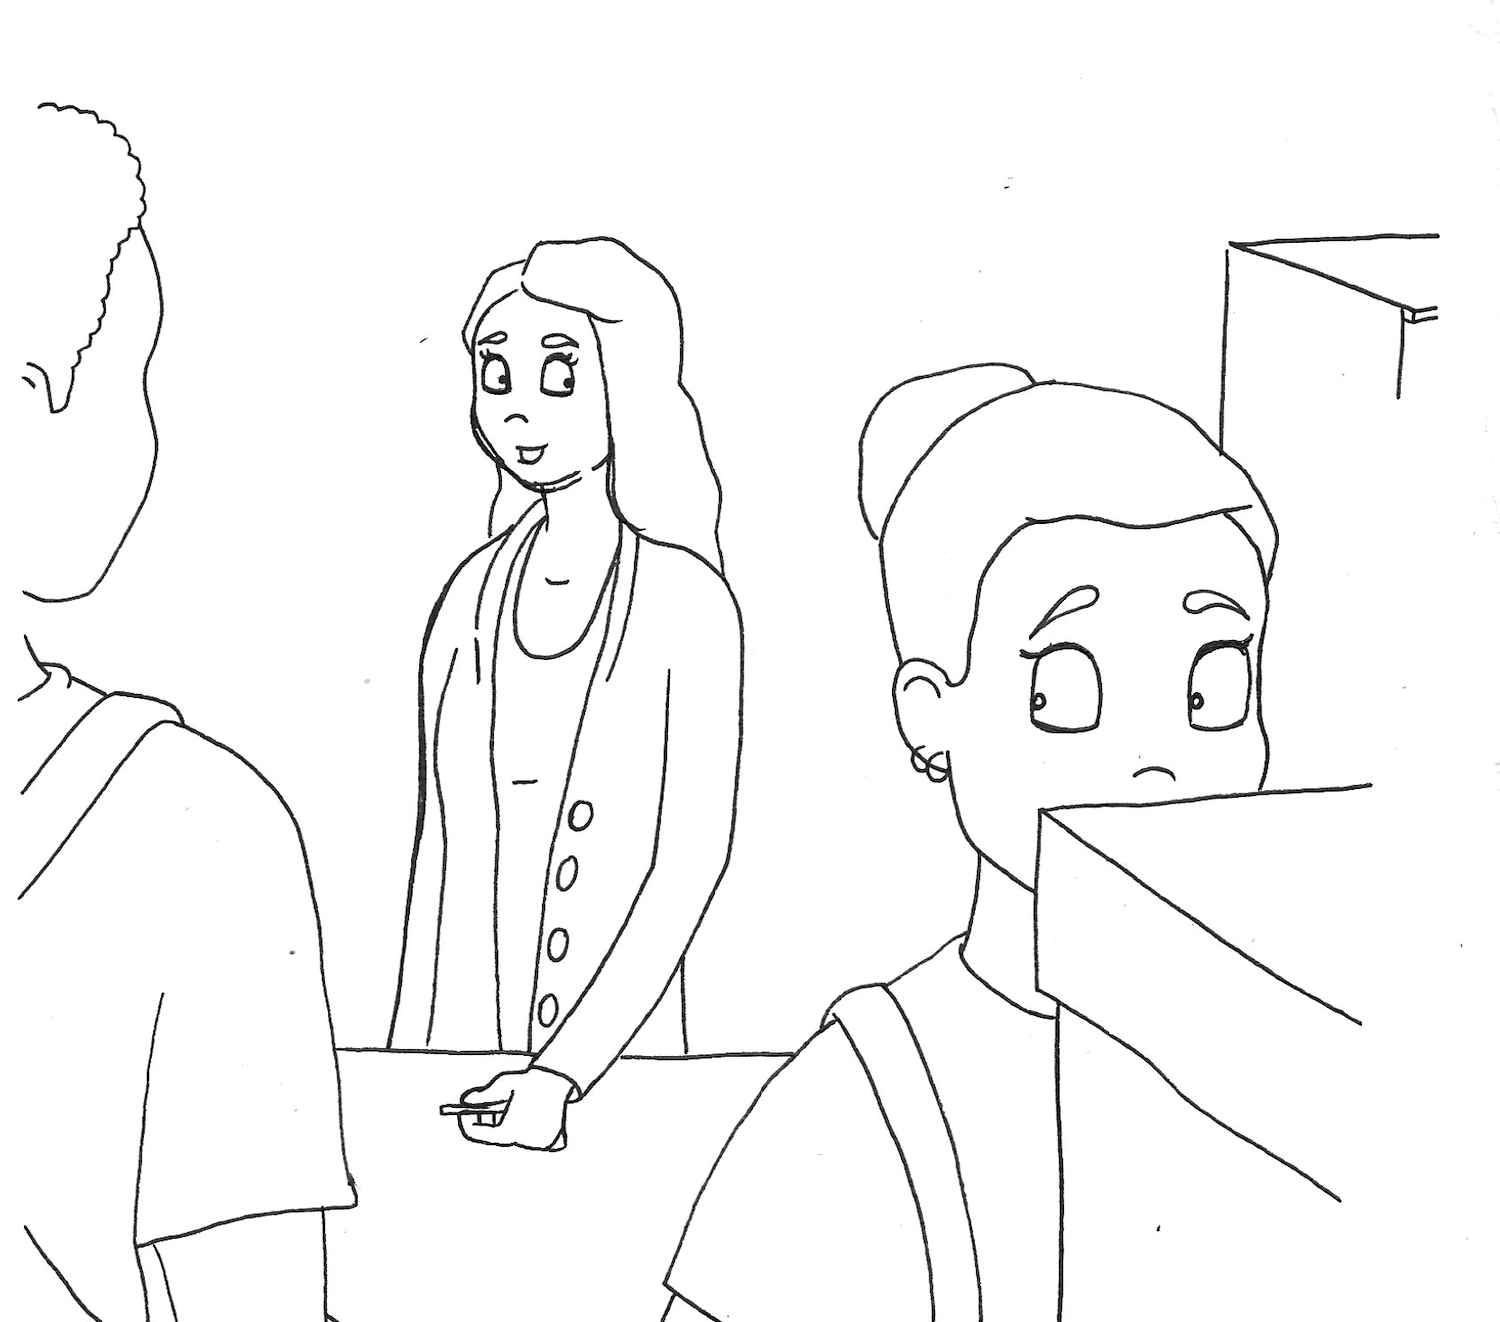
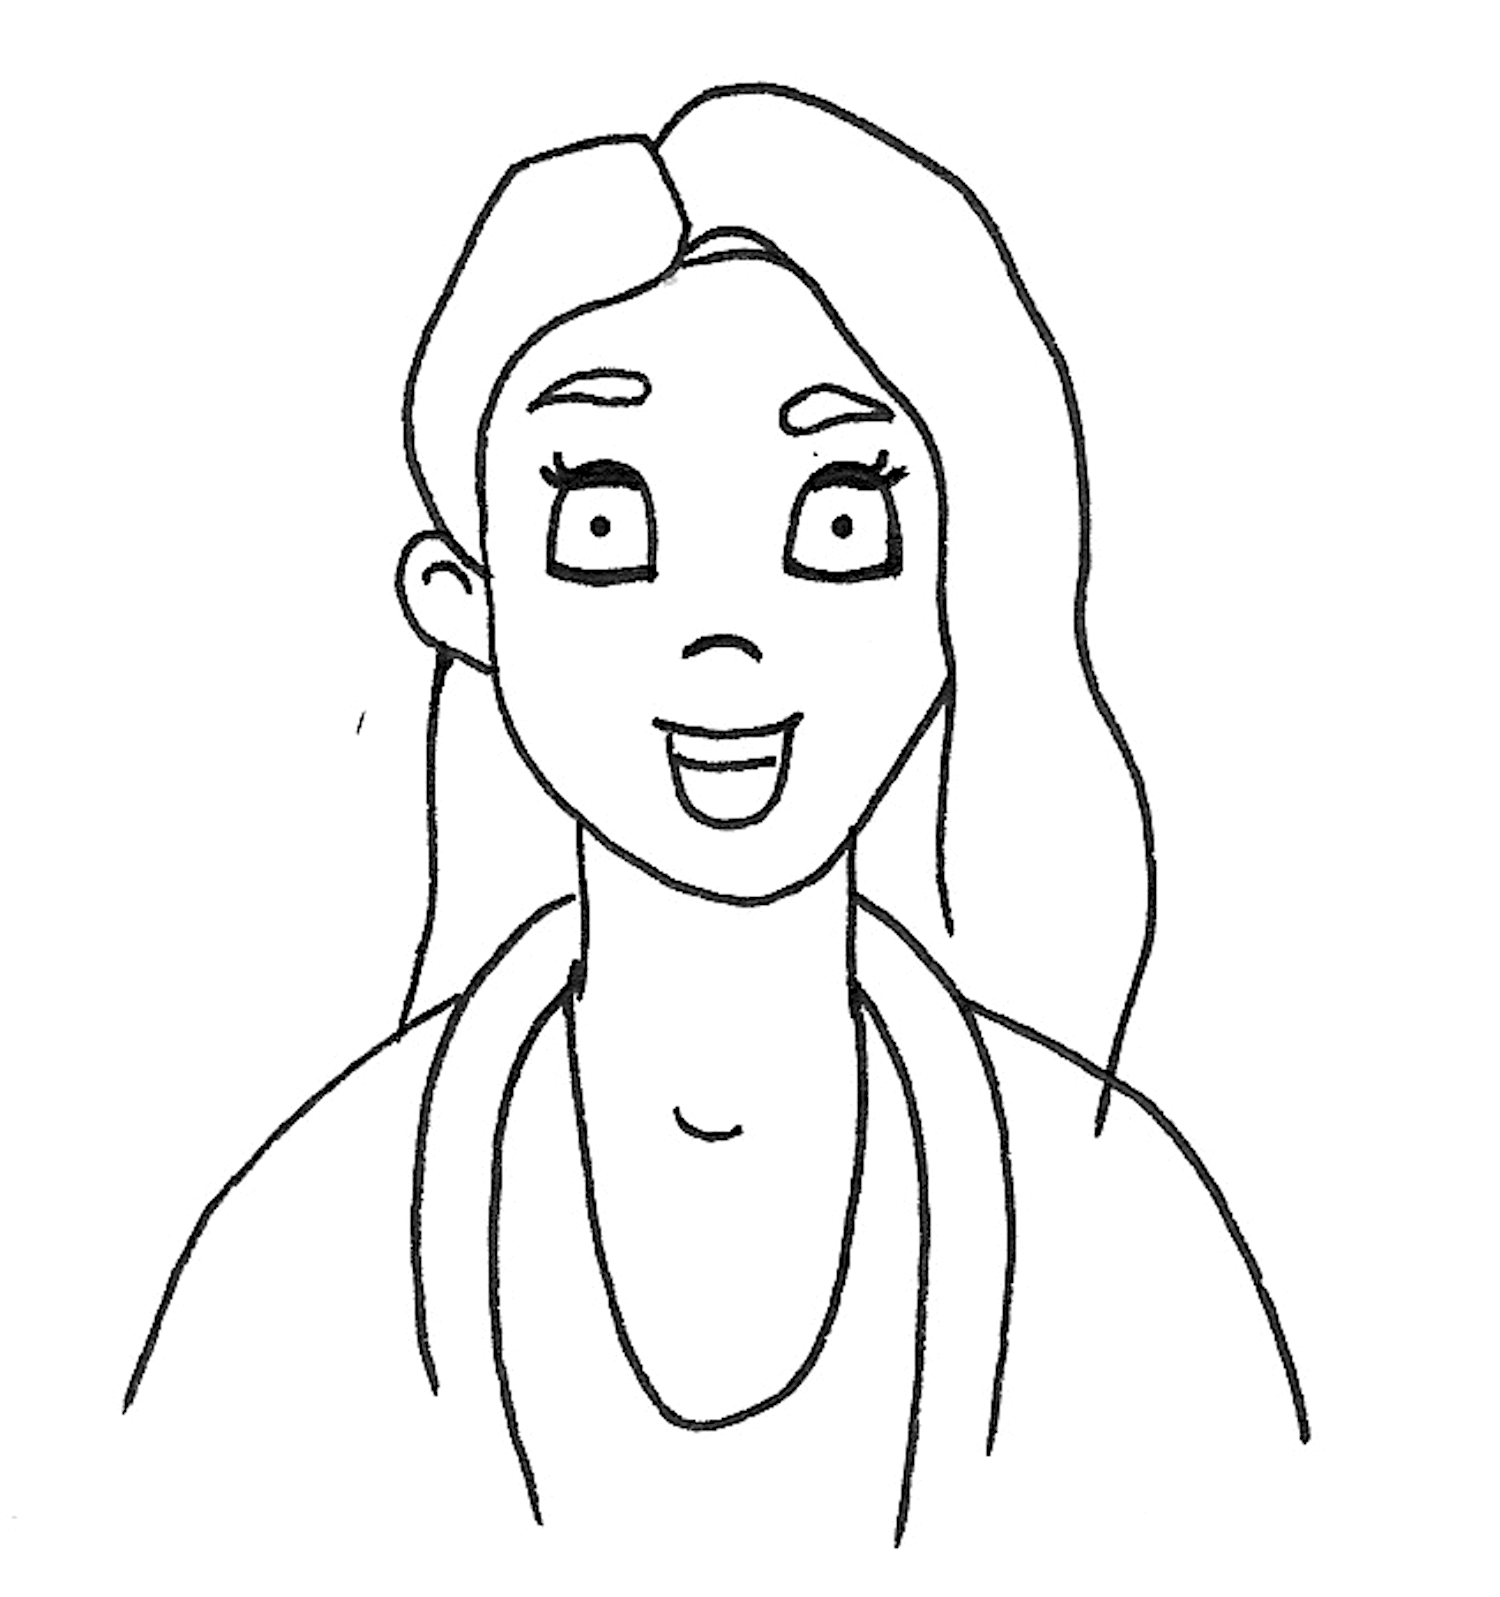
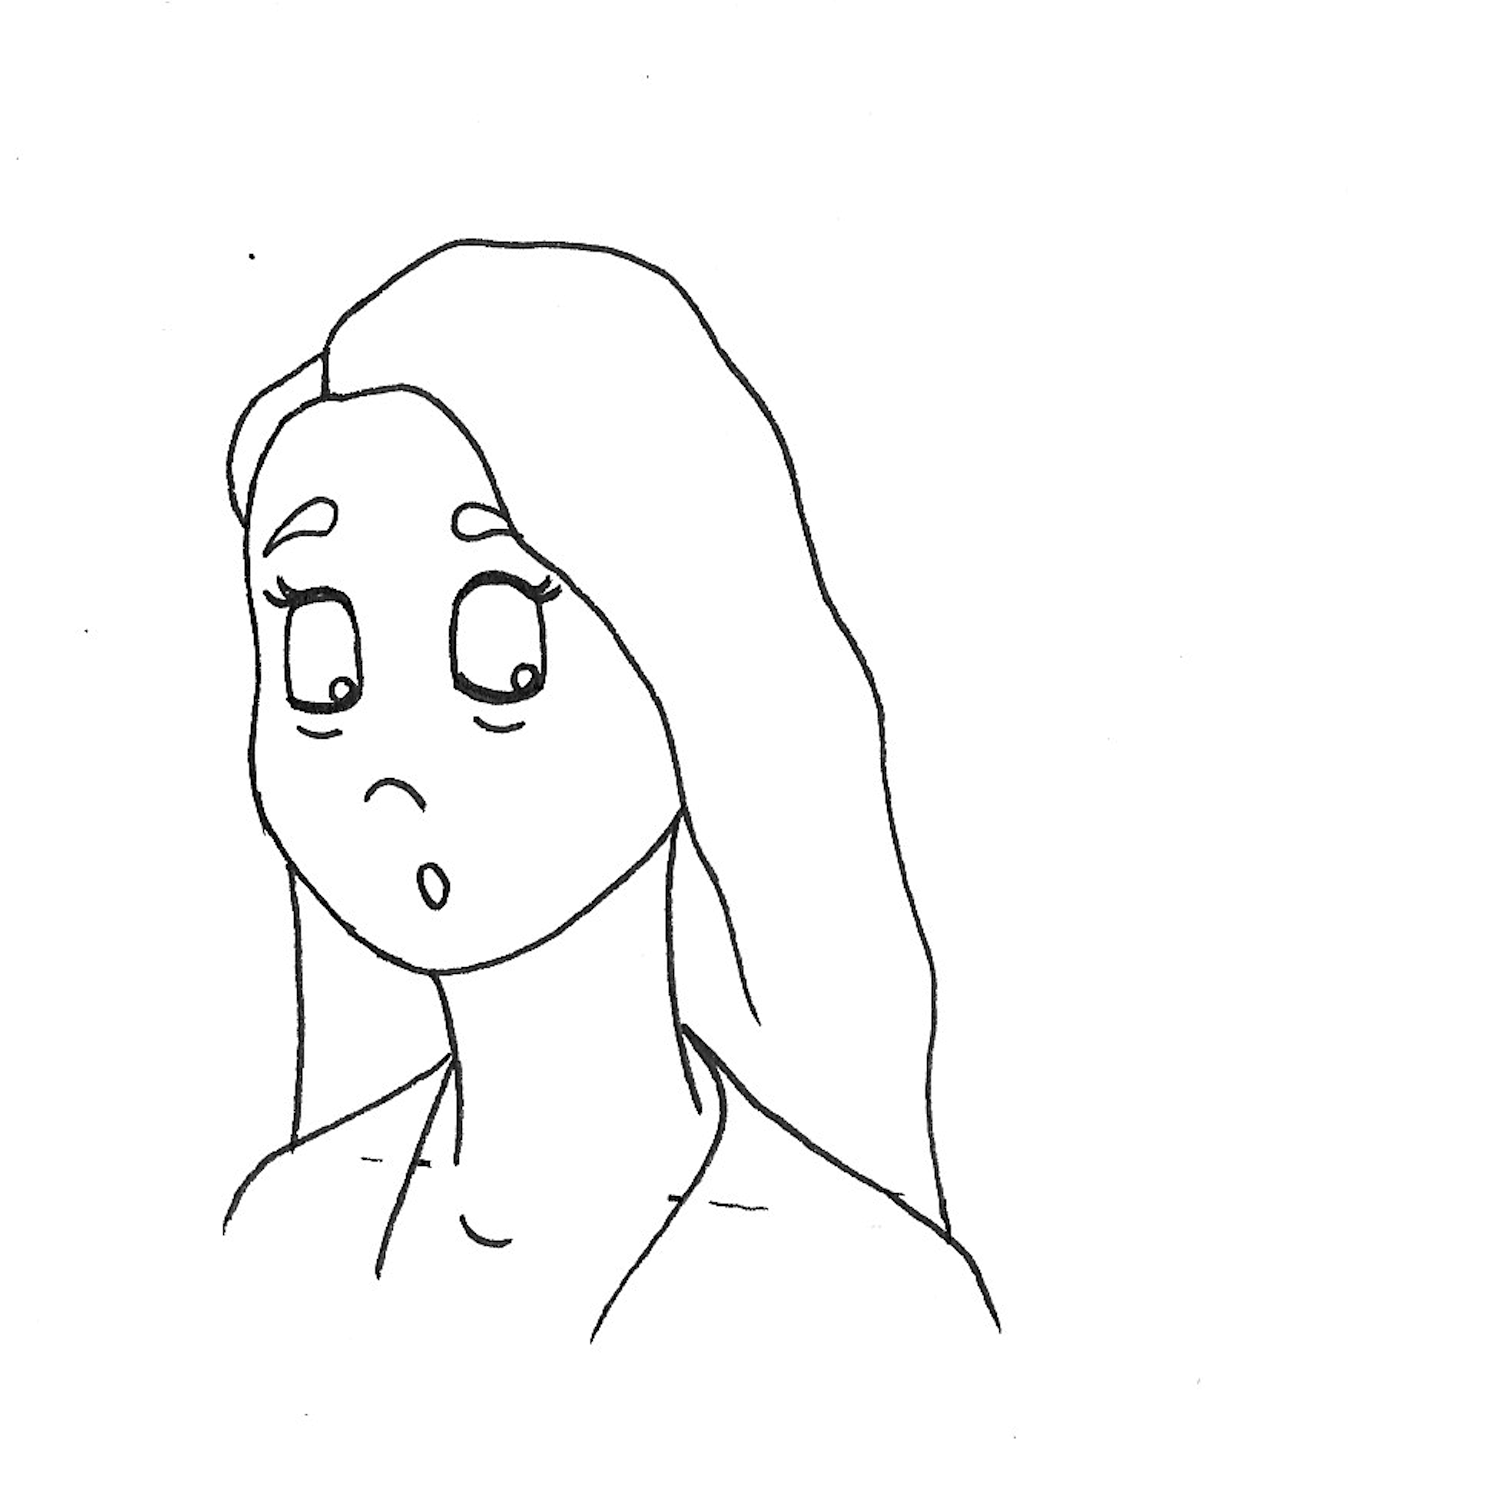
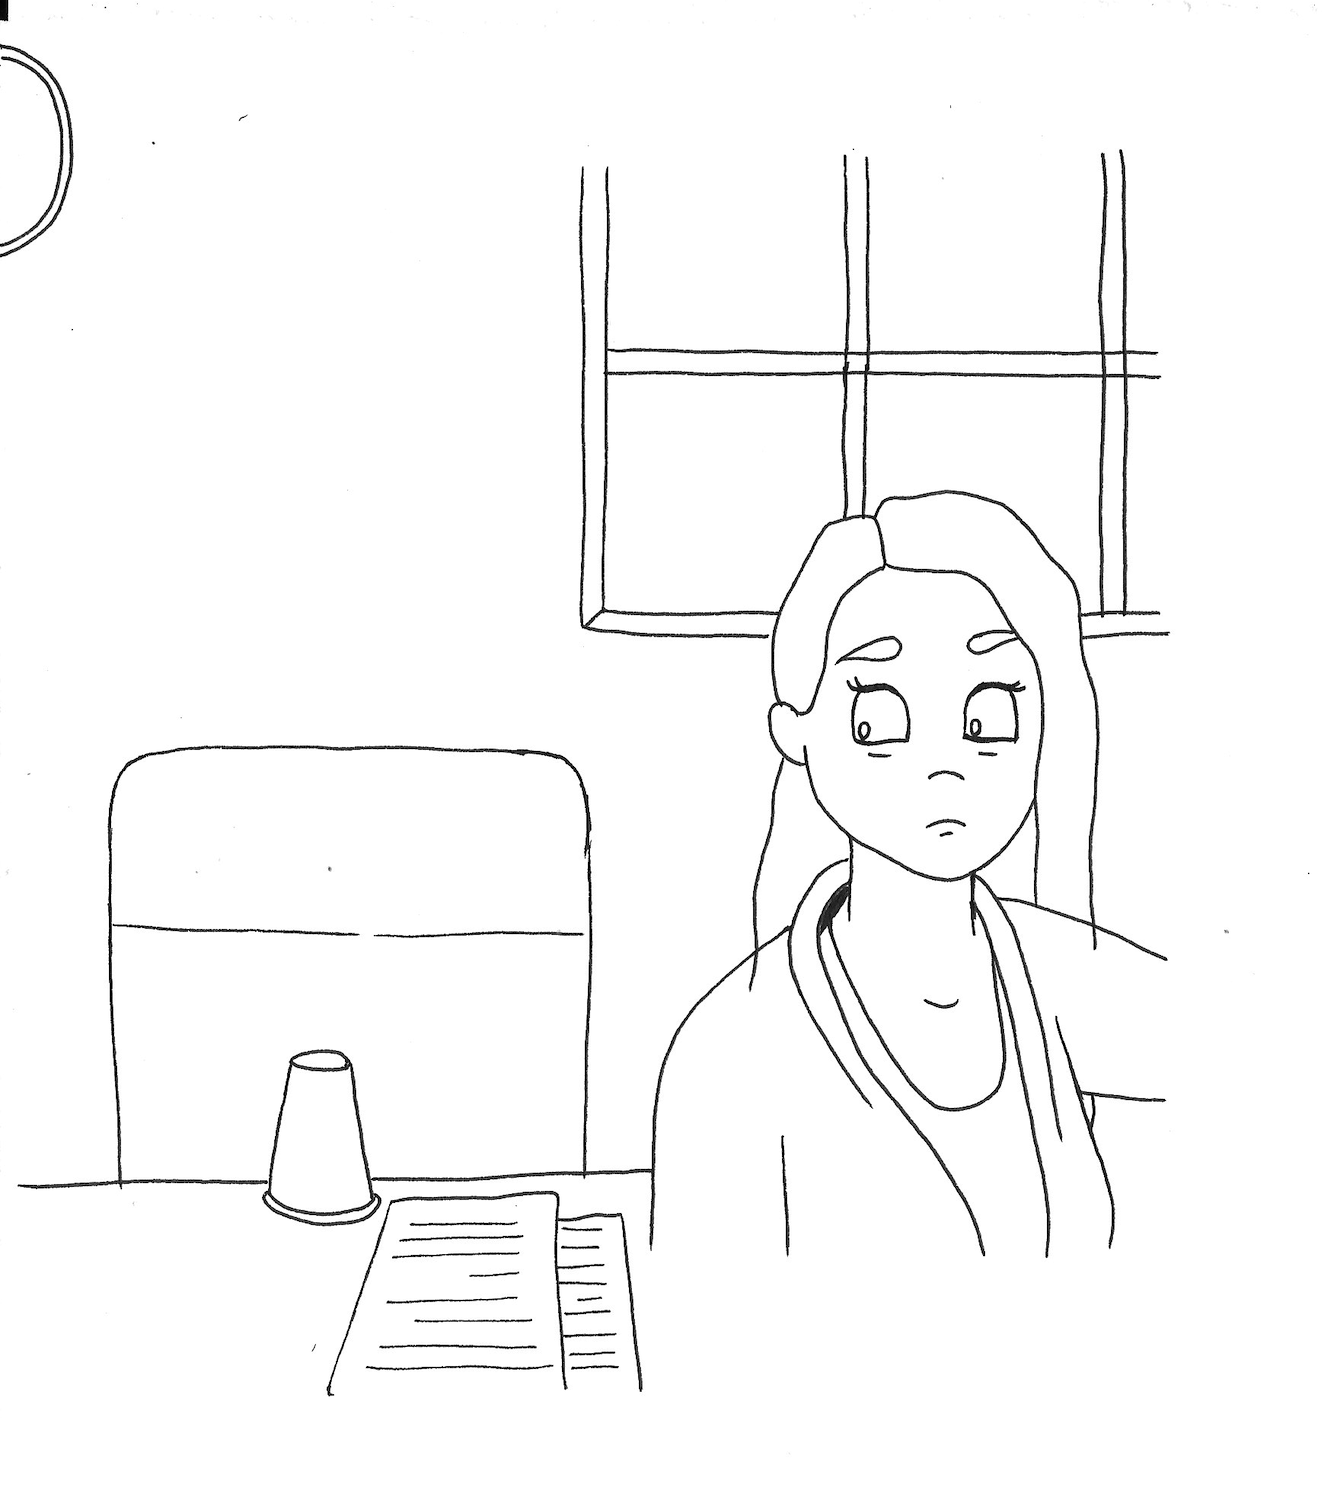
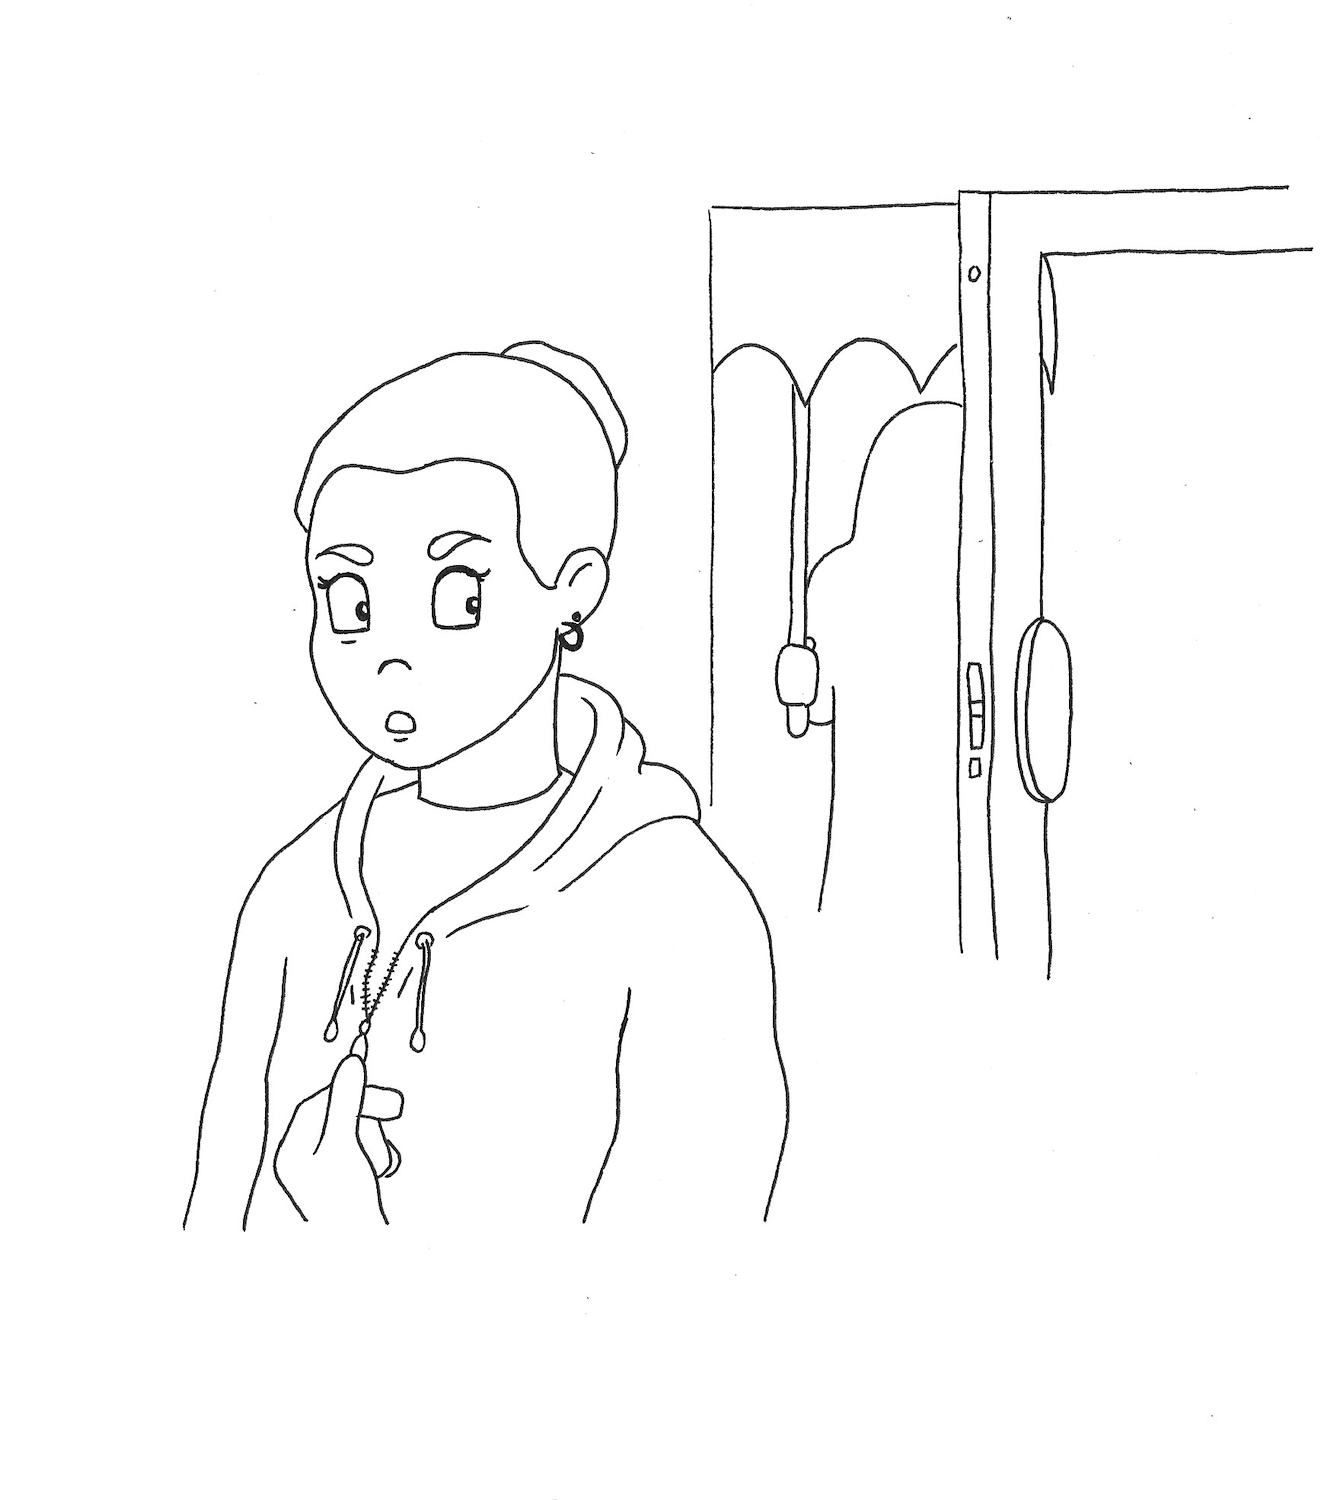
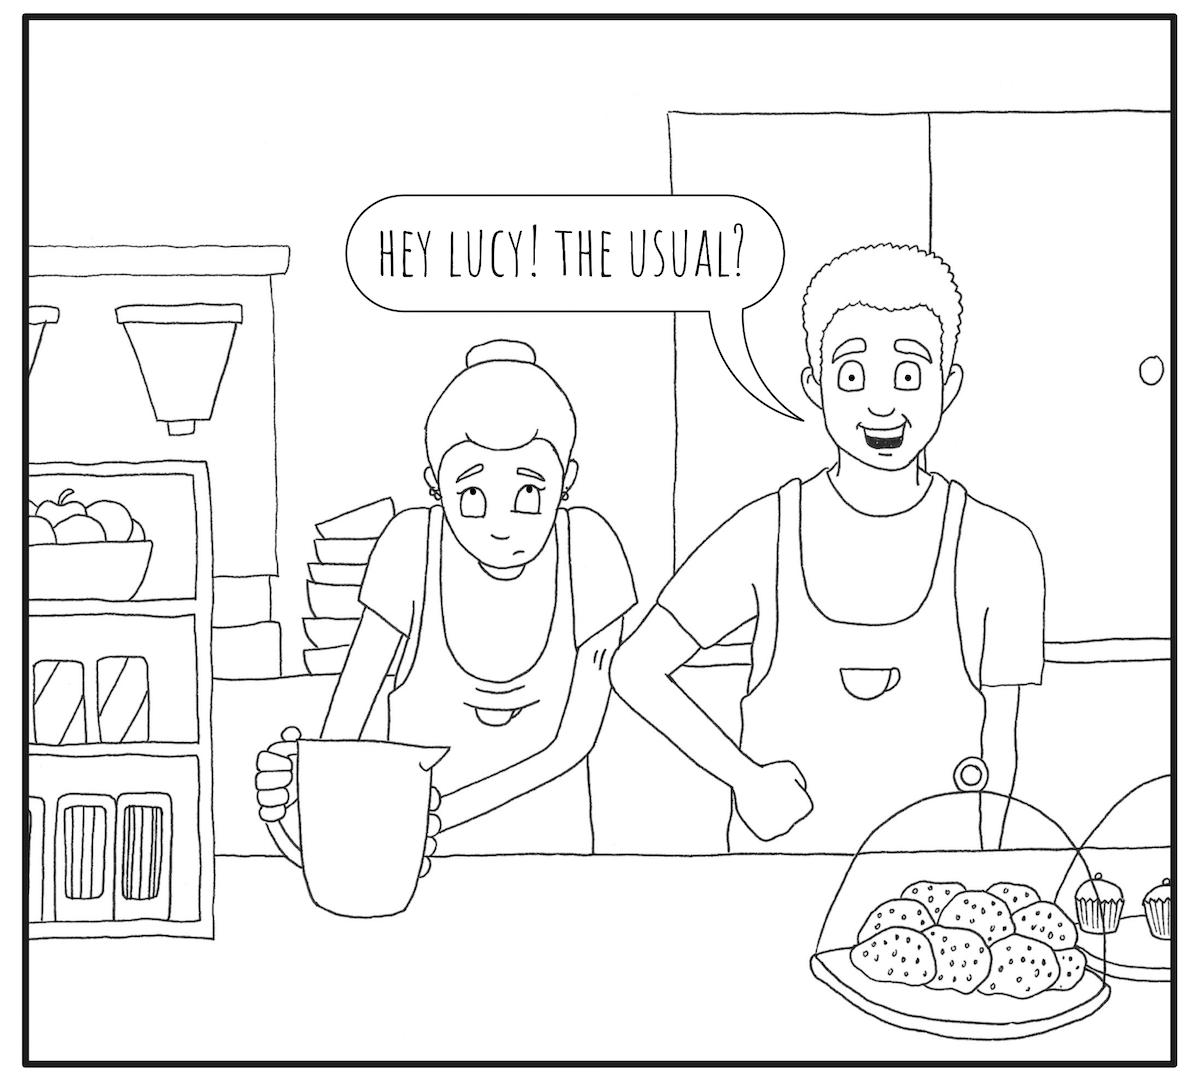
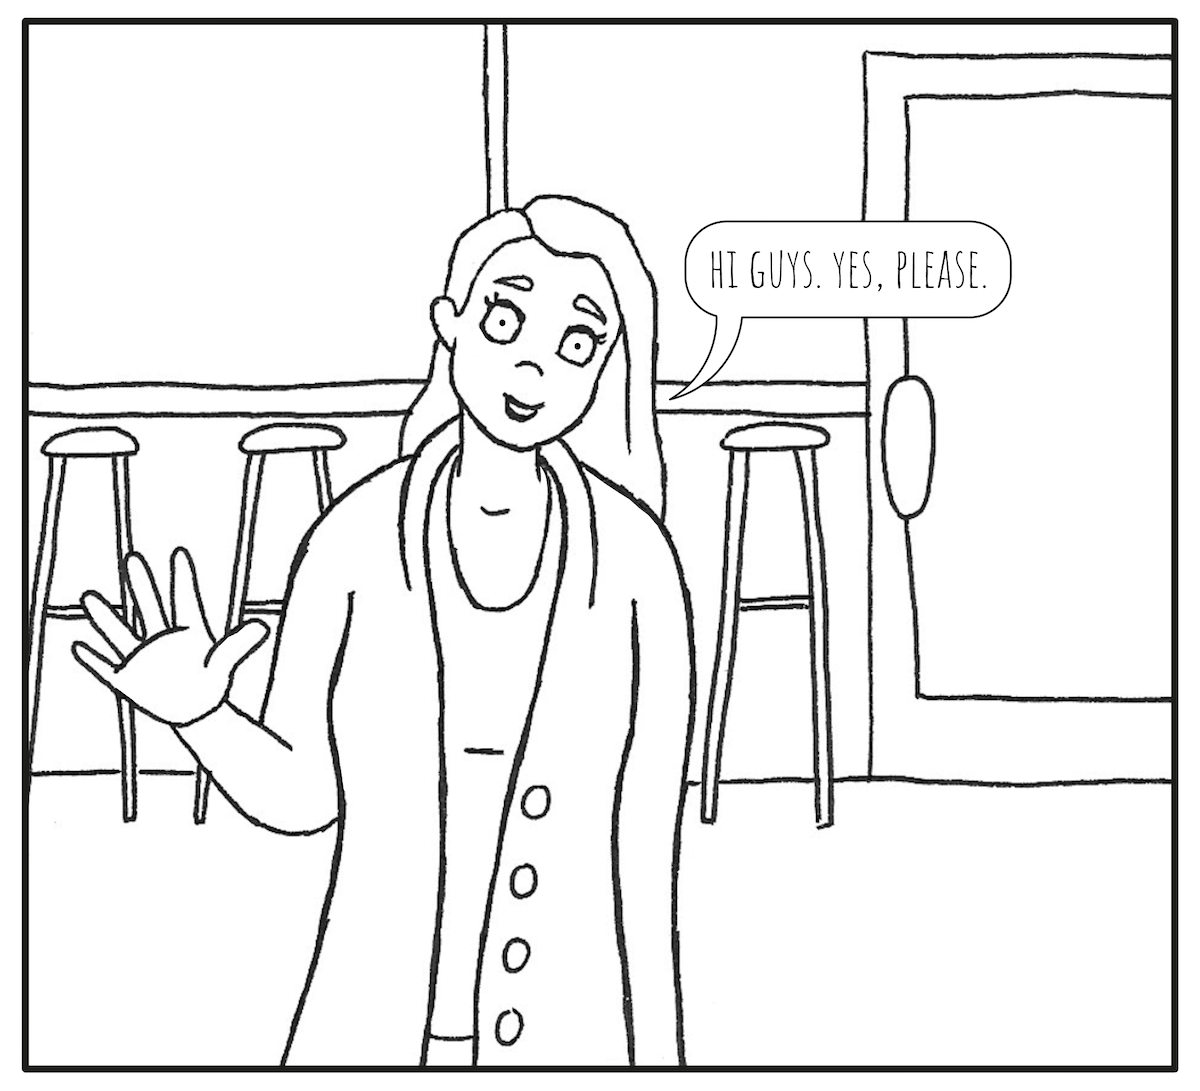
- two main characters, Lucy and Ashley, obviously like each other (MEETS GIRL),
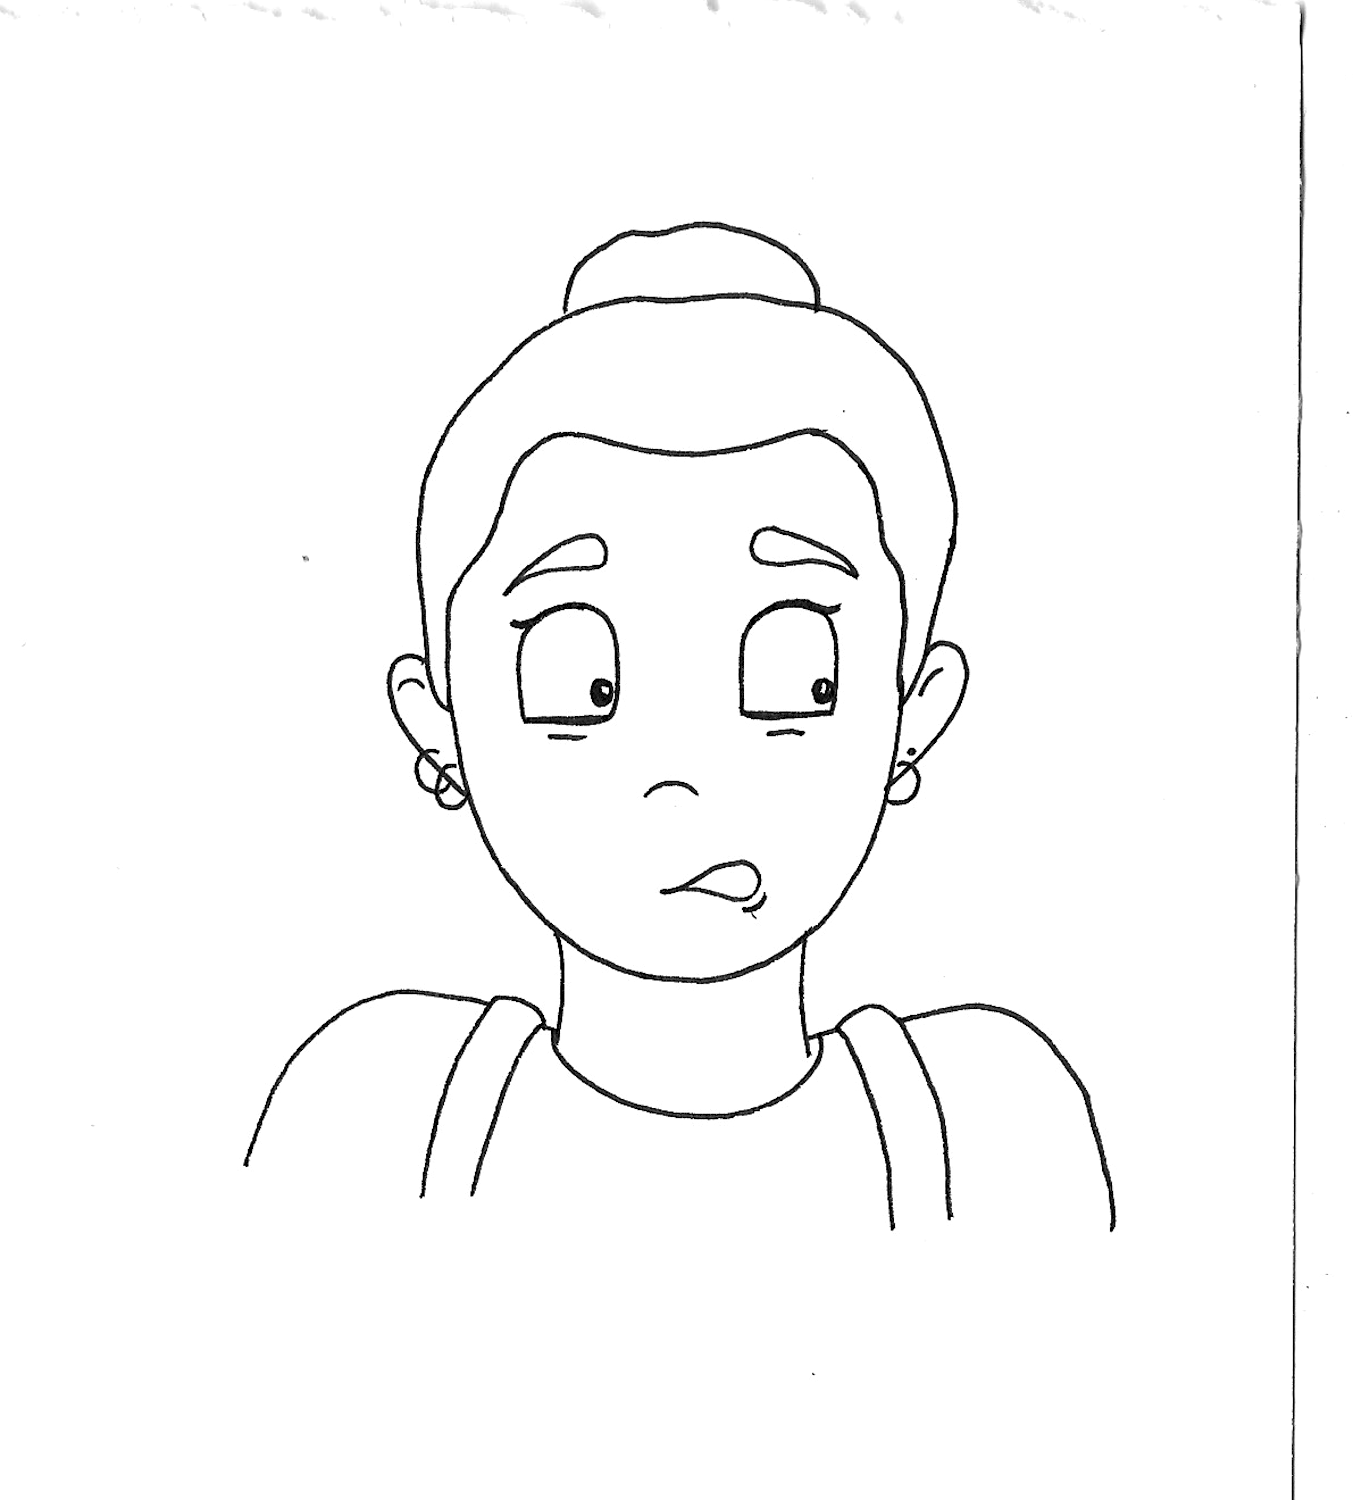
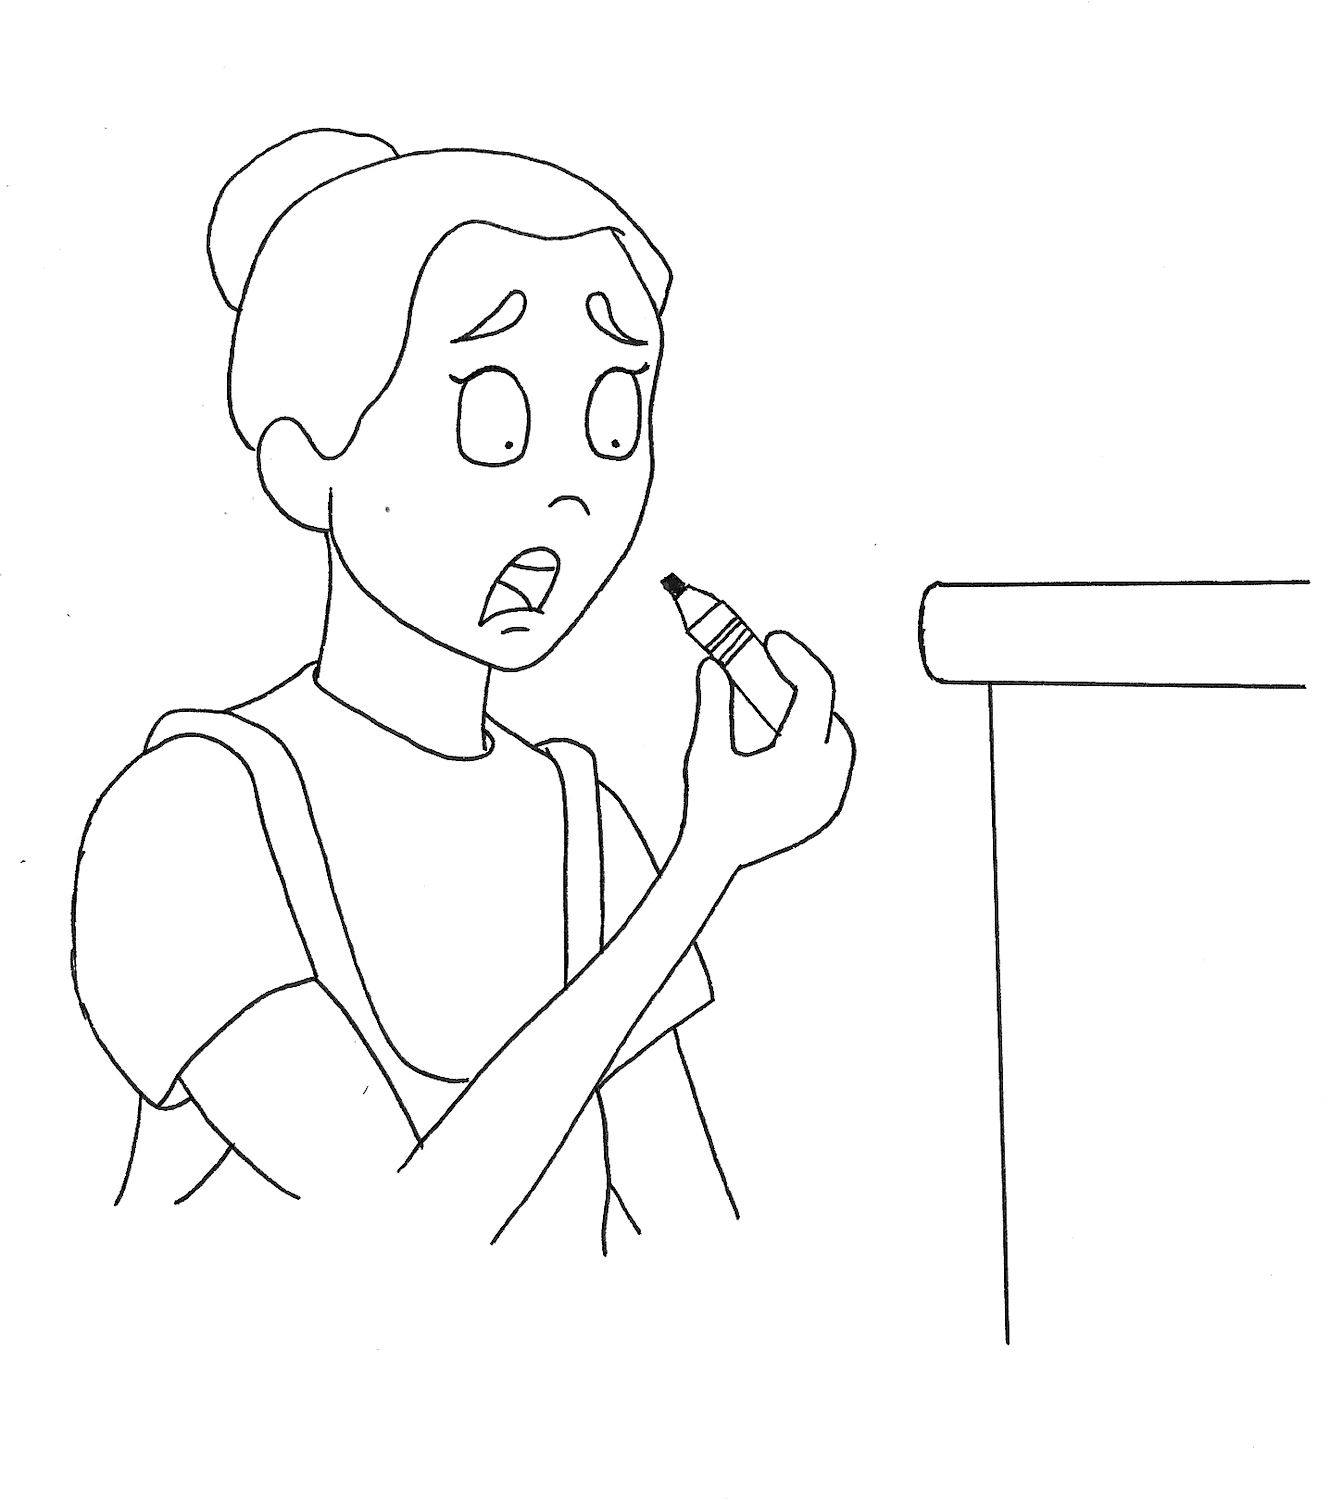
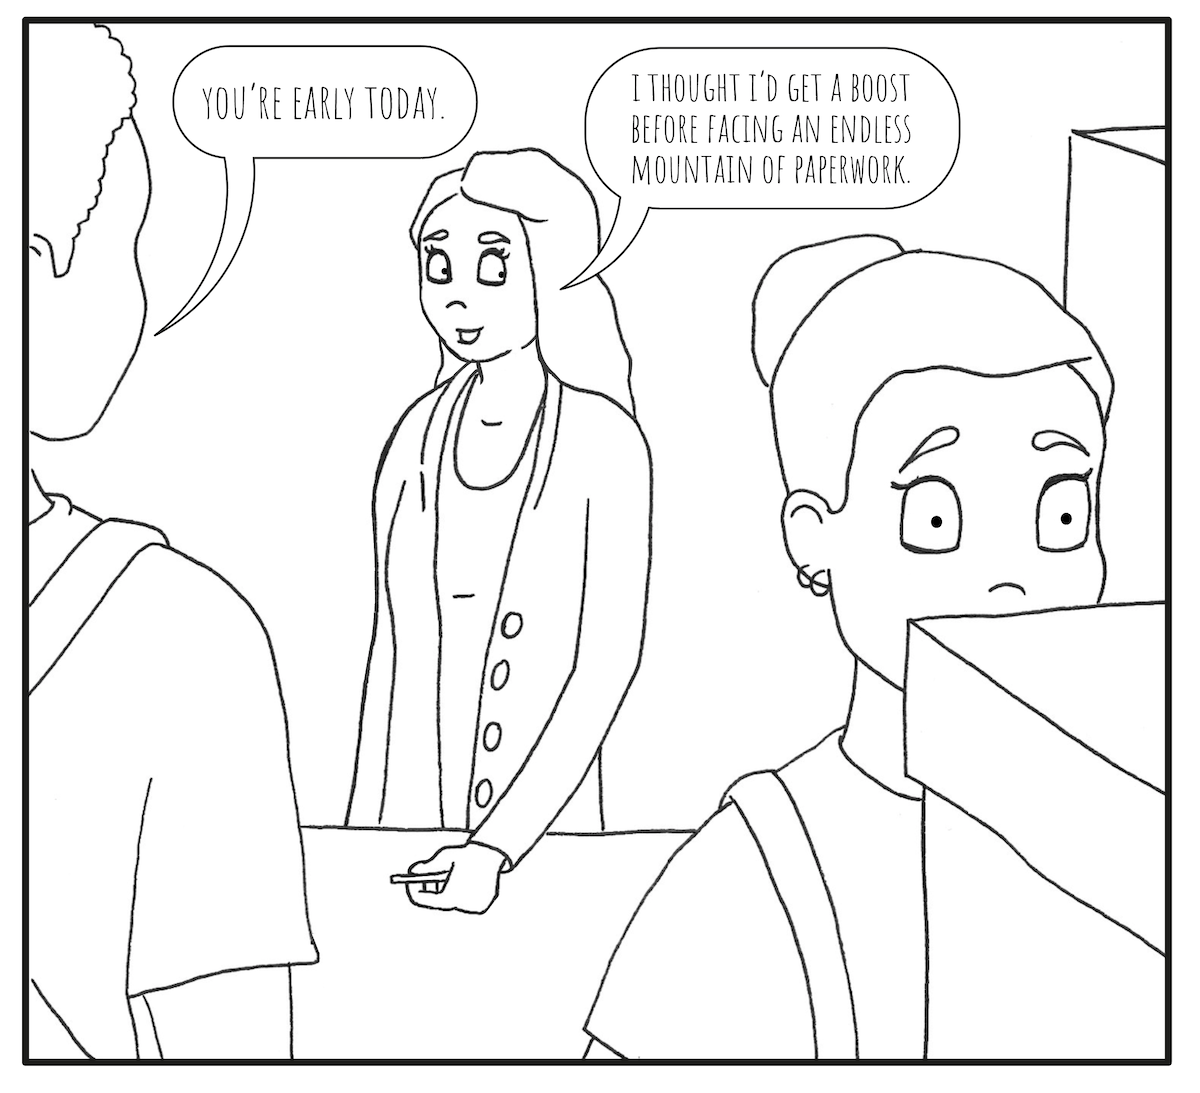
- but Ashley is too shy to say anything (at all really), so Lucy keeps her distance and leaves as usual with her coffee (LOSES GIRL – repeatedly).
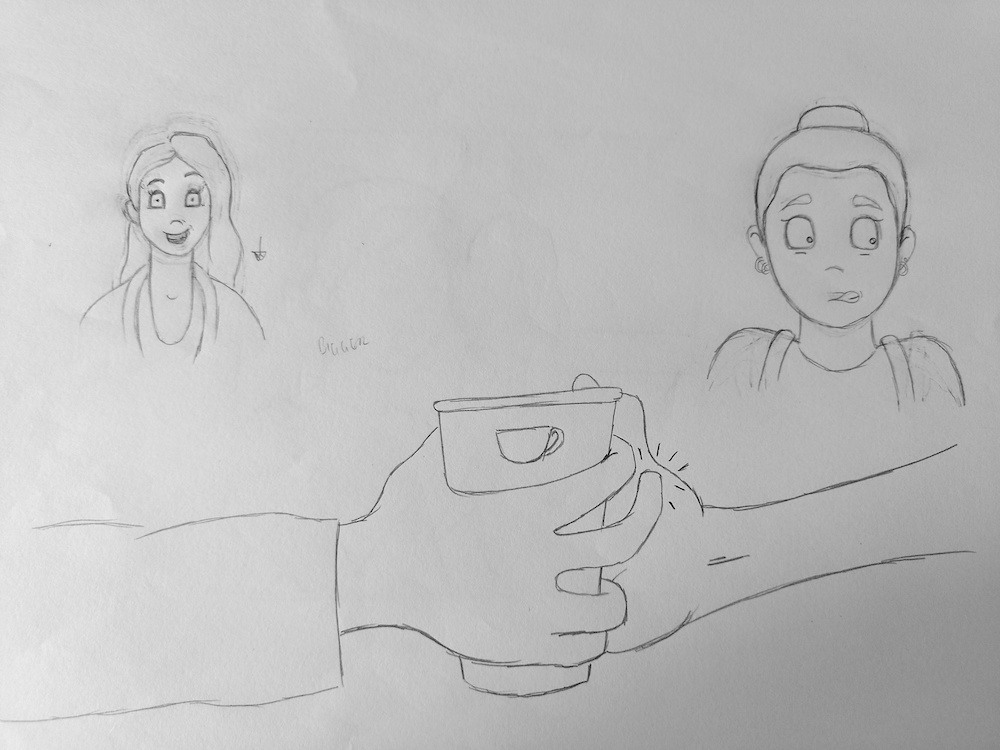
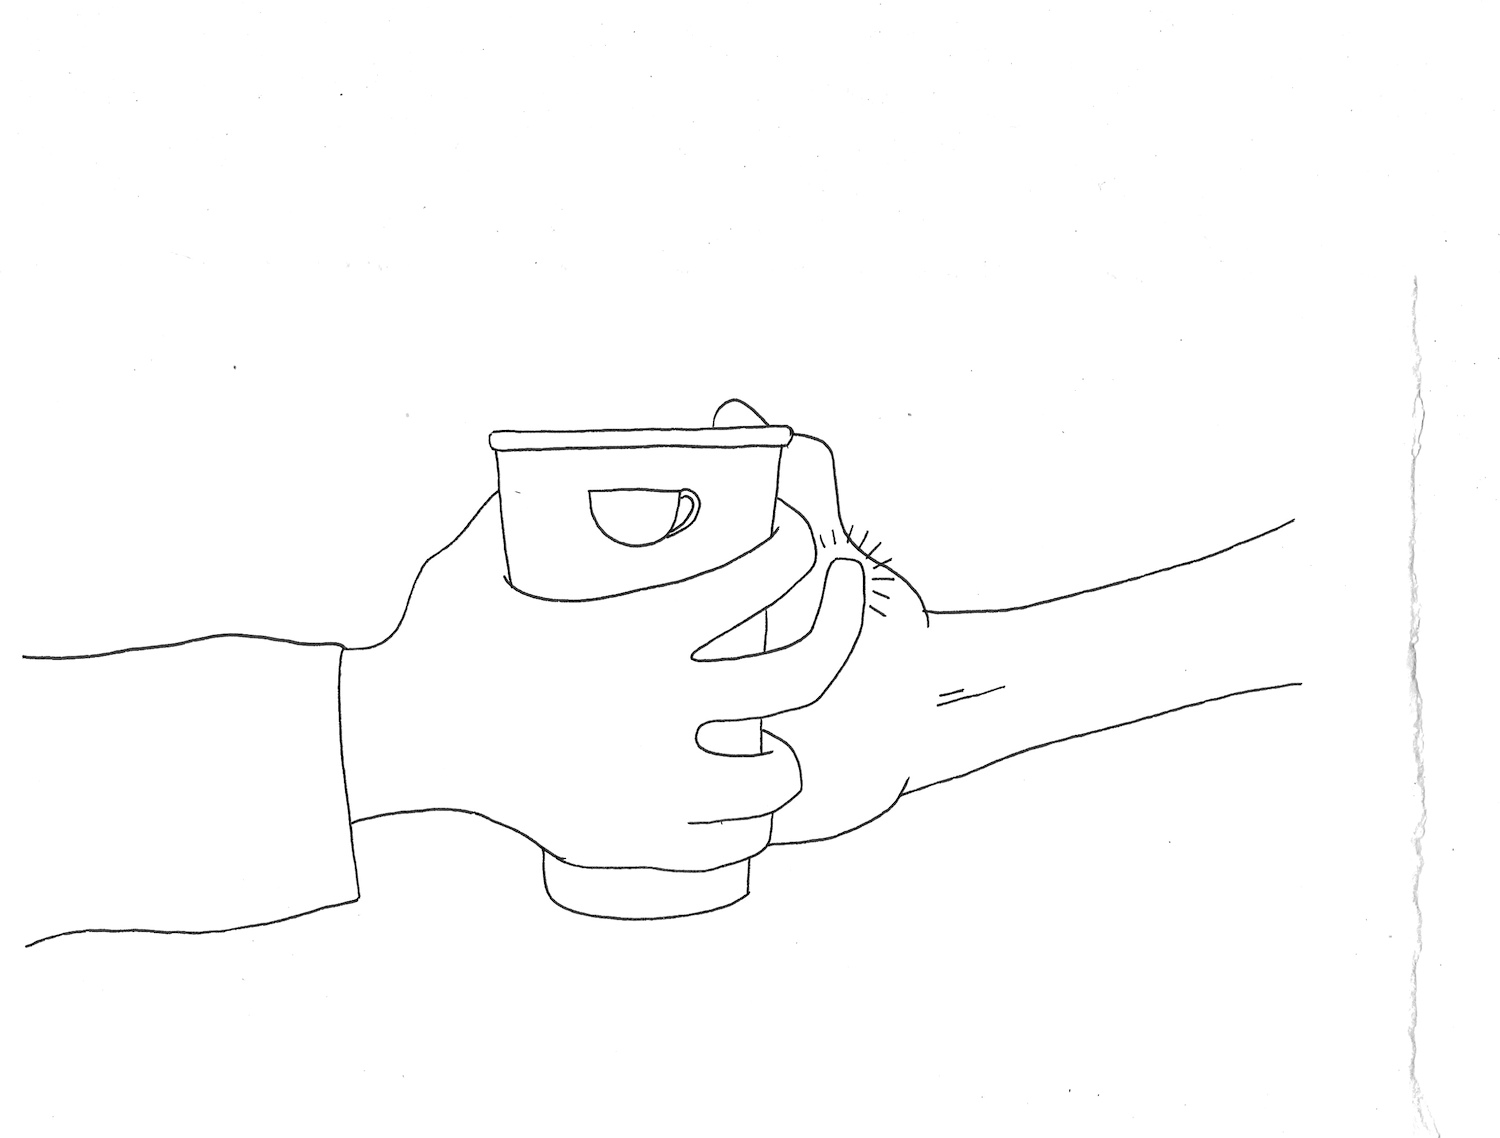
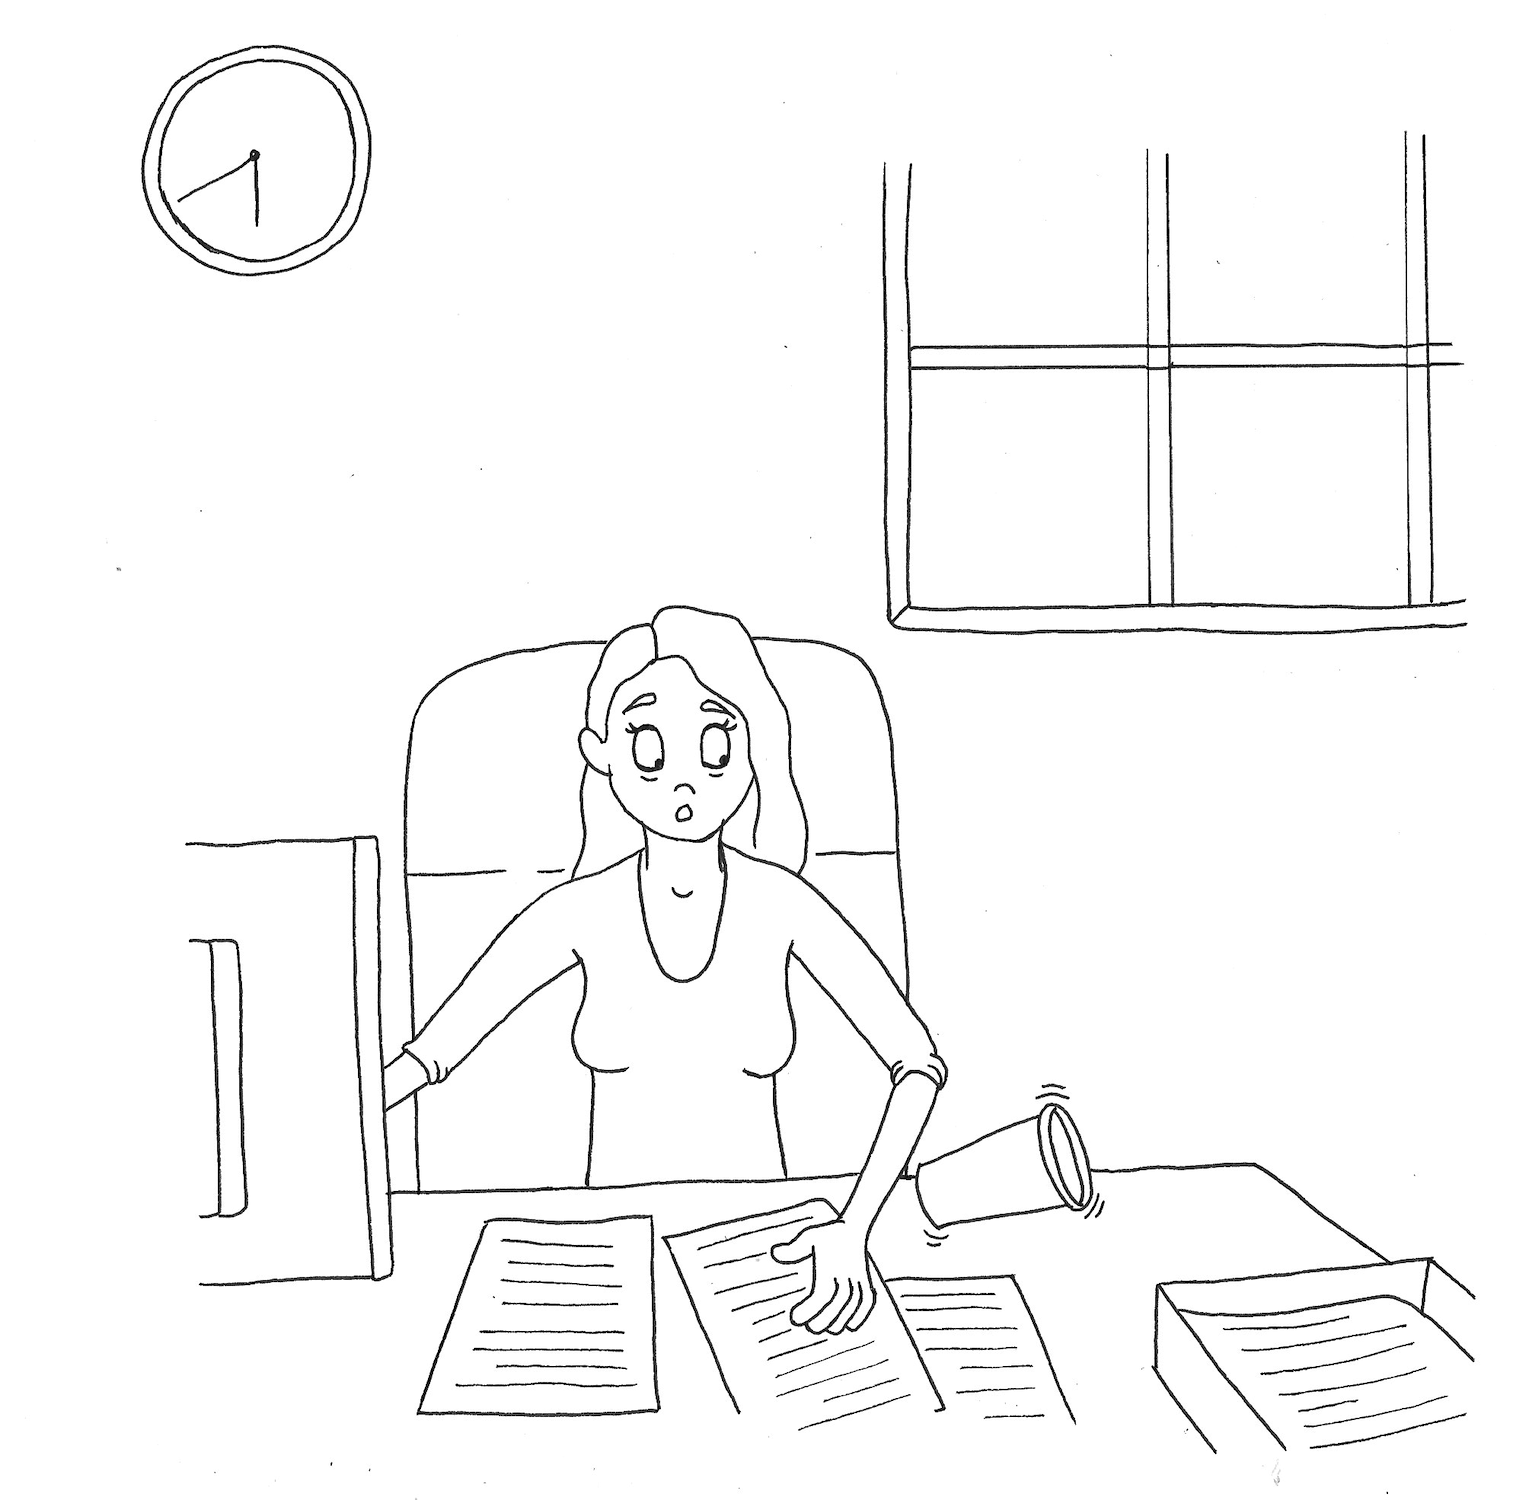
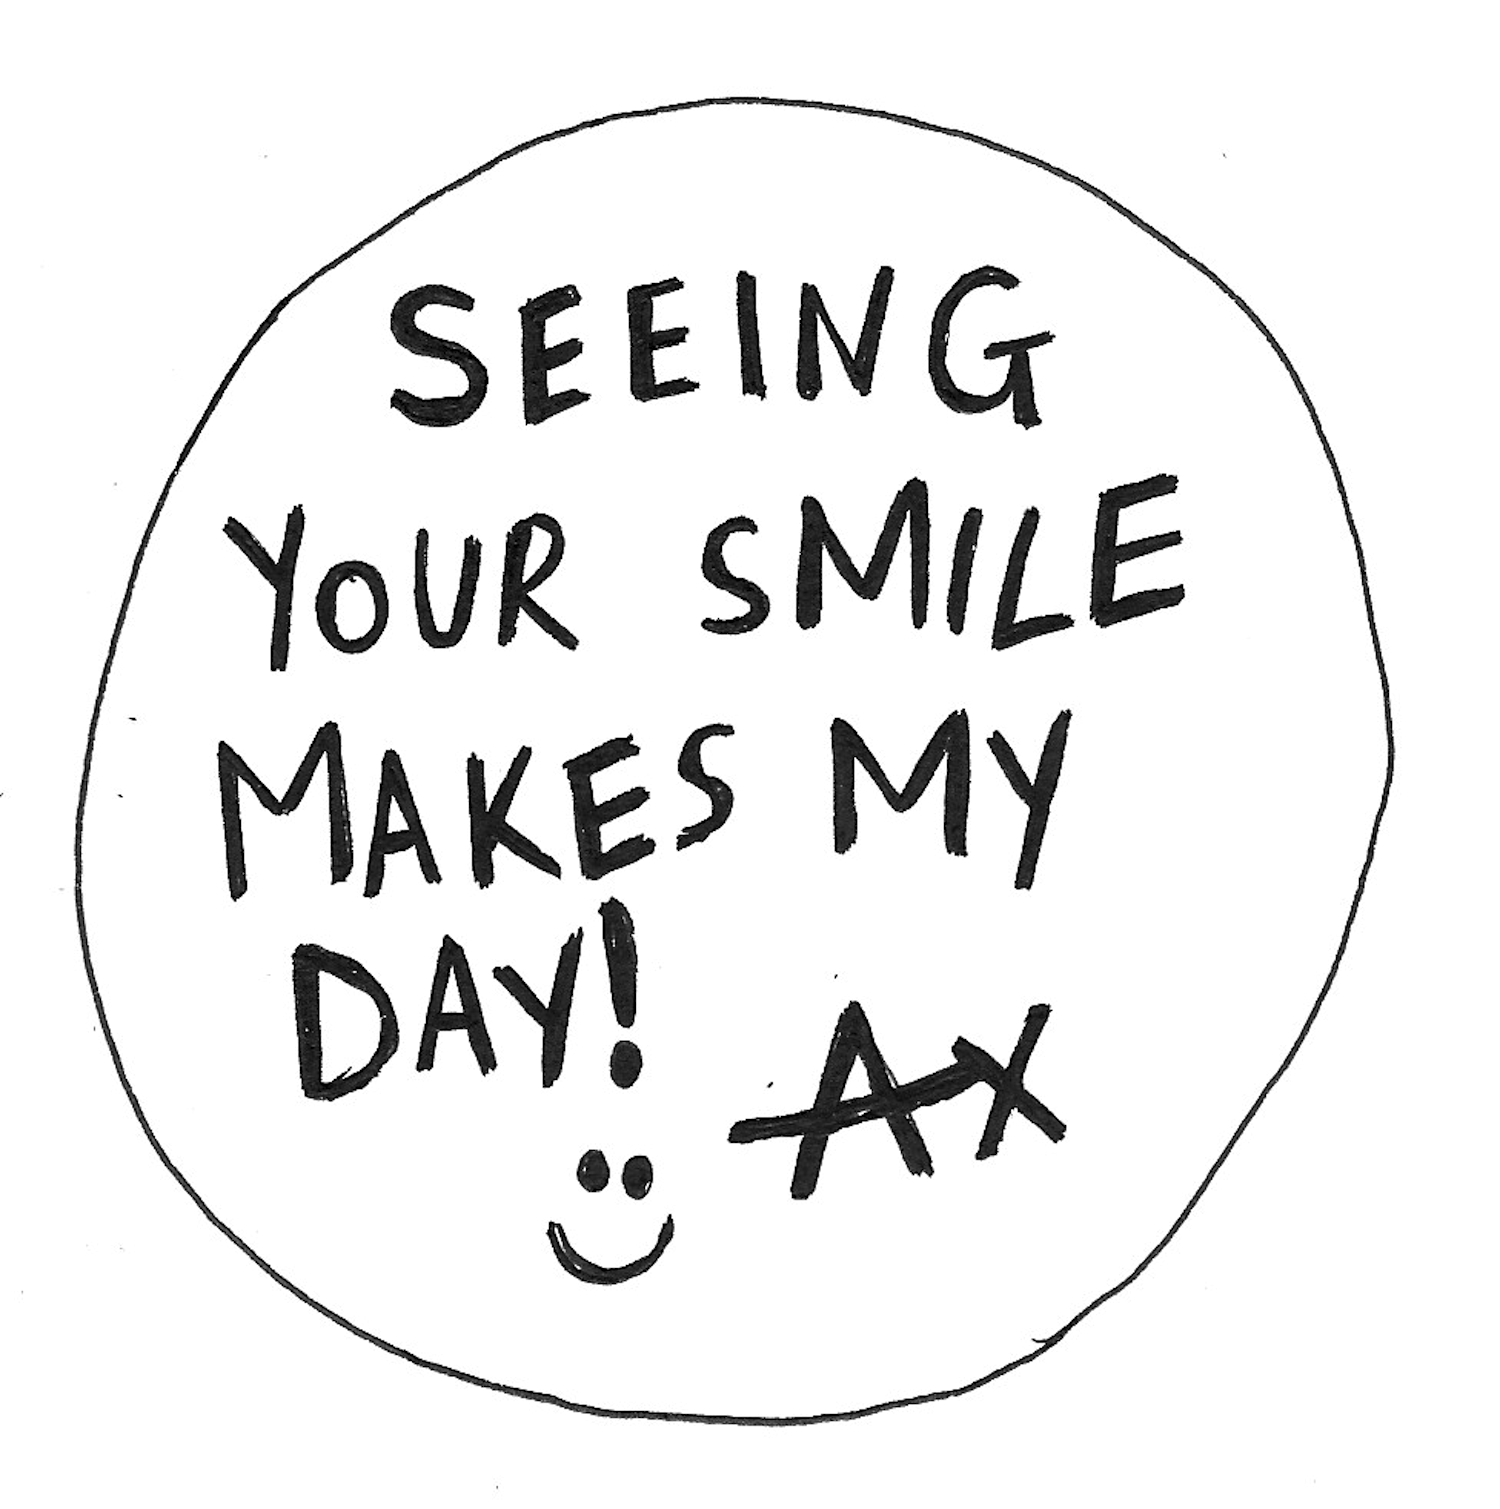
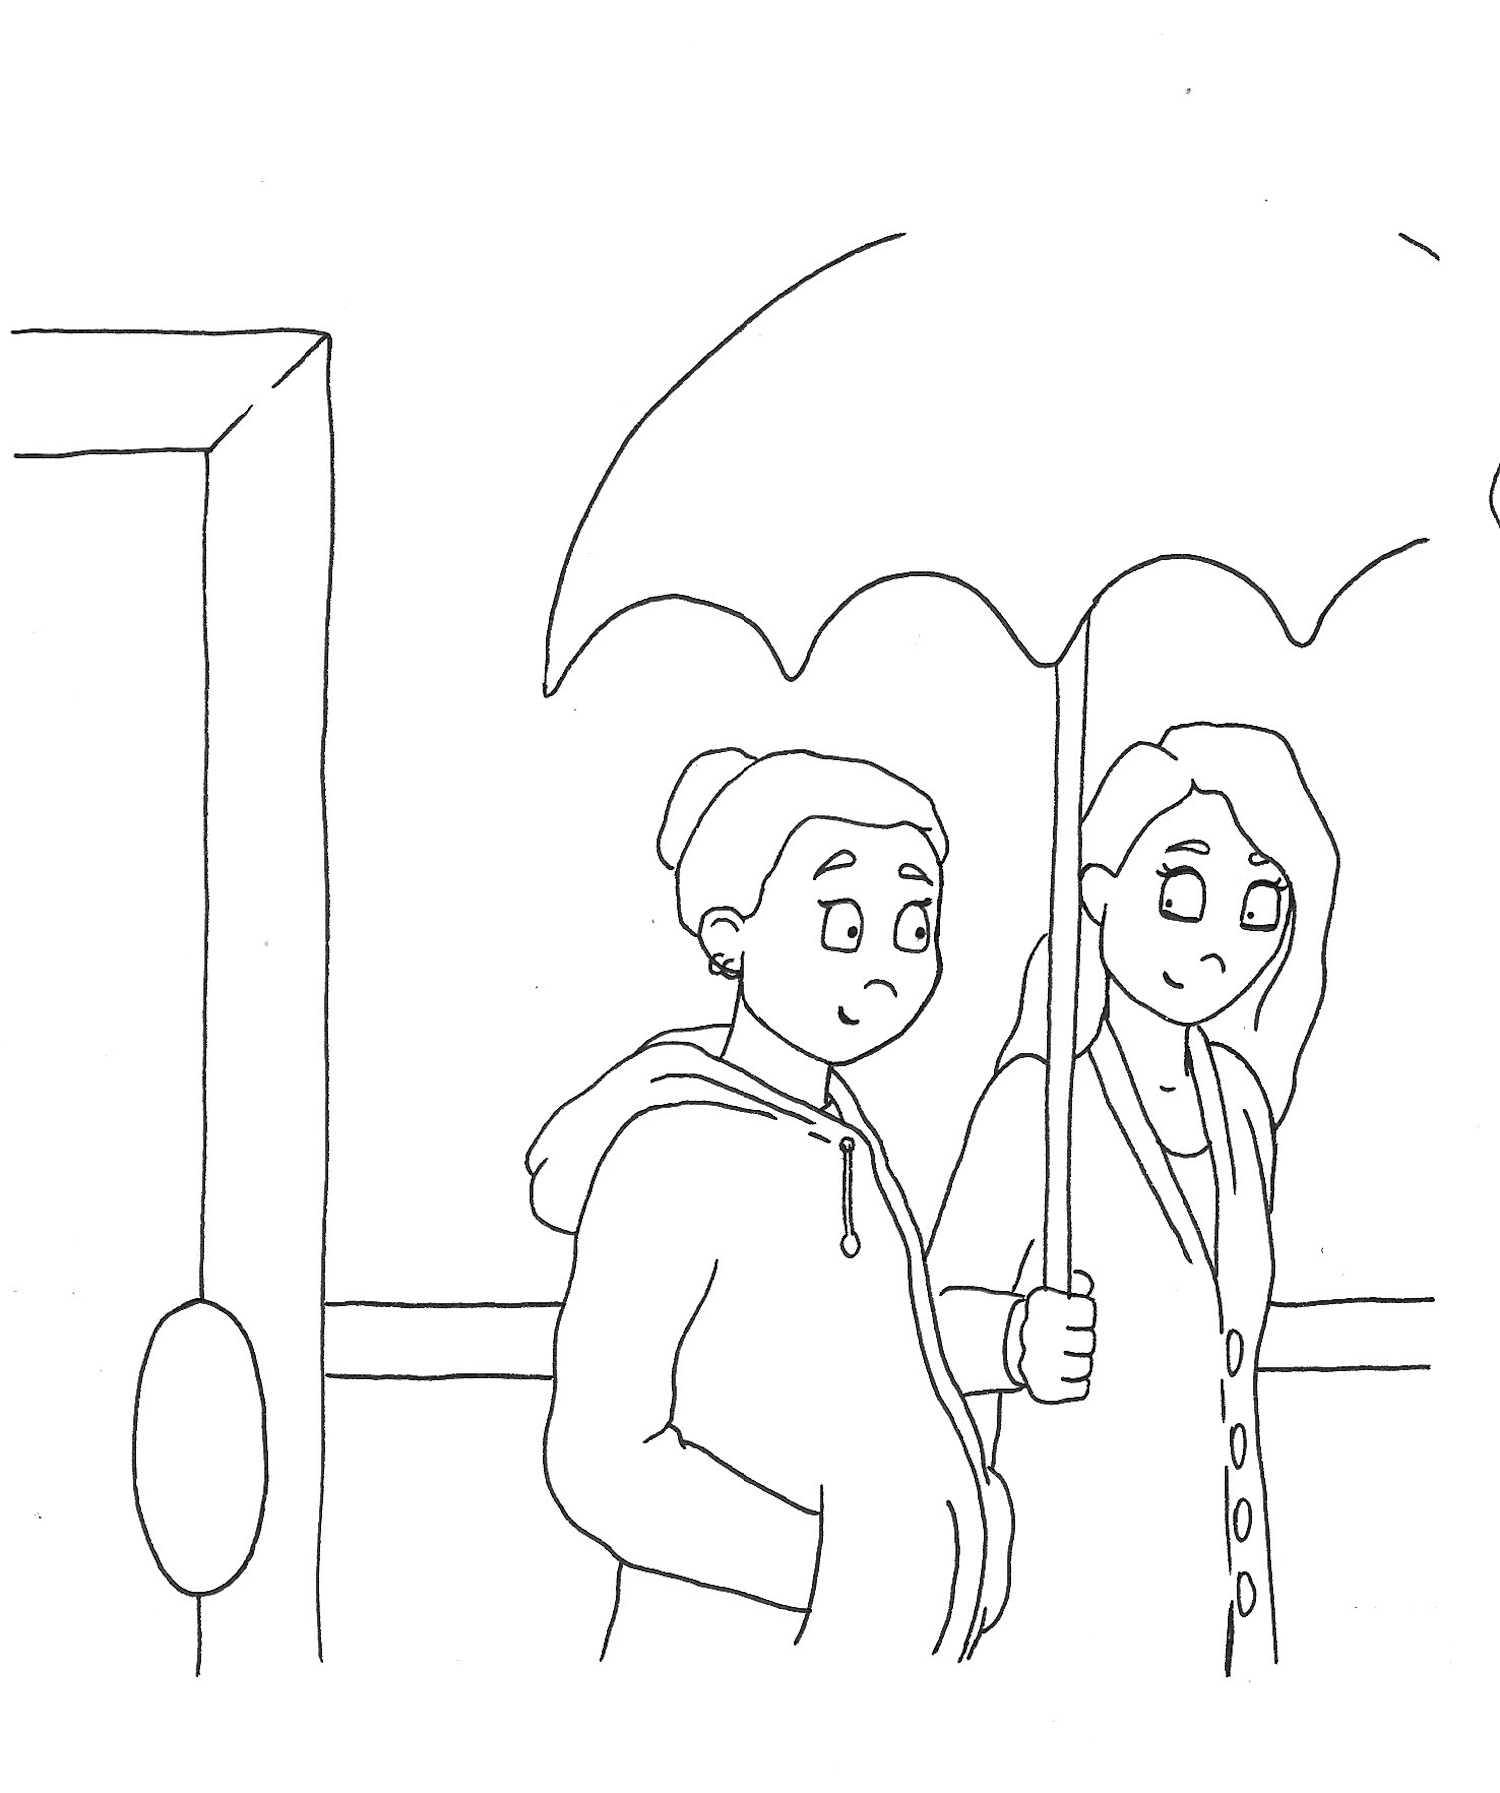
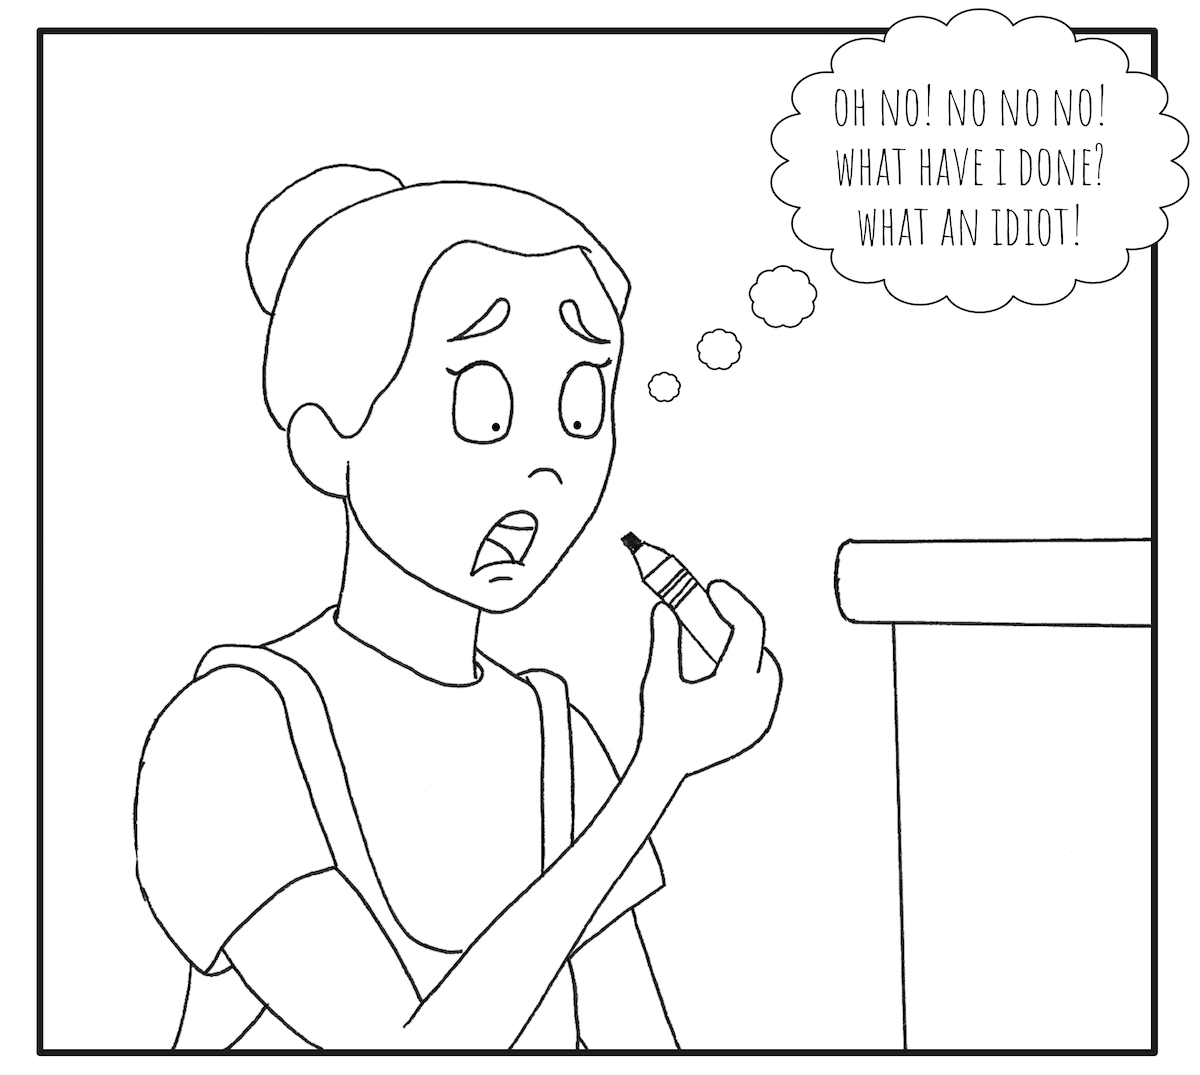
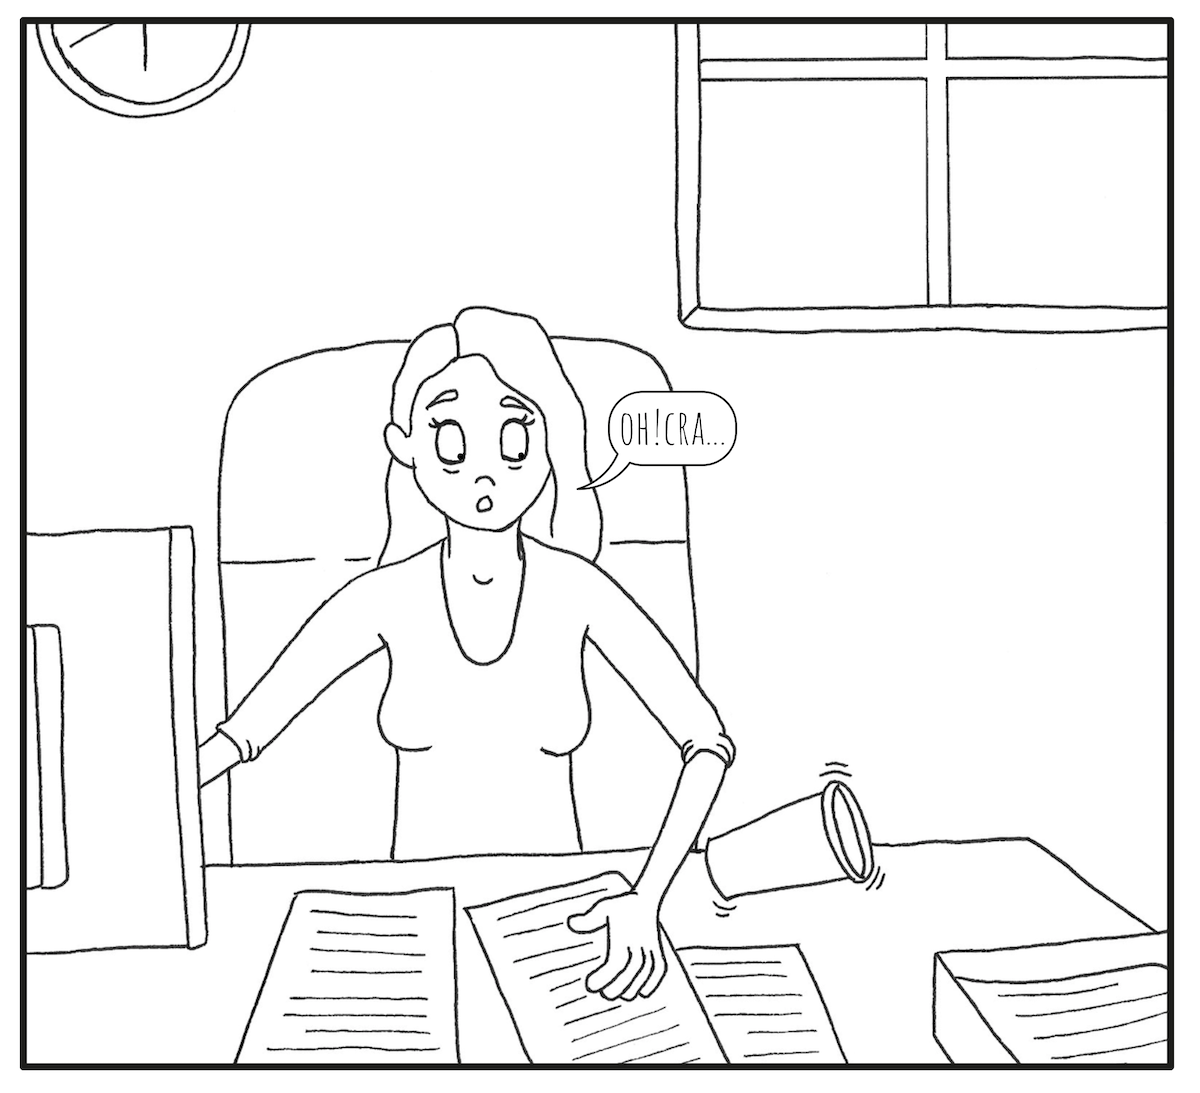
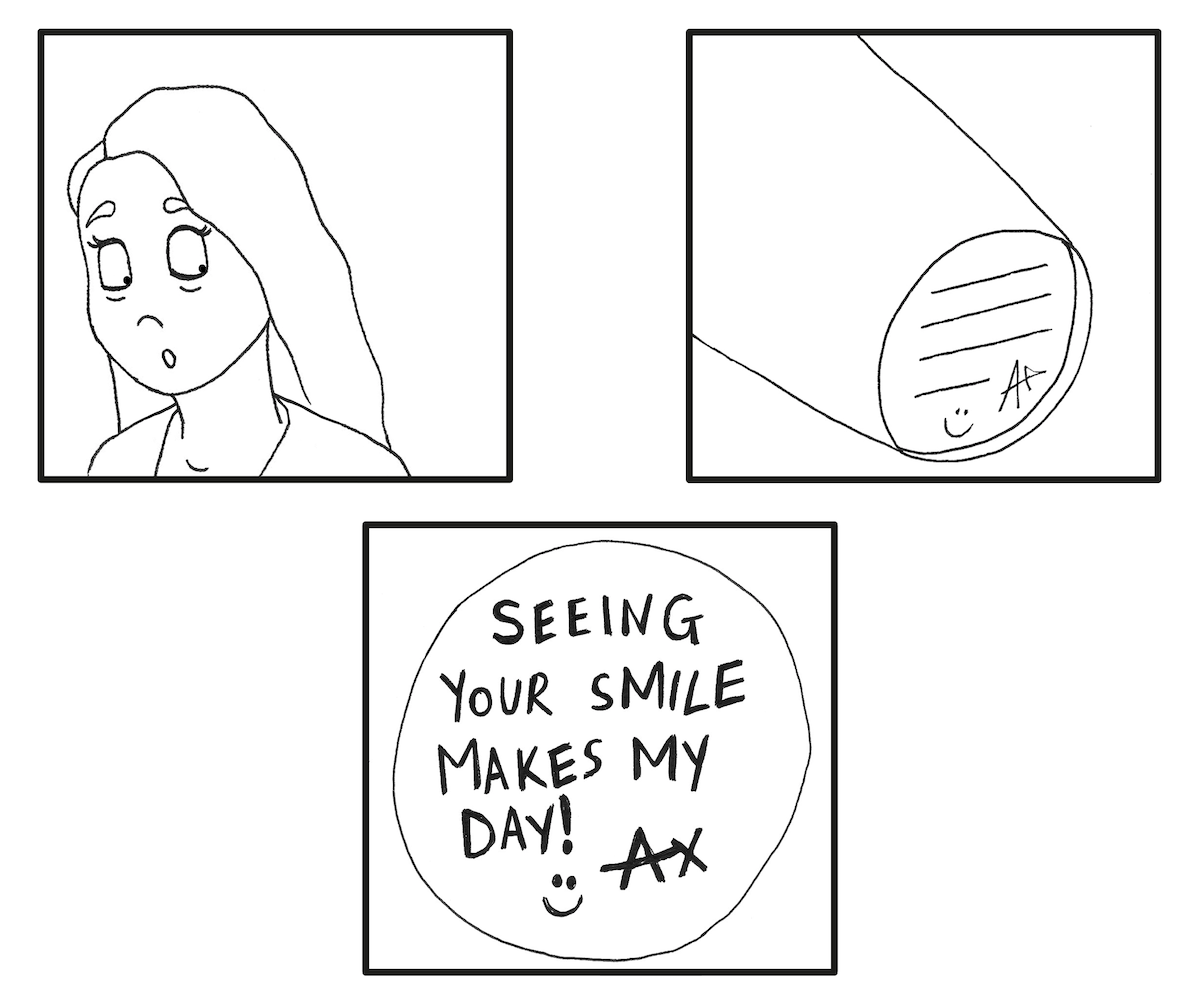
- However, for some reason on this particular day, Ashley has written a note on the bottom of Lucy’s coffee cup, not really thinking it will be seen. Lucy does sees it and returns to coffee shop at closing time, the pair leave together (WINS GIRL BACK).
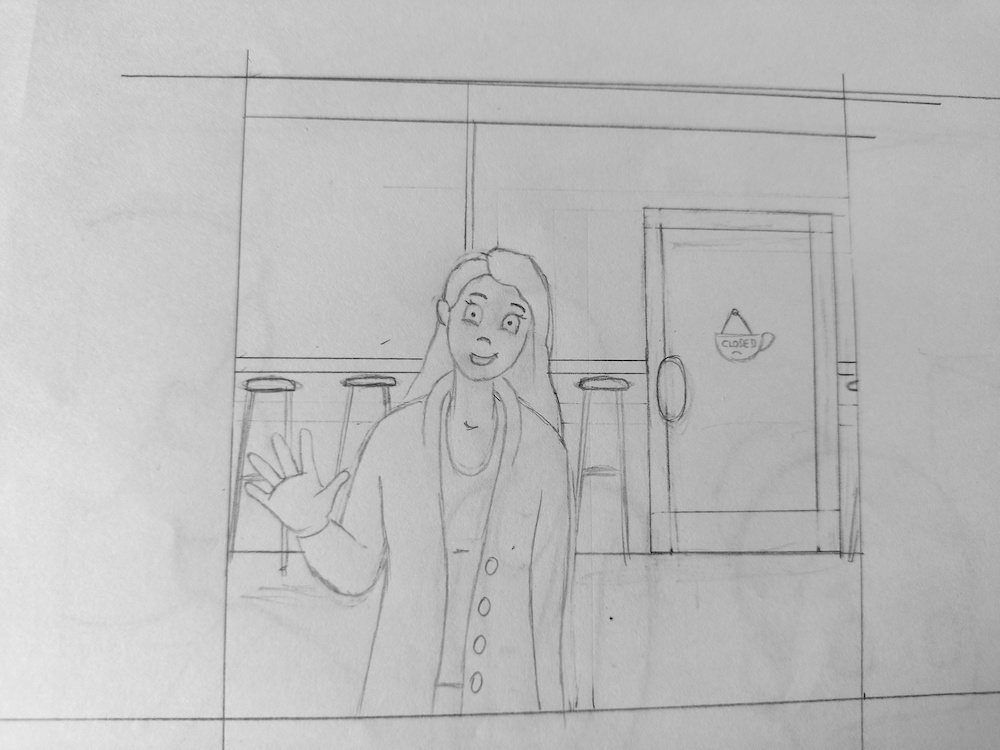
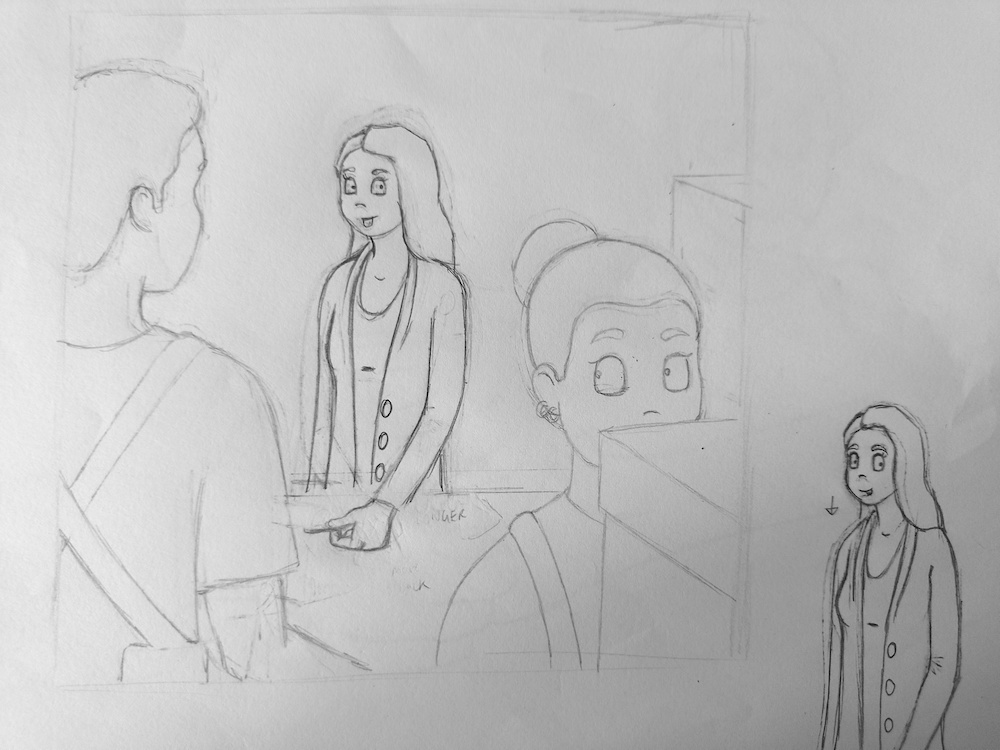
I now felt more confident I had an approachable, doable version of a storyline, so I moved onto drawing out some rough thumbnail panels, which can be seen below, and these fit on one page, which made me feel happier.
Drawing out these thumbnails did take quite some time, but I tried to put them on the paper unhindered by thoughts and just went with the flow. I felt confident with my narrative, so I actually enjoyed this part.
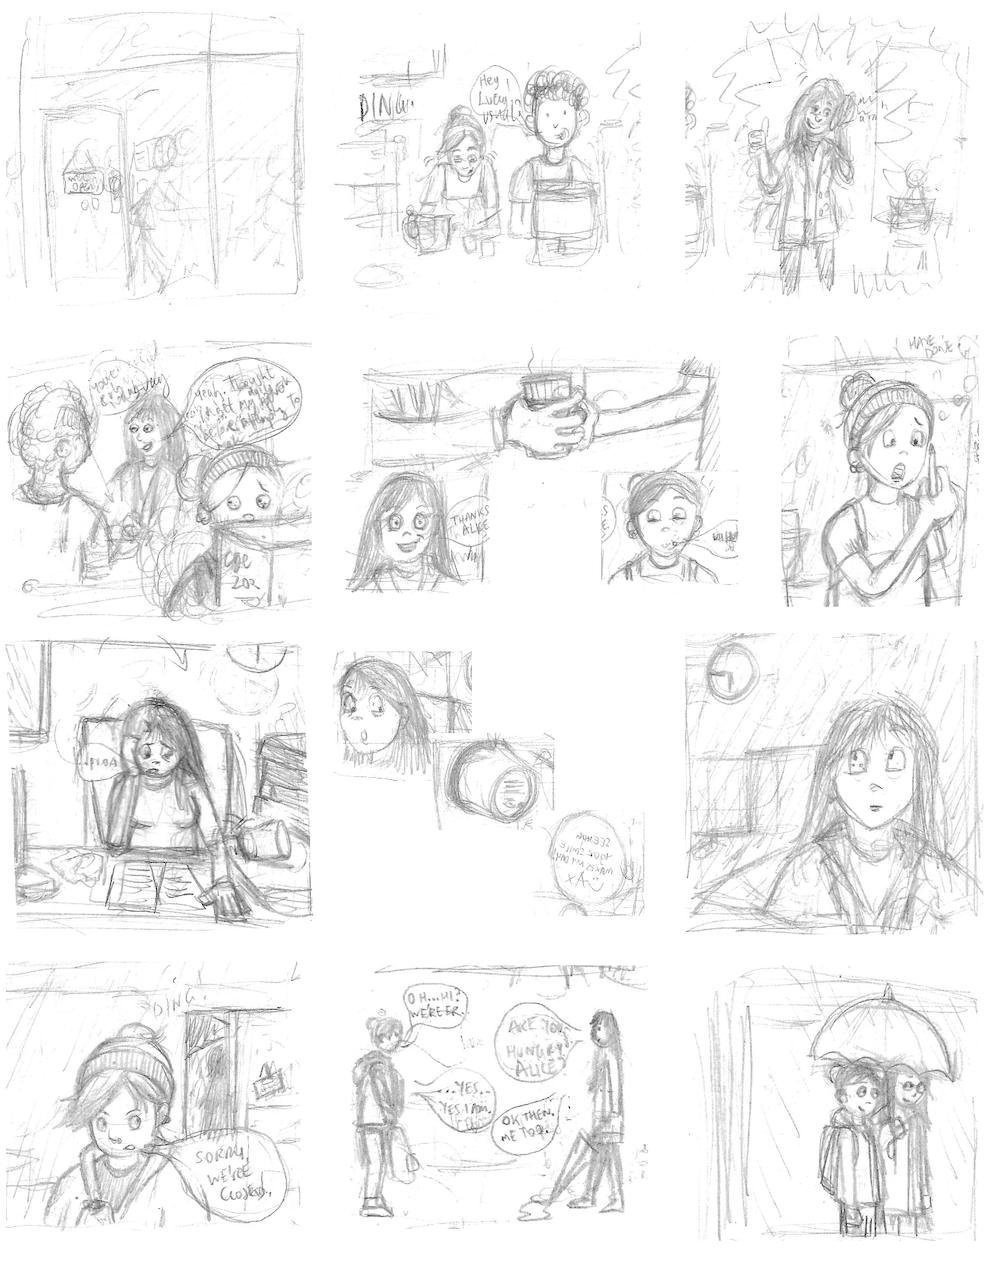
(click on image for larger version, opens in new tab)
Planning Layout Illustrator
Once I was fairly happy with the thumbnails and thought they made sense, I scanned the page into Illustrator to plan a layout with panels. I found this part really challenging as in order to fit so many panels onto one page there not much room for manoeuvre in terms of panel size and placement, so I was a bit disappointed that I was not able to be more imaginative at this point.
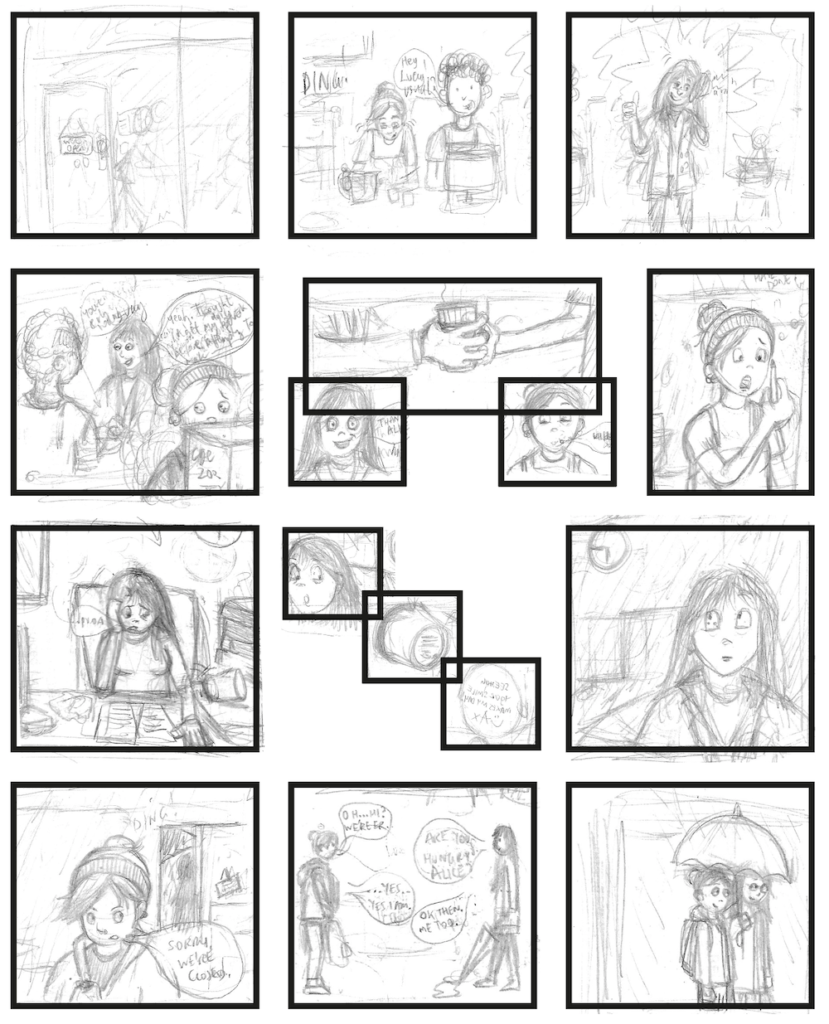
(click on image for larger version, opens in new tab)
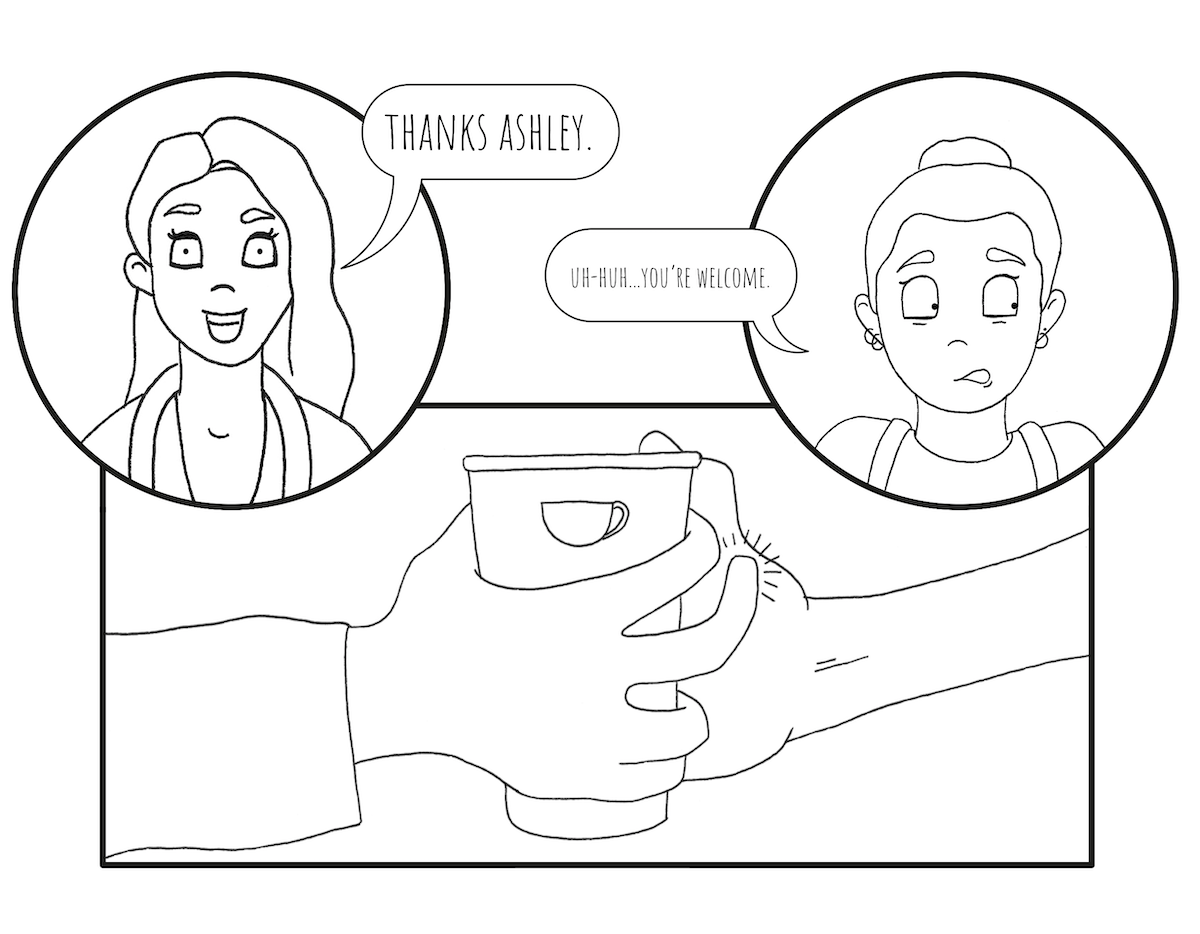
I did feel slightly happier with the version below as I managed to incorporate circle panels, which I felt resulted in quite an effective way of showing the characters faces and hands at the same time.
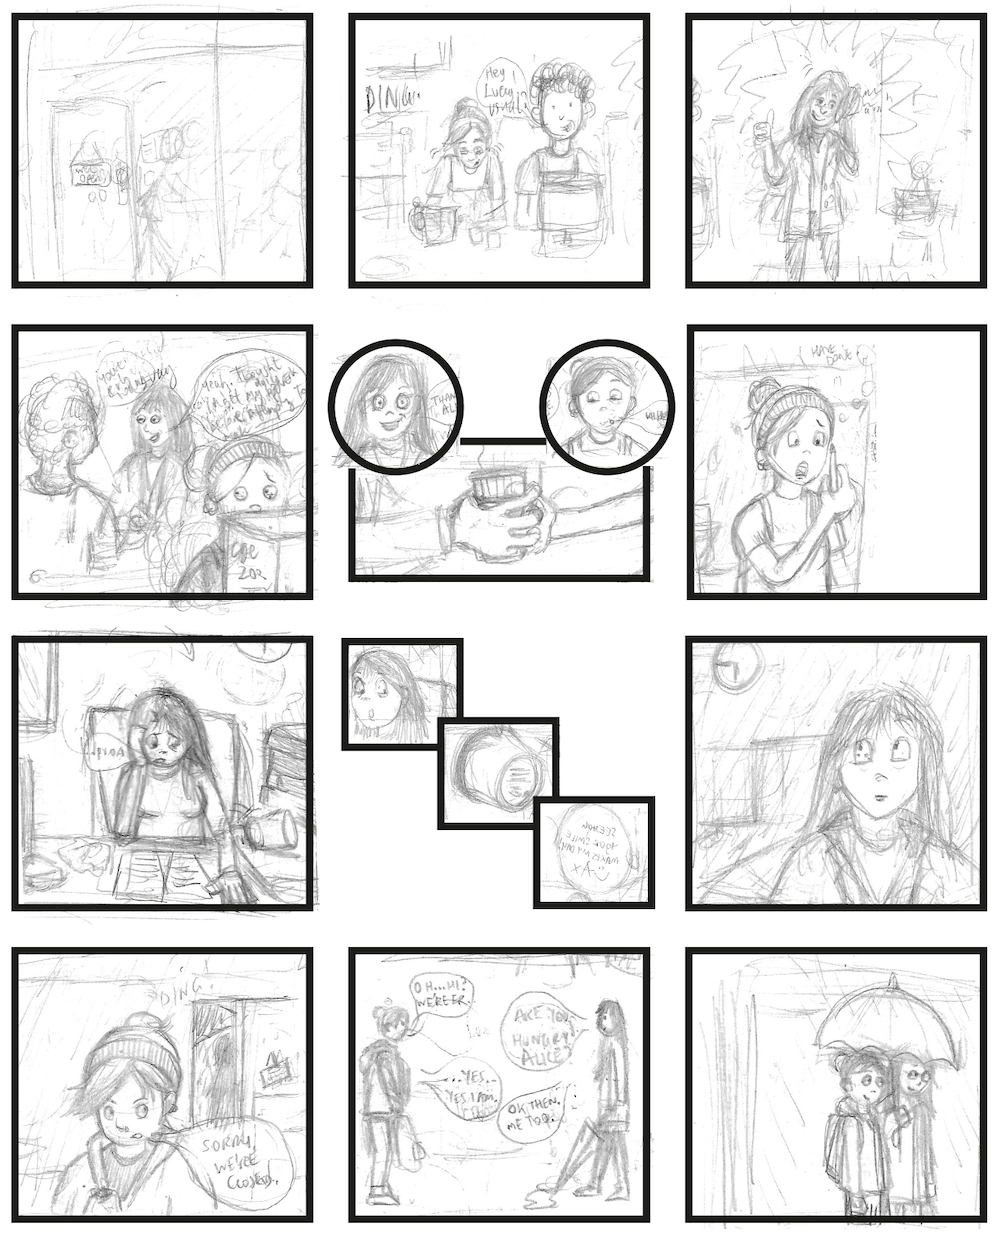
(click on image for larger version, opens in new tab)
Endlessly Re-drawing the Illustrations
At this point I scaled up each of the thumbnails, printed them off and then began a seemingly endless process of drawing and redrawing. I lost count of how much time I spent on this part of the exercise. I just became really frustrated with the illustrations not looking like I could see them in my mind. The most infuriating part was the hair.
Also at this point in the exercise, I received an email from OCA stating that it had been 10 weeks since my last Assignment submission, which began to stress me out as I thought I had been working through this section quite steadily – I was starting to feel a bit panicked, which did not help the situation!
Eventually, I managed to produce the versions below.
One point to note is that I had started at panel 2 as, for some reason, I had not developed the original panel 1, as shown in the thumbnails, so from this point I refer to what was panel 2 as panel 1.

(click on image for larger version, opens in new tab)
(click on image for larger version, opens in new tab)

(click on image for larger version, opens in new tab)
(click on image for larger version, opens in new tab)

(click on image for larger version, opens in new tab)

(click on image for larger version, opens in new tab)

(click on image for larger version, opens in new tab)
(click on image for larger version, opens in new tab)

(click on image for larger version, opens in new tab)

(click on image for larger version, opens in new tab)
(click on image for larger version, opens in new tab)
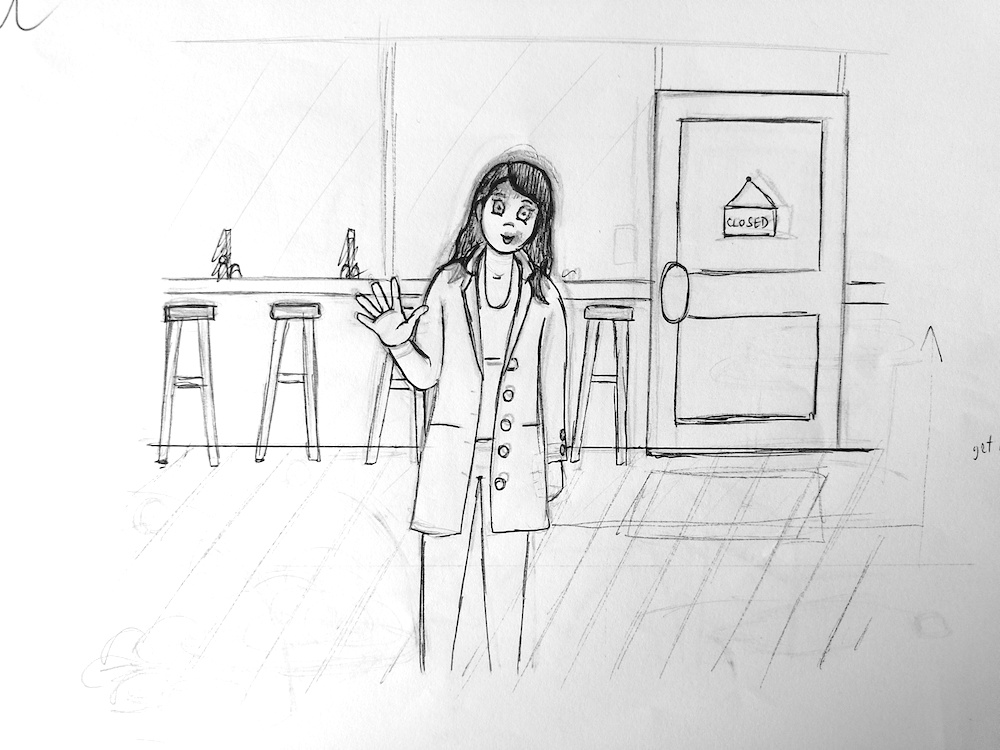
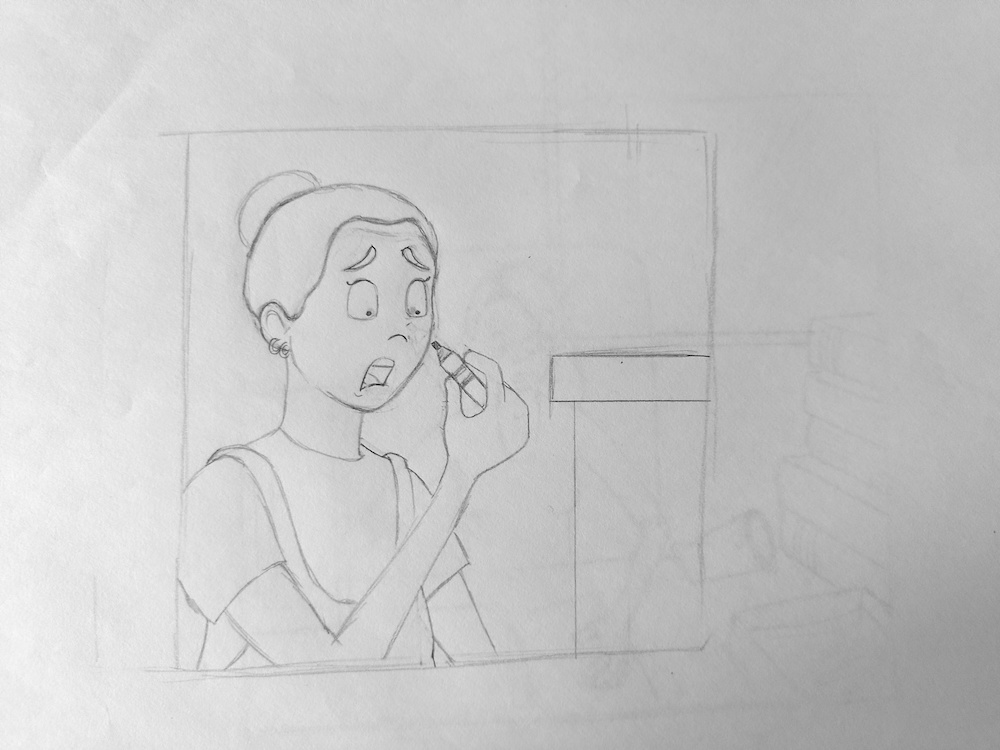
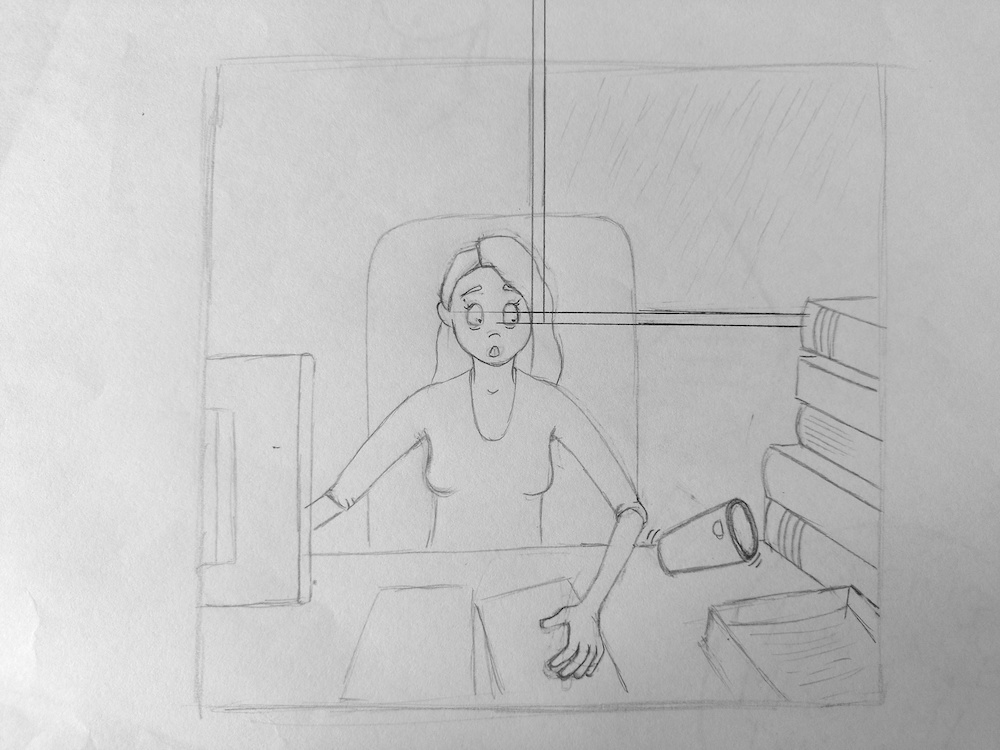
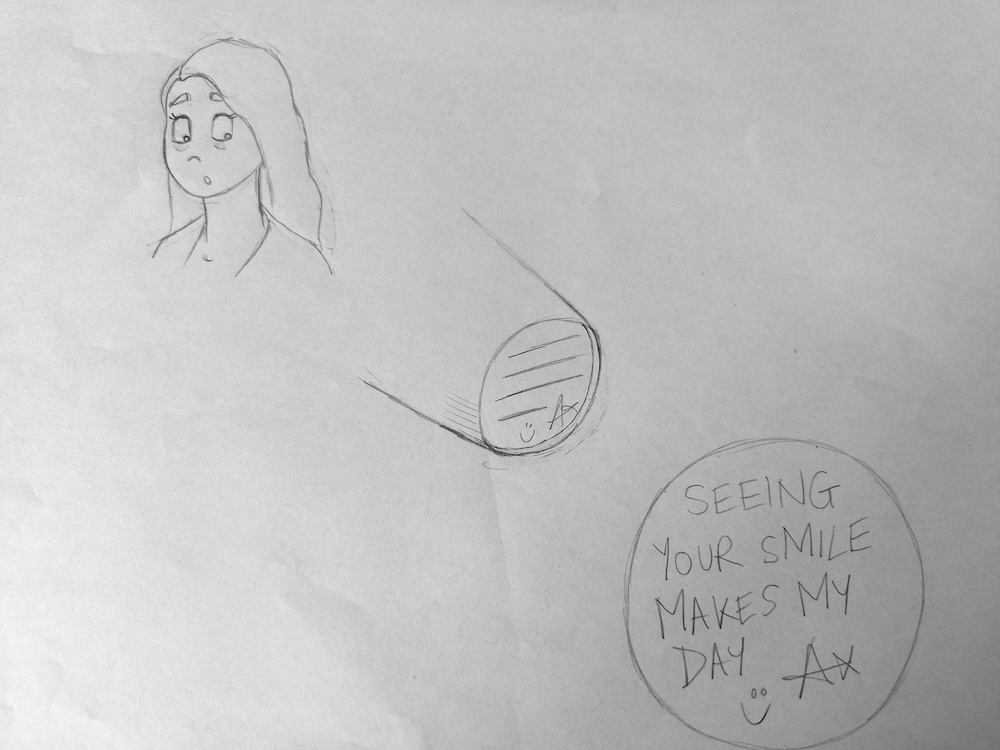
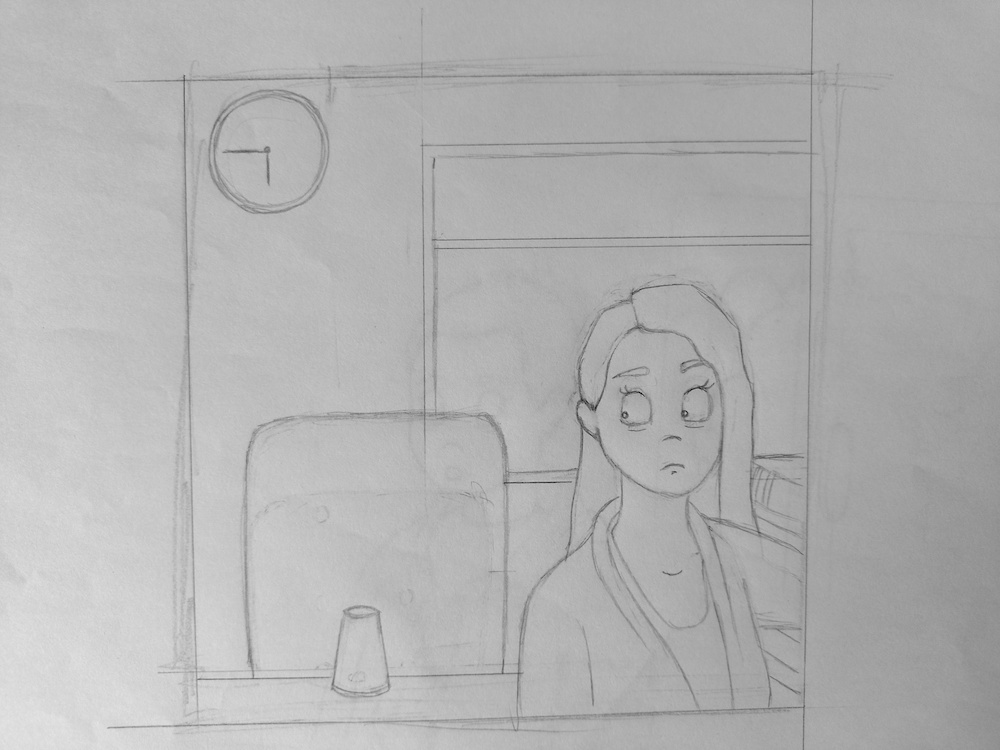
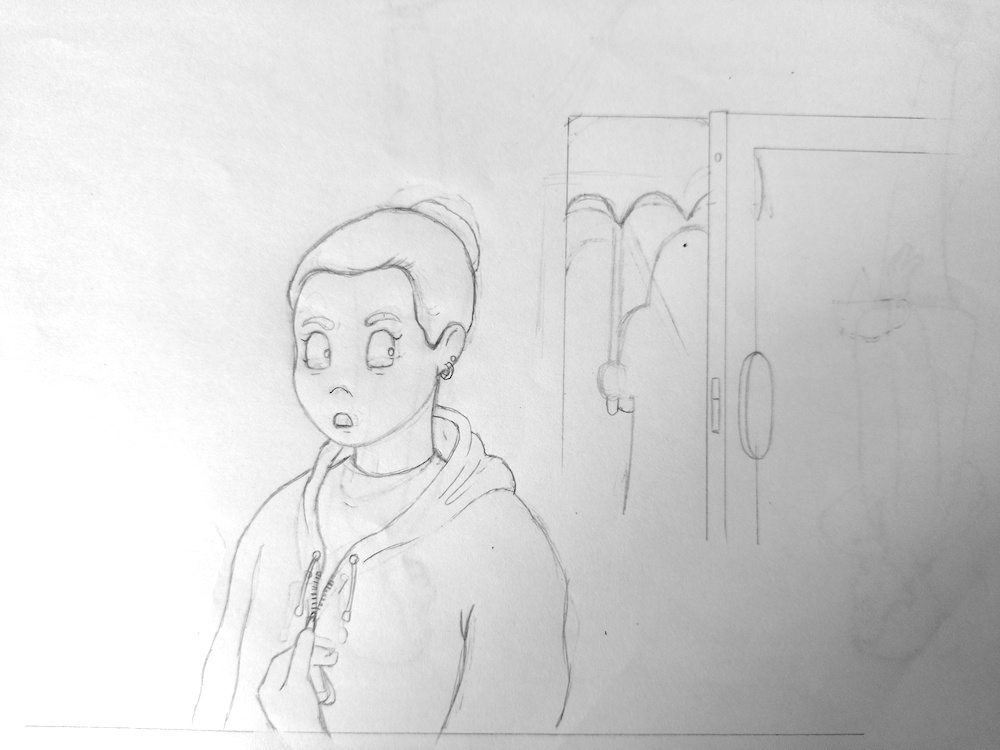
Cleaned Up Pencil Versions
Next, I intended to have an easier time using my lightbox to trace the above draft drawings for cleaned up versions using a pencil. However, I soon found I had an issue as where I had used a white pen to block out areas of pen, the light could not penetrate these areas and so I all I could see was series of grey masses!
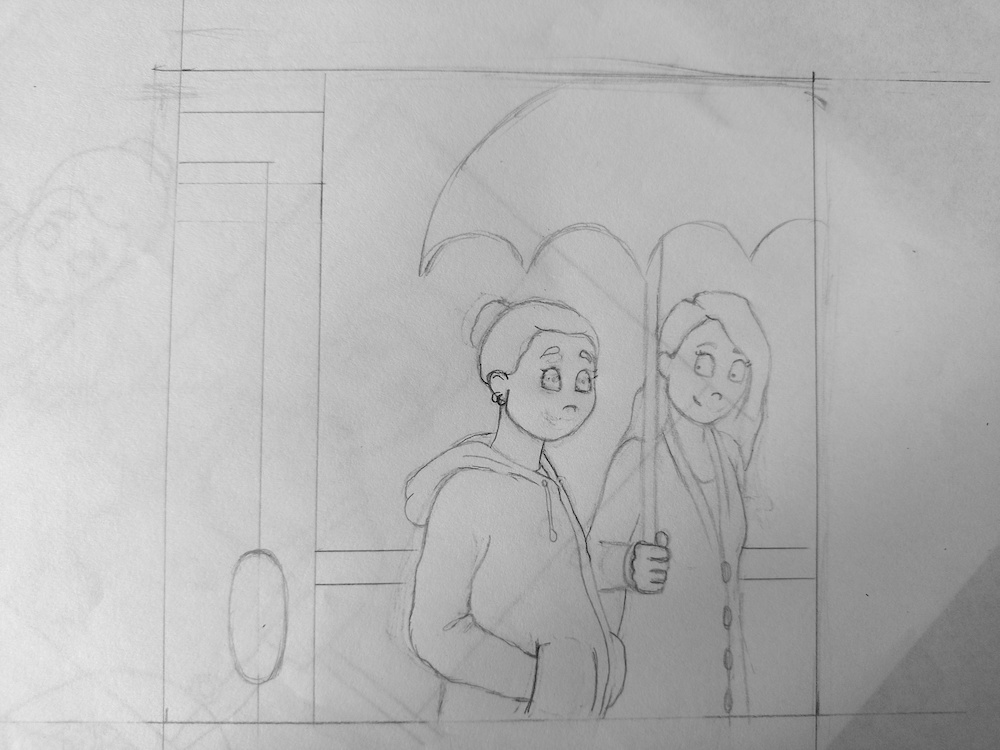
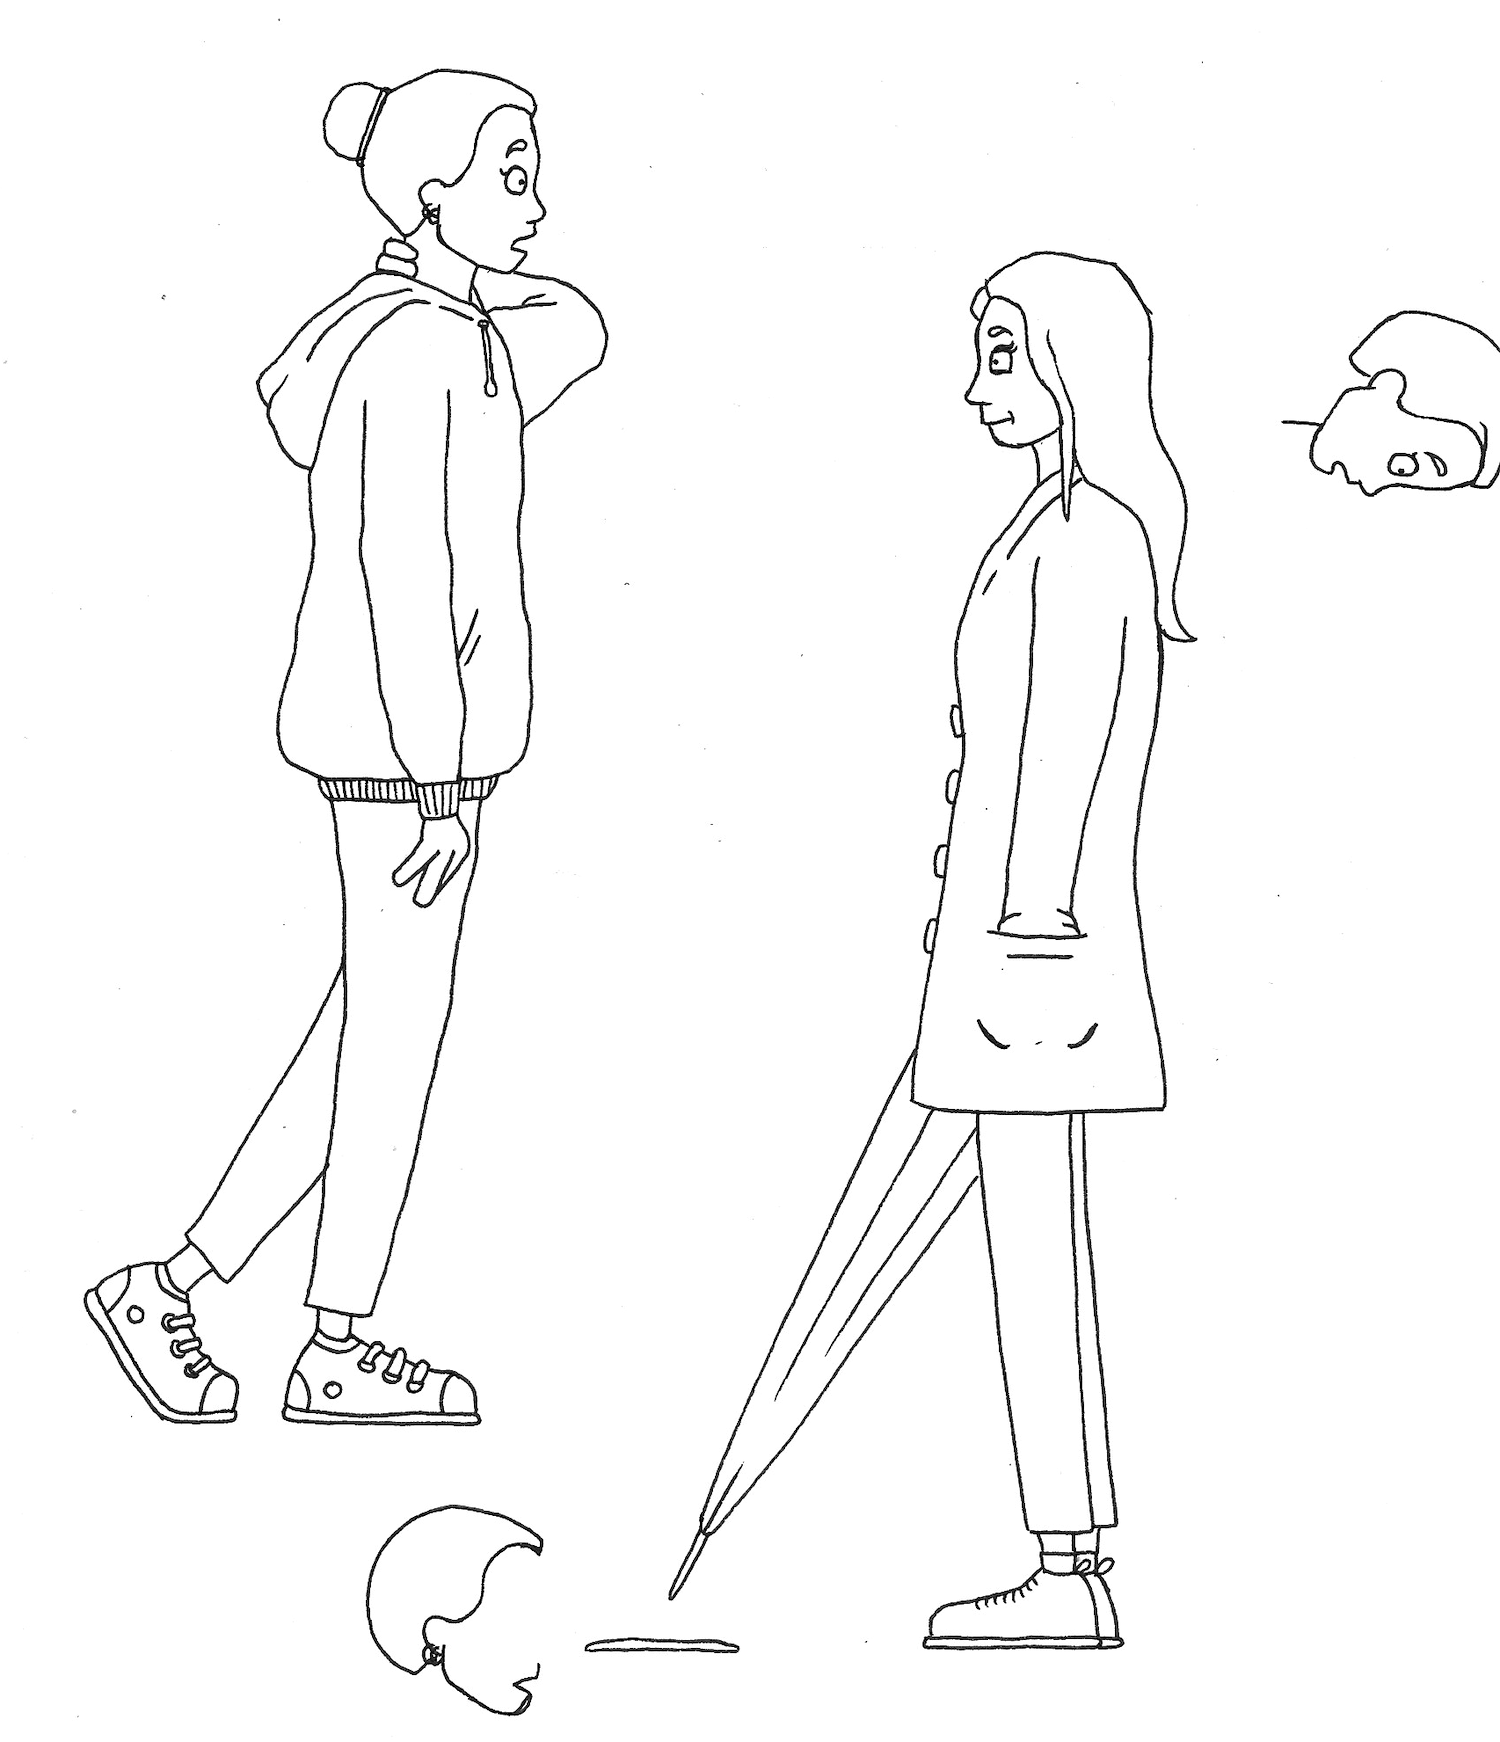
Luckily I had some layout paper, so I managed to use this to create the pencil versions below. I actually felt I produced better drawings this way as I was not able to simply trace the drafts, which I was not fully happy with and, because I could not see all the lines and did not feel committed to these, I was provided with an opportunity to make some further amendments, such as decreasing the height of the characters in panel 10.
(click on image for larger version, opens in new tab)
(click on image for larger version, opens in new tab)
(click on image for larger version, opens in new tab)
(click on image for larger version, opens in new tab)
(click on image for larger version, opens in new tab)
(click on image for larger version, opens in new tab)
(click on image for larger version, opens in new tab)
(click on image for larger version, opens in new tab)
(click on image for larger version, opens in new tab)
(click on image for larger version, opens in new tab)
(click on image for larger version, opens in new tab)
‘Final’ Pen Versions
At this point I had to make the reluctant decision to move towards a conclusion for this exercise due to time. I used my Lightbox (successfully this time) to trace the pencil versions using a 0.1 fineliner on cartridge paper.
I had to redo several of these as I was just not happy with the lines, until I reminded myself that I could make some adjustments digitally, which meant I left some ‘errors’ in these pen illustrations, such as in panel 3.
(click on image for larger version, opens in new tab)
(click on image for larger version, opens in new tab)
(click on image for larger version, opens in new tab)
(click on image for larger version, opens in new tab)
(click on image for larger version, opens in new tab)
(click on image for larger version, opens in new tab)
(click on image for larger version, opens in new tab)
(click on image for larger version, opens in new tab)
(click on image for larger version, opens in new tab)

(click on image for larger version, opens in new tab)
(click on image for larger version, opens in new tab)
(click on image for larger version, opens in new tab)
(click on image for larger version, opens in new tab)
(click on image for larger version, opens in new tab)
(click on image for larger version, opens in new tab)
Moving into Illustrator
I scanned the pen illustrations into Illustrator and placed them in the panel layout, shown at the start of the exercise. I cropped and scaled these until they looked ‘right’ in their positions. I used the pen tool to block out any rogue black dots that had been created via dust on my scanner.
I also found myself making some changes to the illustrations, which was not entirely satisfactory as, when scaled up, it is clear to see these adjustments. It would have been better to do this in Photoshop, but that would have taken even longer as I would have become absorbed in alterations. The main changes I did do involved reducing the length of the characters’ necks. There were numerous other changes I could have made in terms of the head shapes and the like.
I then added speech bubbles and, finally, redid the characters’ pupils.
‘Final’ Sequential Illustration
I do not consider these illustrations to be the final ones as I would have wanted to continue working on them. Therefore I see them as final-ish drafts, which I could then use to produce a final version in the full page layout.
(click on image for larger version, opens in new tab)
(click on image for larger version, opens in new tab)
(click on image for larger version, opens in new tab)
(click on image for larger version, opens in new tab)
(click on image for larger version, opens in new tab)
(click on image for larger version, opens in new tab)
(click on image for larger version, opens in new tab)
(click on image for larger version, opens in new tab)

(click on image for larger version, opens in new tab)
(click on image for larger version, opens in new tab)
(click on image for larger version, opens in new tab)
Overall, at this point I was satisfied with what I had created so far and that it conveyed my initial idea sufficiently. I was certainly regretful that I was unable to continue with it.
Final Thoughts
This is one of the exercises that I have enjoyed the process of creating the most throughout the entire course. I liked every part of it, even the frustrations, and found myself completely absorbed in each stage of production.
There are quite a few points that I would like to address in this evaluation:
- in the ‘final’ versions, as shown above, I did not show the illustrations in their panel layout on a single page as it did not feel complete enough. I need to produce an introductory panel, as on the original thumbnails, which would show the outside of the coffee shop and provide both a clearer context for the story and balance the layout (12 panels instead of 11).
- I would like to experiment adding colour in Photoshop as I think this would enhance the story, for example, I could add red blushes to Ashley’s cheeks when embarrassed. I would like to try a limited colour palette.
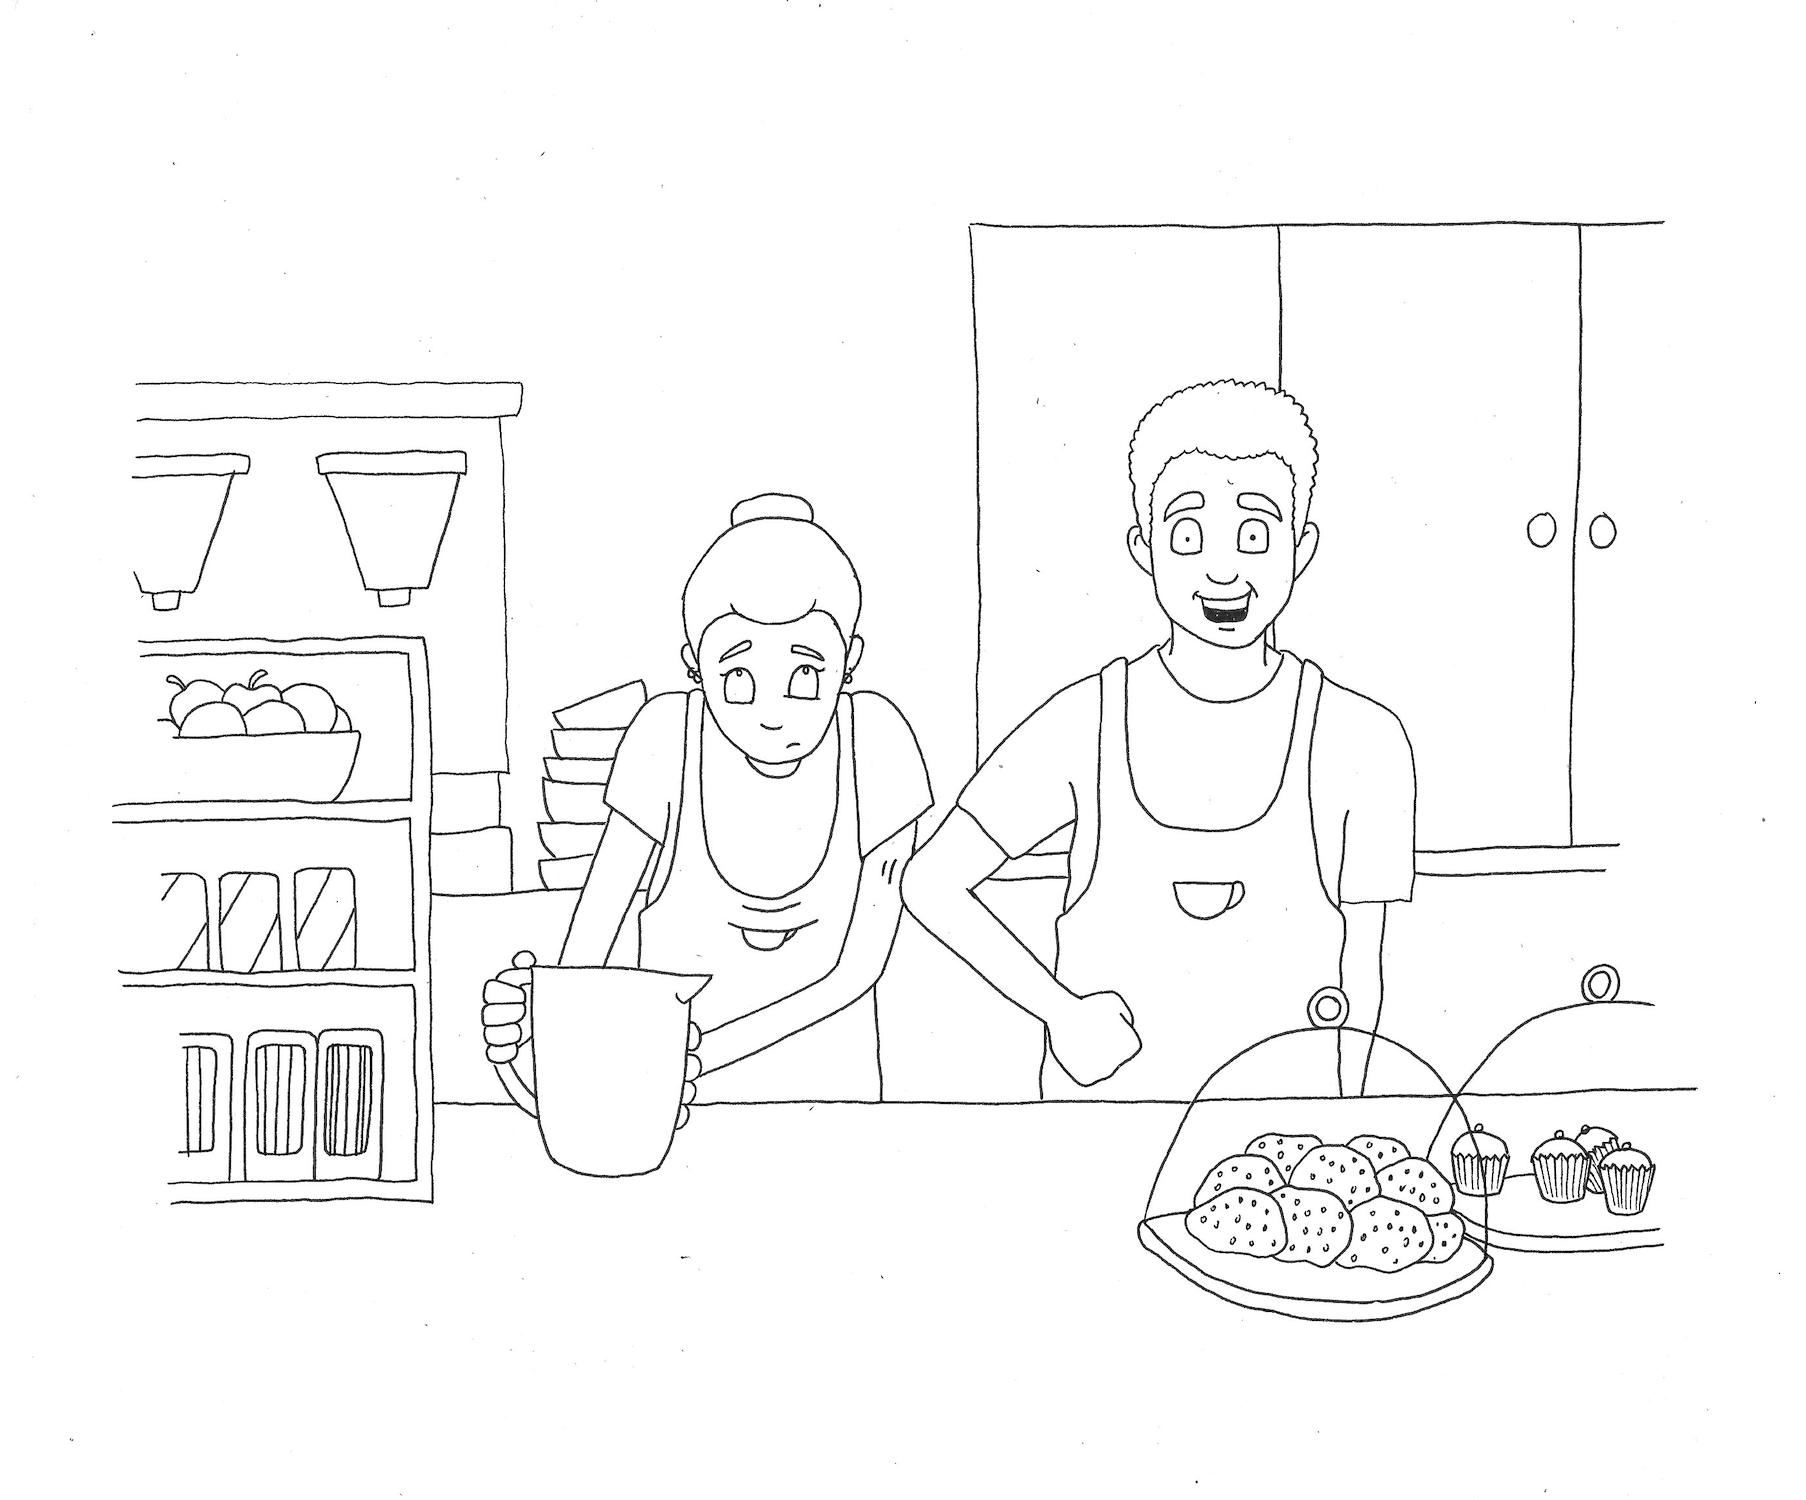
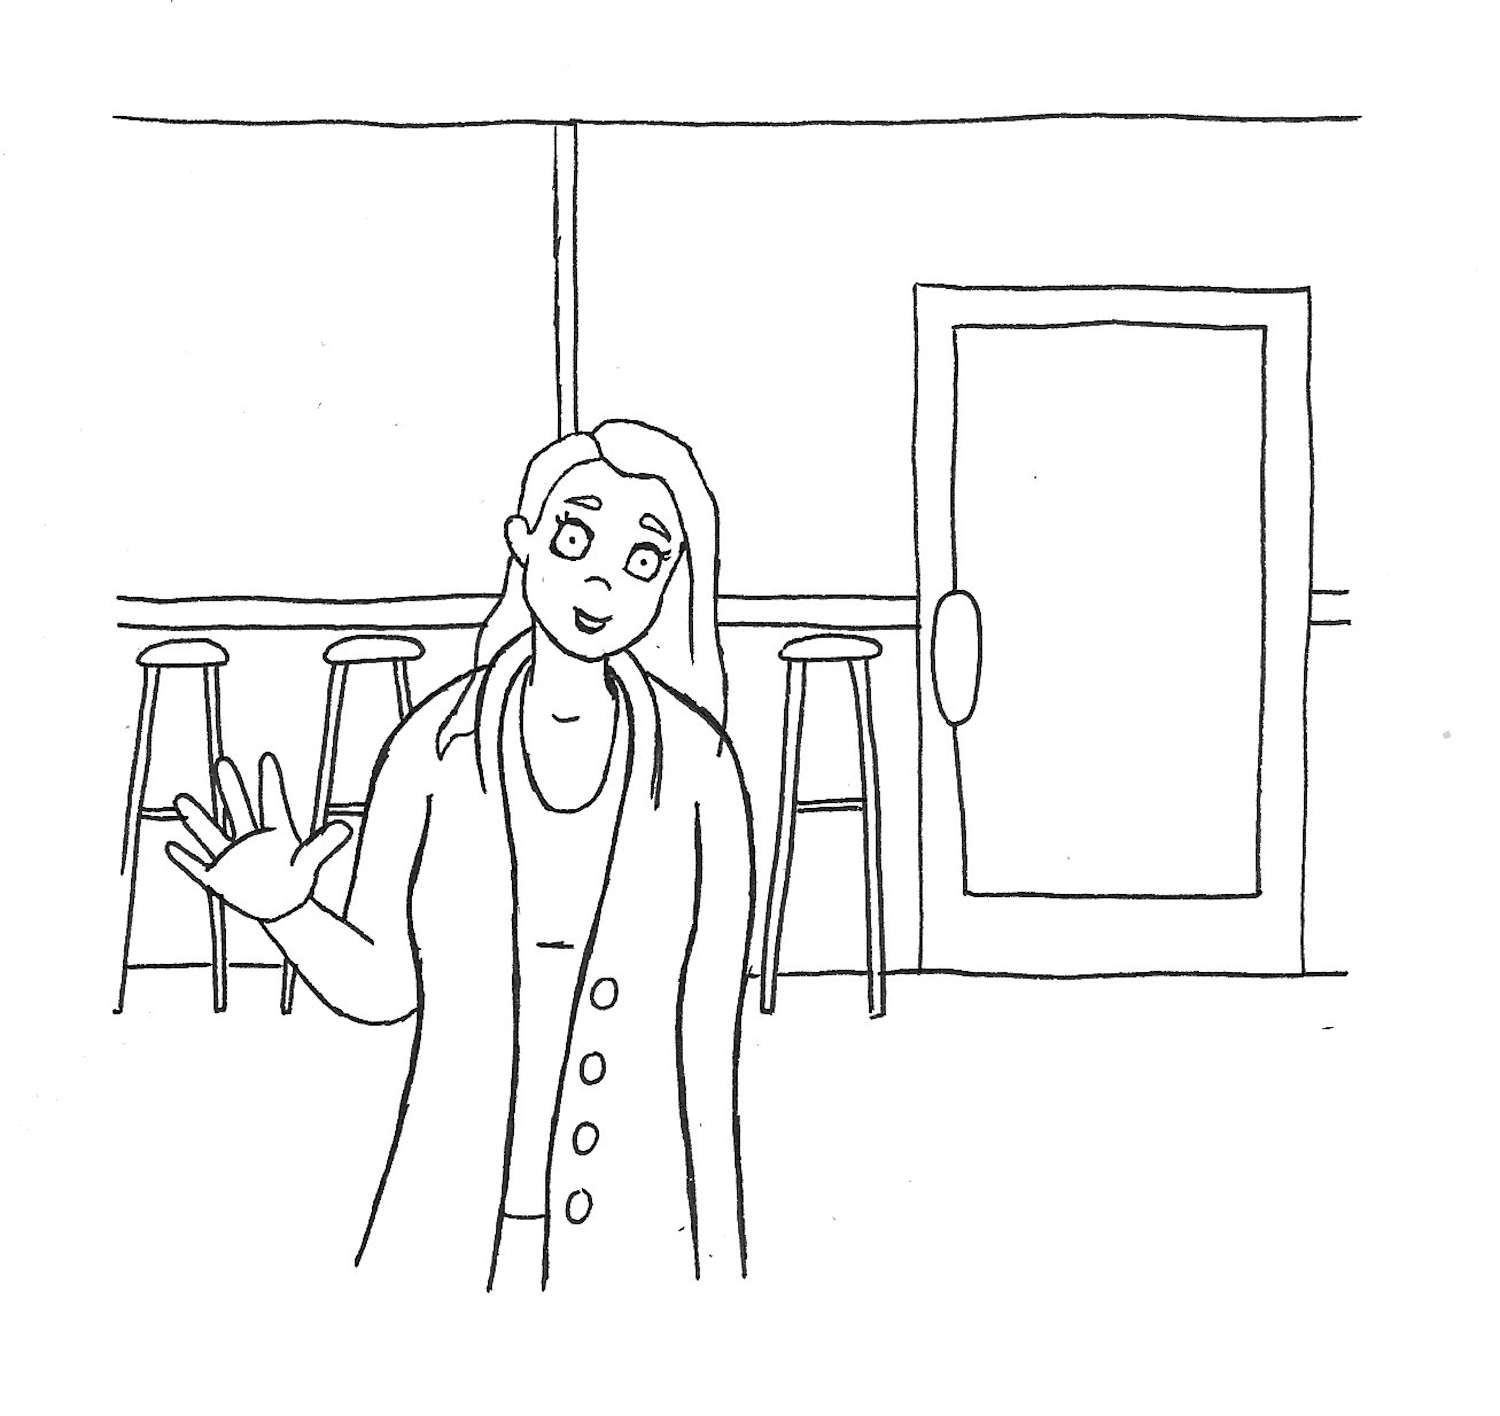
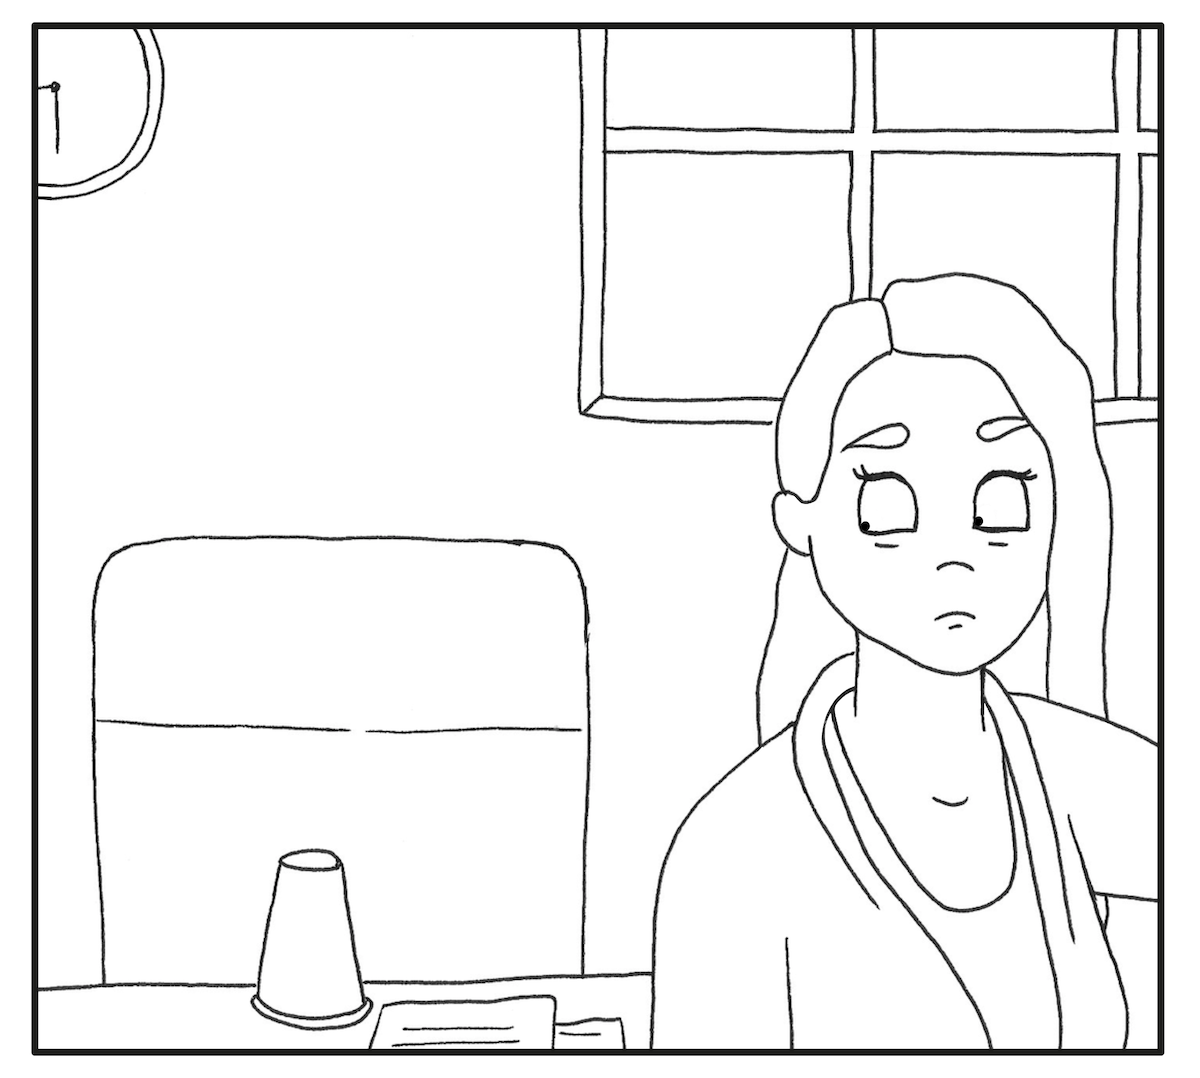
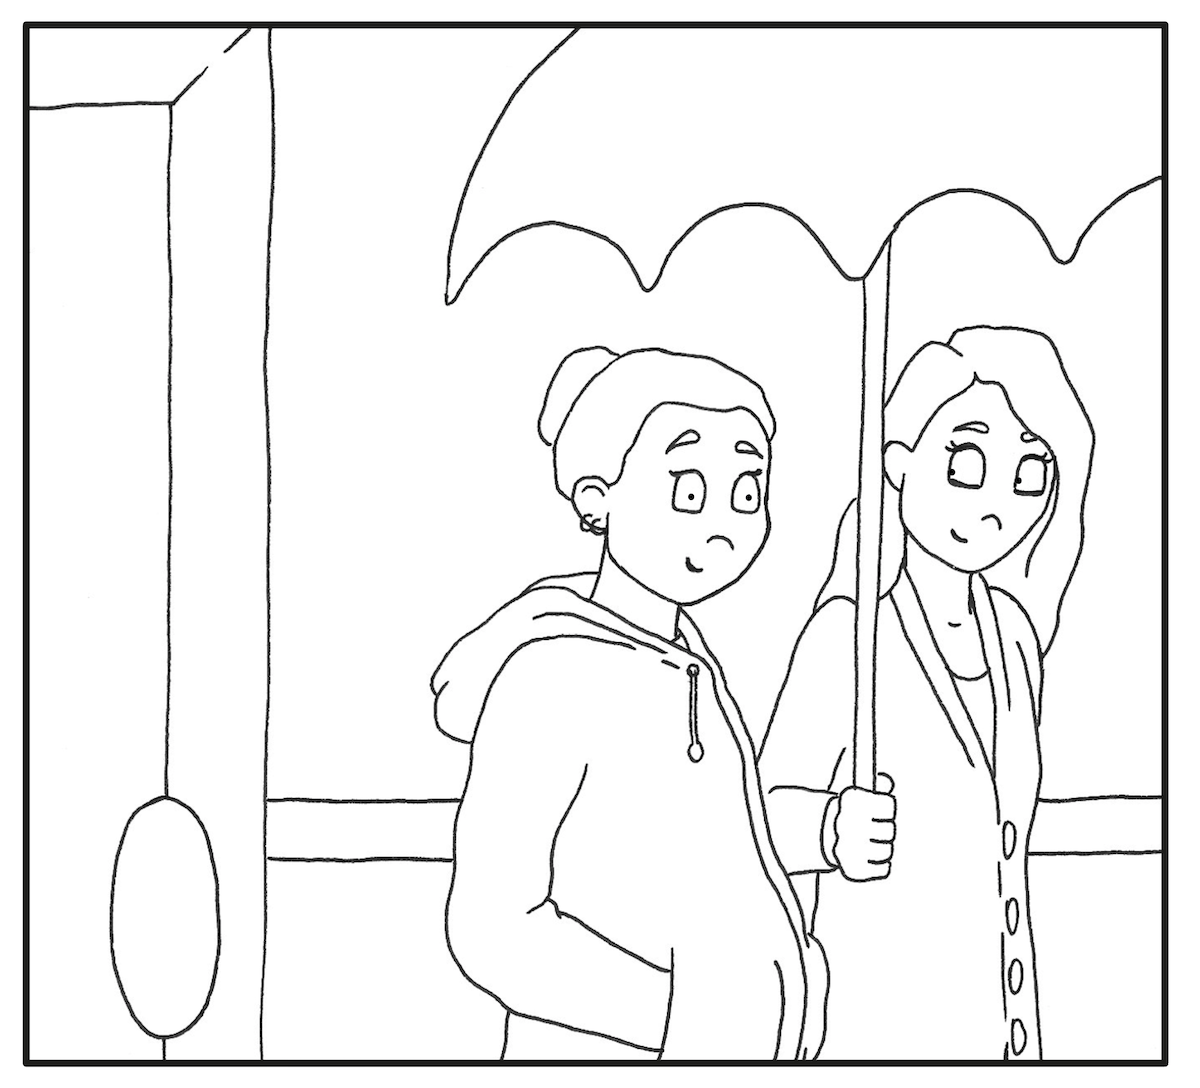
- I was not entirely happy with the backgrounds, which was mainly due to the amount of time I spent trying to get the characters to look right. I did, however, like the simplified background, which was influenced by Vera Brosgol’s style in Anya’s Ghost (2011). I thought I was surprisingly imaginative with the background in panel 9 and this was not something I would normally try, as I would immediately think I need to fill in all the details.
- I would have liked to have tried including some sound effects, such as a ‘ding’ to indicate the door being opened.
- I really need to practice drawing hair.
- I was keen to ensure that my sequential illustrations were readable as images and that any text would be supplemental. I feel I managed to more or less achieve this via the characters’ expressions and body language, with the words just adding to the story.
I put so much time and effort into this exercise that I hope I managed to successfully meet the requirements of the brief, but I had a great time doing it regardless and learnt a great deal about my working process, including the more successful methods to use in future.