Loosely playing within the genre of action movies, create some basic flick-books, QuickTime or animated gif animations that involve chases, shoot-outs, or any other staple of the action film. Think 007 films that only take 10 seconds or less!
Initial Thoughts
I would love to be able to work in animation. I am so keen on learning about animation that I want to understand and have a grasp on the fundamentals, rather than trying to create anything too complicated. It is such a broad-ranging subject and there is so much information to take on board and process that I felt somewhat overwhelmed and unsure of where to begin. I also was feeling more under pressure to finish this part of the unit as I seem to be spending a long time on it (due to narrative illustration being a particular area of interest for me).
I have the book The Animator’s Survival Kit (2001) by Richard Williams, which I want to work though, but that would require a great deal of time and complete focus as I do not want to learn animation half-heartedly. I also have a selection of tutorial videos by Aaron Blaise, including several on the topic of animation. Again, these would require a lot of time to work through properly. It would have been good if this entire section of the unit was focused on animation so I could have dedicated all my attention to it, learning the basics and building on this to create a final piece in the Assignment.
Bouncing Ball and Walk Cycle
I decided to watch some of the Aaron Blaise tutorials by Tim Hodge on DIY Animation. In one of them he outlined how to animate a bouncing ball – the starting point for all aspiring animators. I thought it was interesting that Hodge stated even potential Disney animators have to prove they can animate a bouncing ball as part of the recruitment process.
After watching the tutorial a few times I opened Photoshop and drew out a circle and then copied and pasted this is in suggested positions. The first point I noted was that the closer the spacing between each drawing, the slower the movement, whilst conversely the greater the spacing, the faster the movement. Therefore, in the bouncing ball example exercise, the ball is at its fastest speeds as it travels up and down, and at its slowest at the peak and bottom of the bounce, so I spaced the ball accordingly.

(click on image for larger version, opens in new tab).
In the example above, the obvious omission is the squash and stretch of the ball as it hits the ground and takes off again. I added this in the example below. I felt this was an improvement, but the squash looks wrong (due to resizing the circle too large – I should have redrawn it instead) and the ball moves too fast and suddenly after the first peak.

(click on image for larger version, opens in new tab).
Just to practice creating an animated GIF in Photoshop, I also made a silly smiling ‘face’.
Another section of Tim Hodge’s tutorial focuses on the walk cycle. This completely bamboozled my brain. I decided to try using paper and a pencil to draw the stages of the walk movement. When I placed these in Photoshop to create an animated GIF, I copied and pasted the series of drawings to make a complete cycle (the only issue being the same leg stays in front – it would have been better to redraw these instead). I could not work out why ‘bean man’ was appeared to be going backwards, as shown below.
Then I realised that I needed to reverse the frame order and ‘bean man’ was now heading in the right direction.
I was quite pleased with how my first attempt at the walk cycle turned out. It would take a great deal of practice to feel confident doing this, but at least he looks like he is walking and not floating or jumping, and it quite a smooth movement. I also liked working in analogue, which is what Aaron Blaise suggests is the best way to initially learn animation. I hope to buy some blank flipbooks in the near future and experiment with these.
Animator Island Tutorials and OpenToonz
At this point I was still feeling slightly lost with how to proceed. I came across a free tutorial series by Animator Island. I liked the presentation style by Ferdinand Engländer and the explanations are clear. I spent hours working through these and trying to understand and process all of the information. A couple of the more in depth tutorials have to be paid for, so I am hoping to return to these at some point, as well as revising the other videos.
After going through the series, I feel I have a much clearer understanding of various terms in animation including: ease-in/ease-out, spacing, pose-to-pose animation, straight-ahead animation, key frames, animating on ones and twos, anticipation, overshoot and breakdown.
The software suggested for these tutorials is OpenToonz, which is an Open Source, professional animation software. It took some time to get used to this, but I soon got to grips with the basics.
The tutorial exercises I completed from this series can be seen below.
The first exercise was about spacing, which refers to the distance an object, in this case a ball, moves between two frames. As mentioned previously, the shorter the distance the slower the movement, whilst the further the distance, the faster the movement. This also relates to ease-in and ease-out, which refers to how quickly an element accelerates and decelerates from or into a key frame, respectively.
I initially drew out the path of the ball and then added a timing chart alongside this, which I used as a guide for placing each iteration of the ball as I progressed around the circuit.
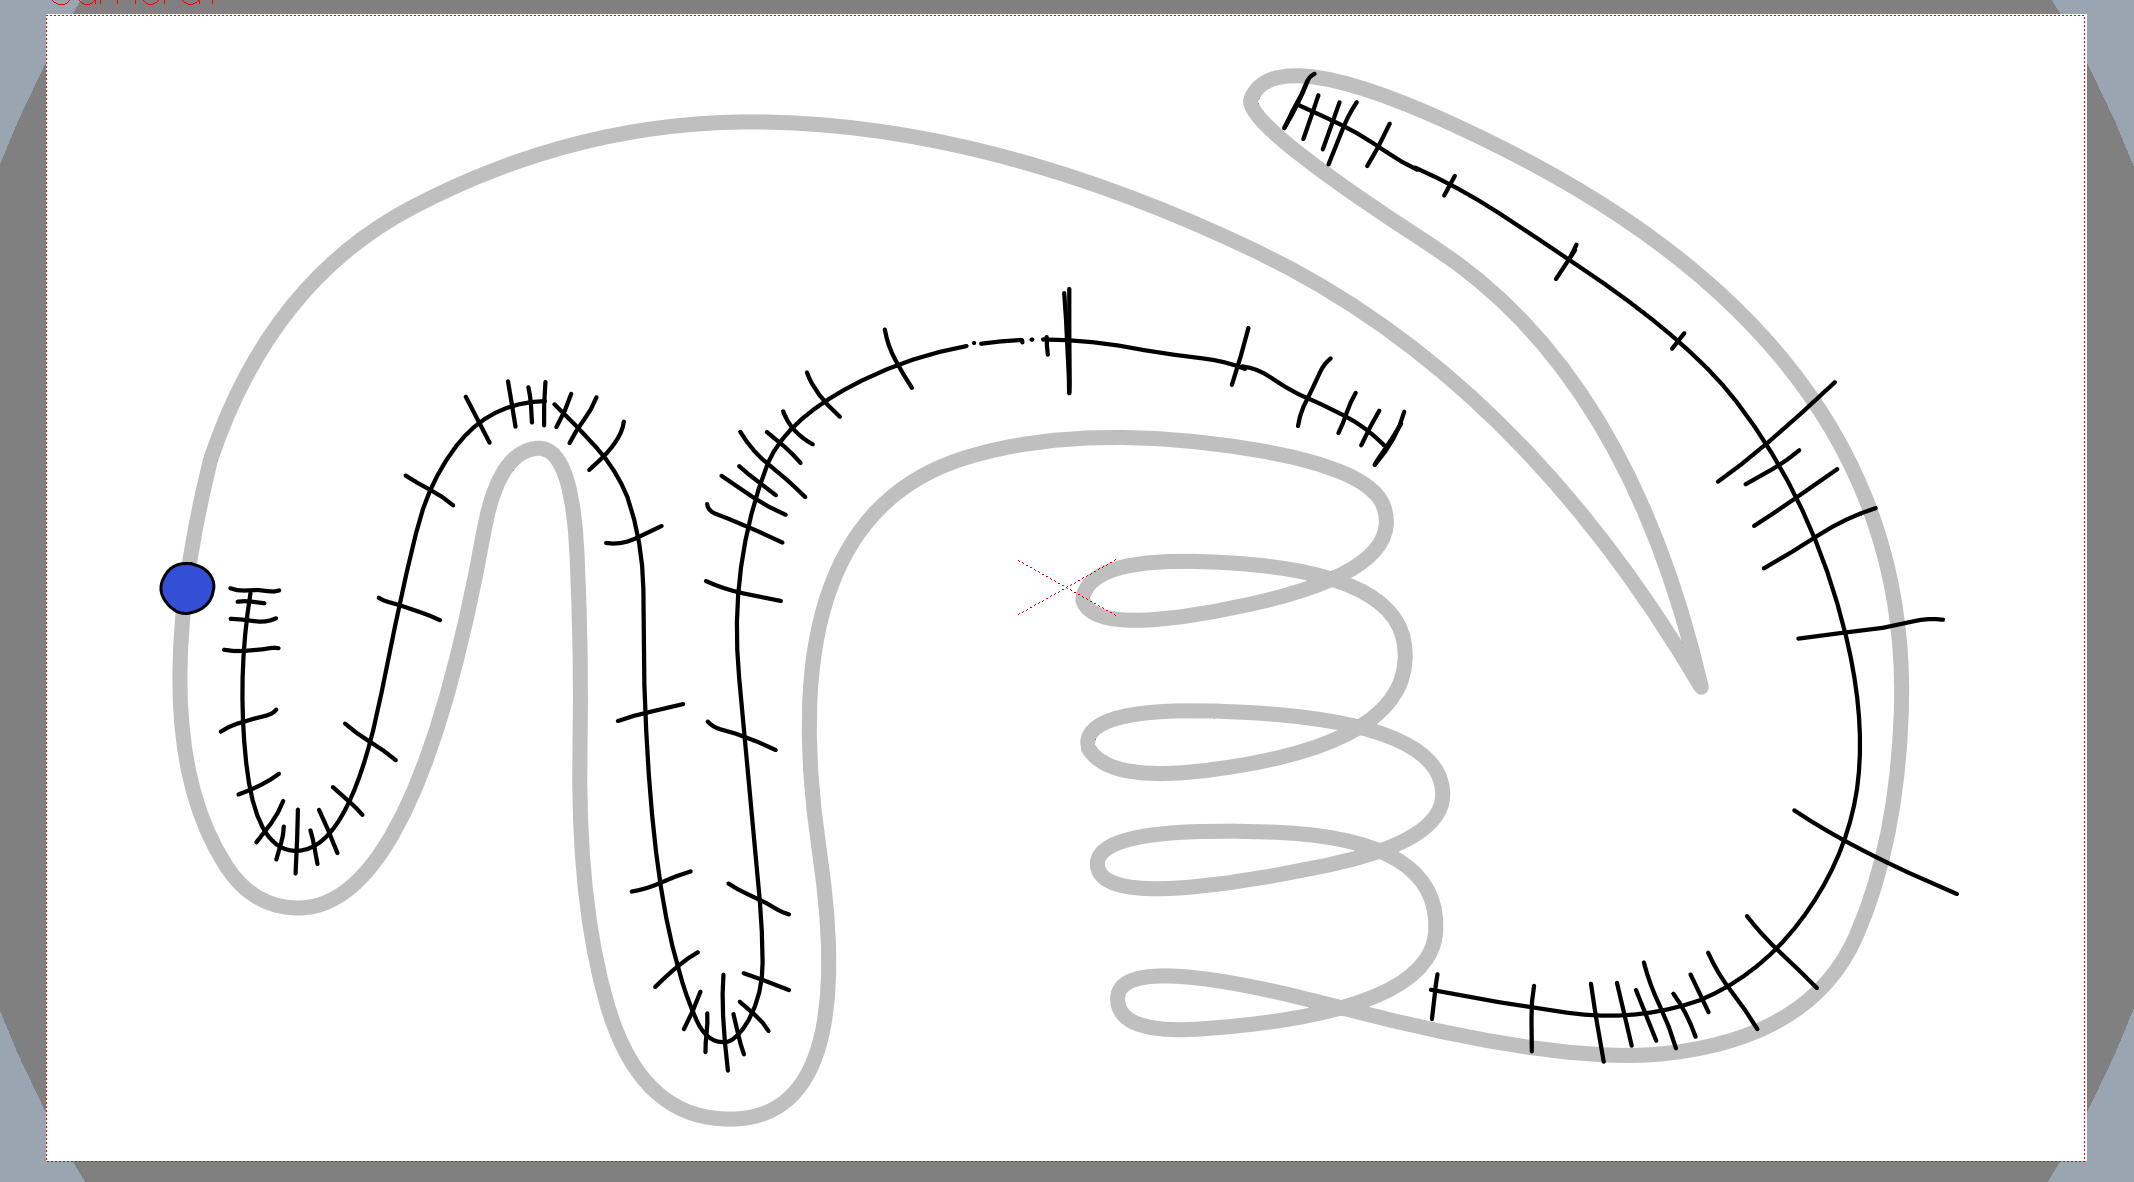
As the focus on this tutorial was spacing, I really concentrated on trying to place the ball in each frame so that is accelerated and decelerated in the right places.
Apart from the section where the ball travels a round the spiral, which is animated on ones (to indicate speed), it is animated on twos (i.e. the same drawing is shown on two frames). I also included some linear spacing when the ball travels across the top of the circuit to the left side, which means the balls were equally spaced in each frame to suggest constant motion. I was fairly happy with some parts of the animation, but I should have altered the shape of the ball at certain stages to make it appear more realistic, for example when it travels around the spiral, and the timing is not very good on the right side of the circuit.
The final part of the tutorial required adding two additional balls that follow the same path, but with delayed starting times. My version of this is not quite right as the balls seem to overlap and overtake each other, which they do not in the tutorial, but I quite like the playful style having the three balls creates.
The spacing exercise was fairly time-consuming, but I learnt a great deal from this initial lesson.
The exercise I completed next was about parenting elements, so that they can be moved together.
It also touched on how to make an object appear heavy, in this case a pumpkin, which related again to spacing. The ghost slows down when it pushes the pumpkin so the spacing condenses.
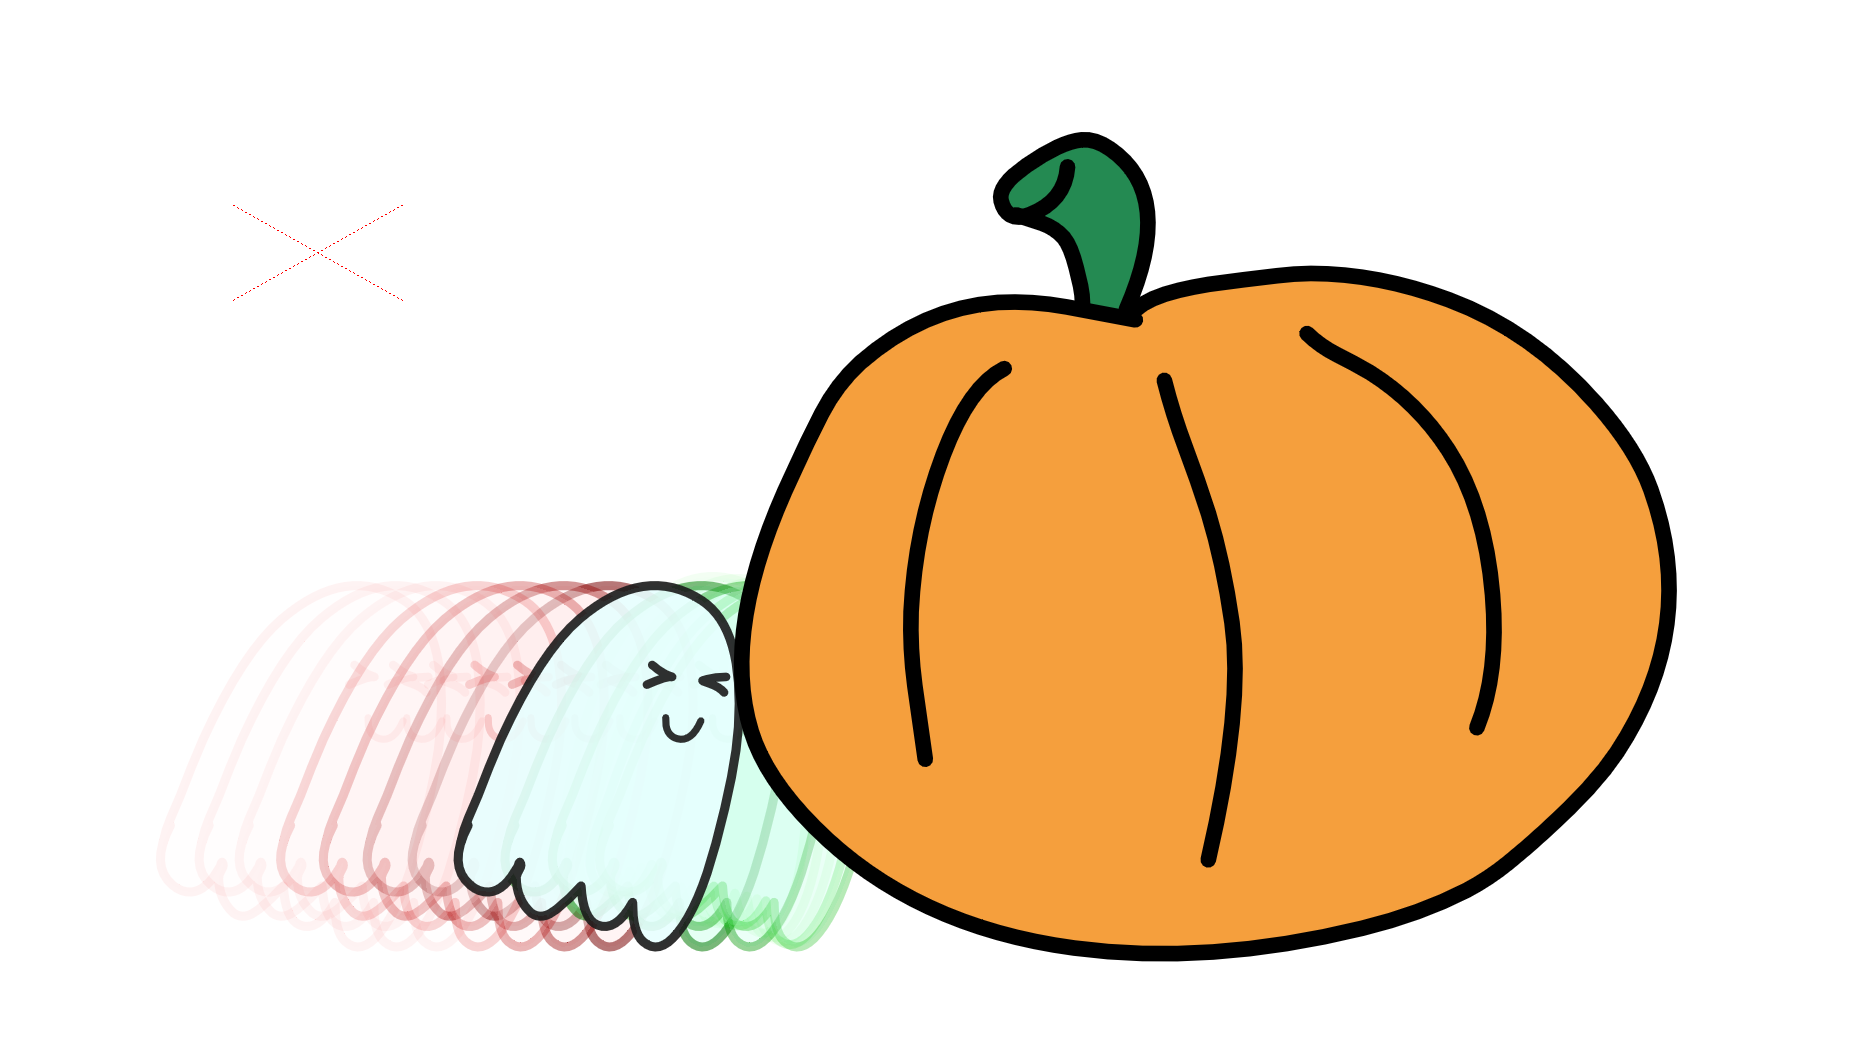
The onion skin is activated to show previous (red) and following (green) frames.
As with the previous tutorial, I learnt so much working through this exercise and I was becoming more and more familiar with the basics of OpenToonz and animation terms.
At this point the tutorials became a bit more advanced and I feel I need to work through them at an even slower pace (if that is possible). I also felt that the general animation knowledge I had gained so far would be extremely helpful when (not if) I begin working through the Richard Williams book/Aaron Blaise tutorials. These also will require me to work analogue, which is something I want to do. There is also so much to learn about physics, character design, etc.
I decided to have a go at doing a few of the shorter animation tasks to see how I got on.
The swinging pendulum, below, is created using five drawings and it has been looped.
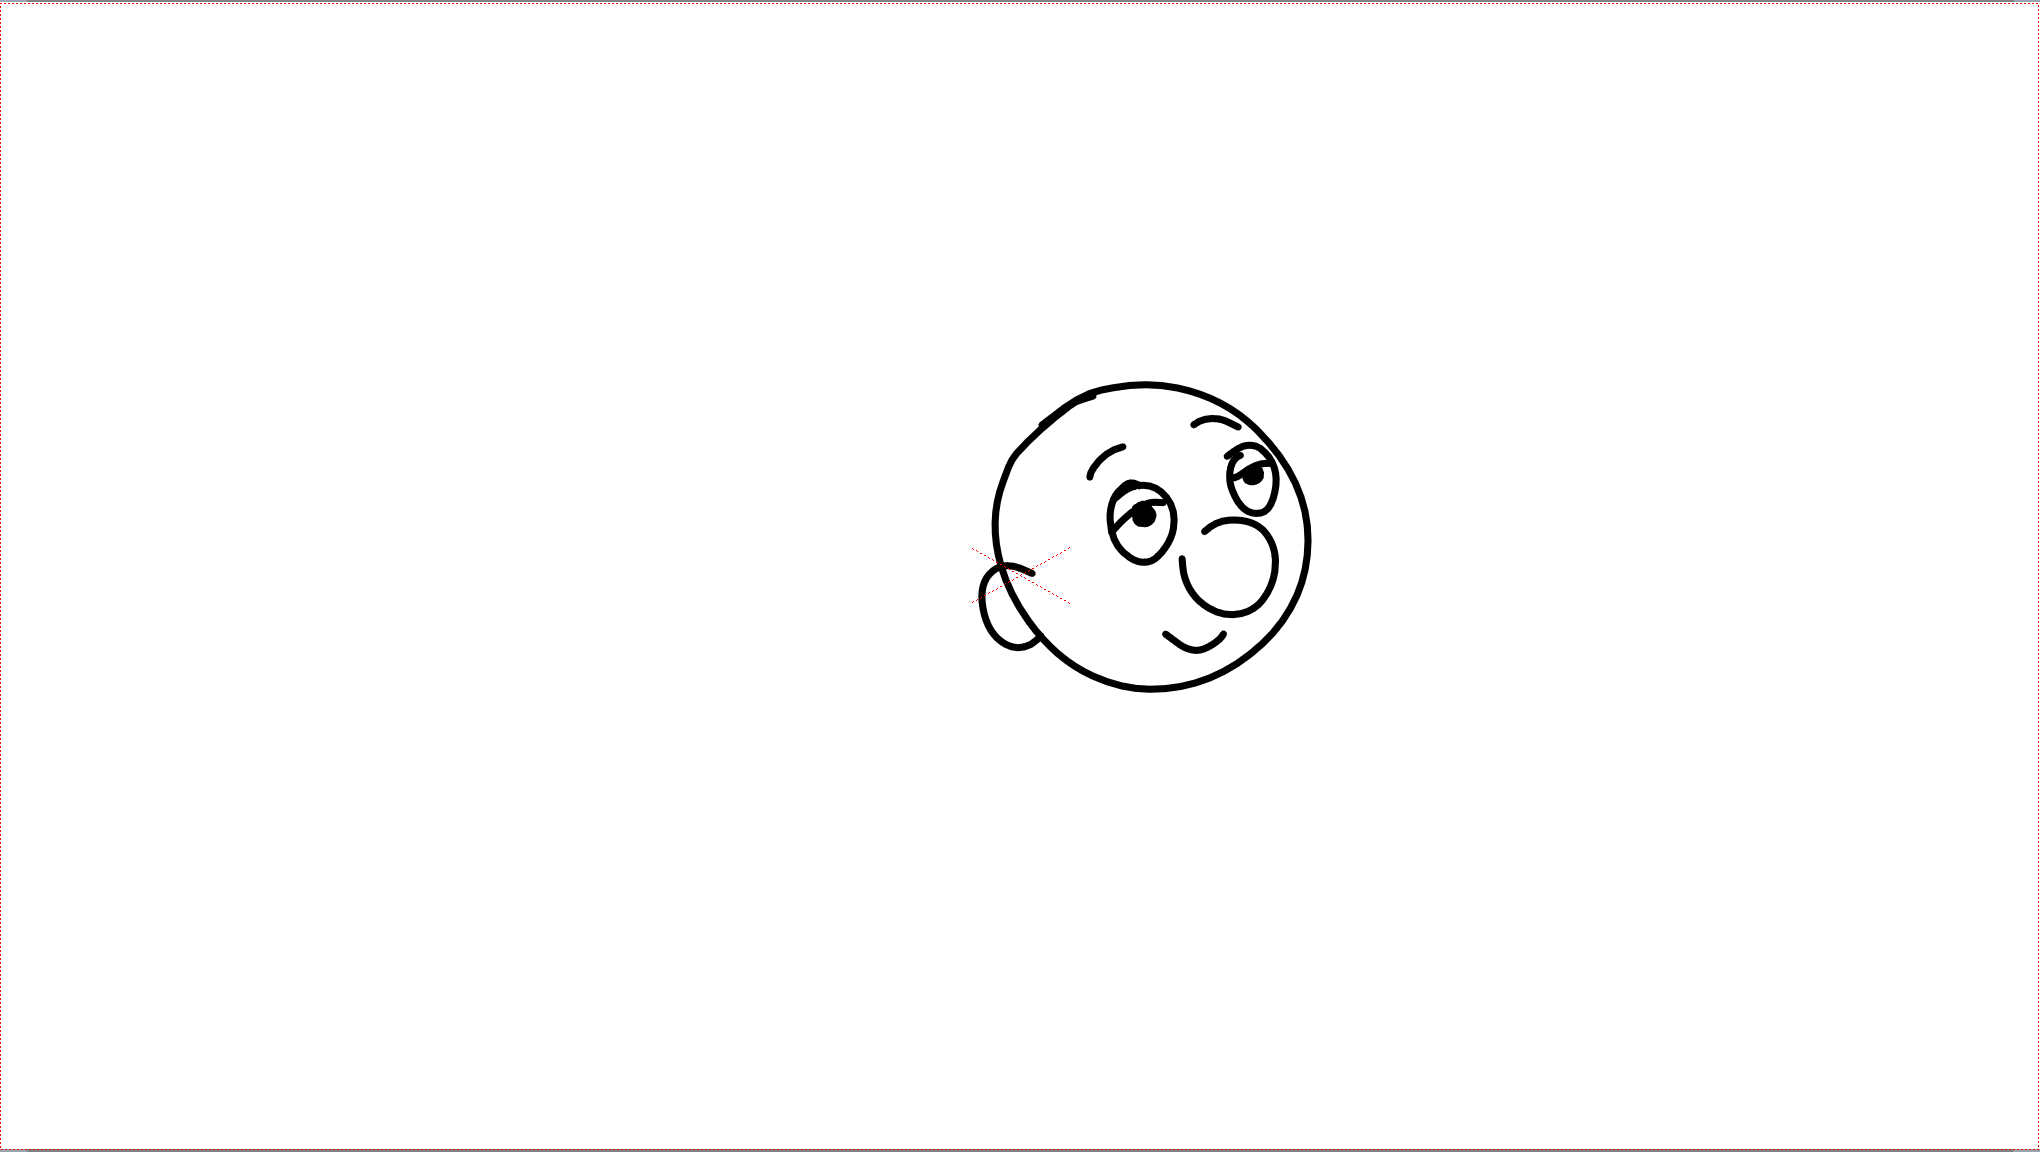
Similarly, the head turn animation, below, has also been created using five drawings and is based on example by Animator Island.
In the explanation for the above animation Engländer describes each stage. The first is a key frame, or the starting position in this animation.
Next I drew the anticipation frame, in which the head moves slightly in opposite direction to prepare for the intended movement.
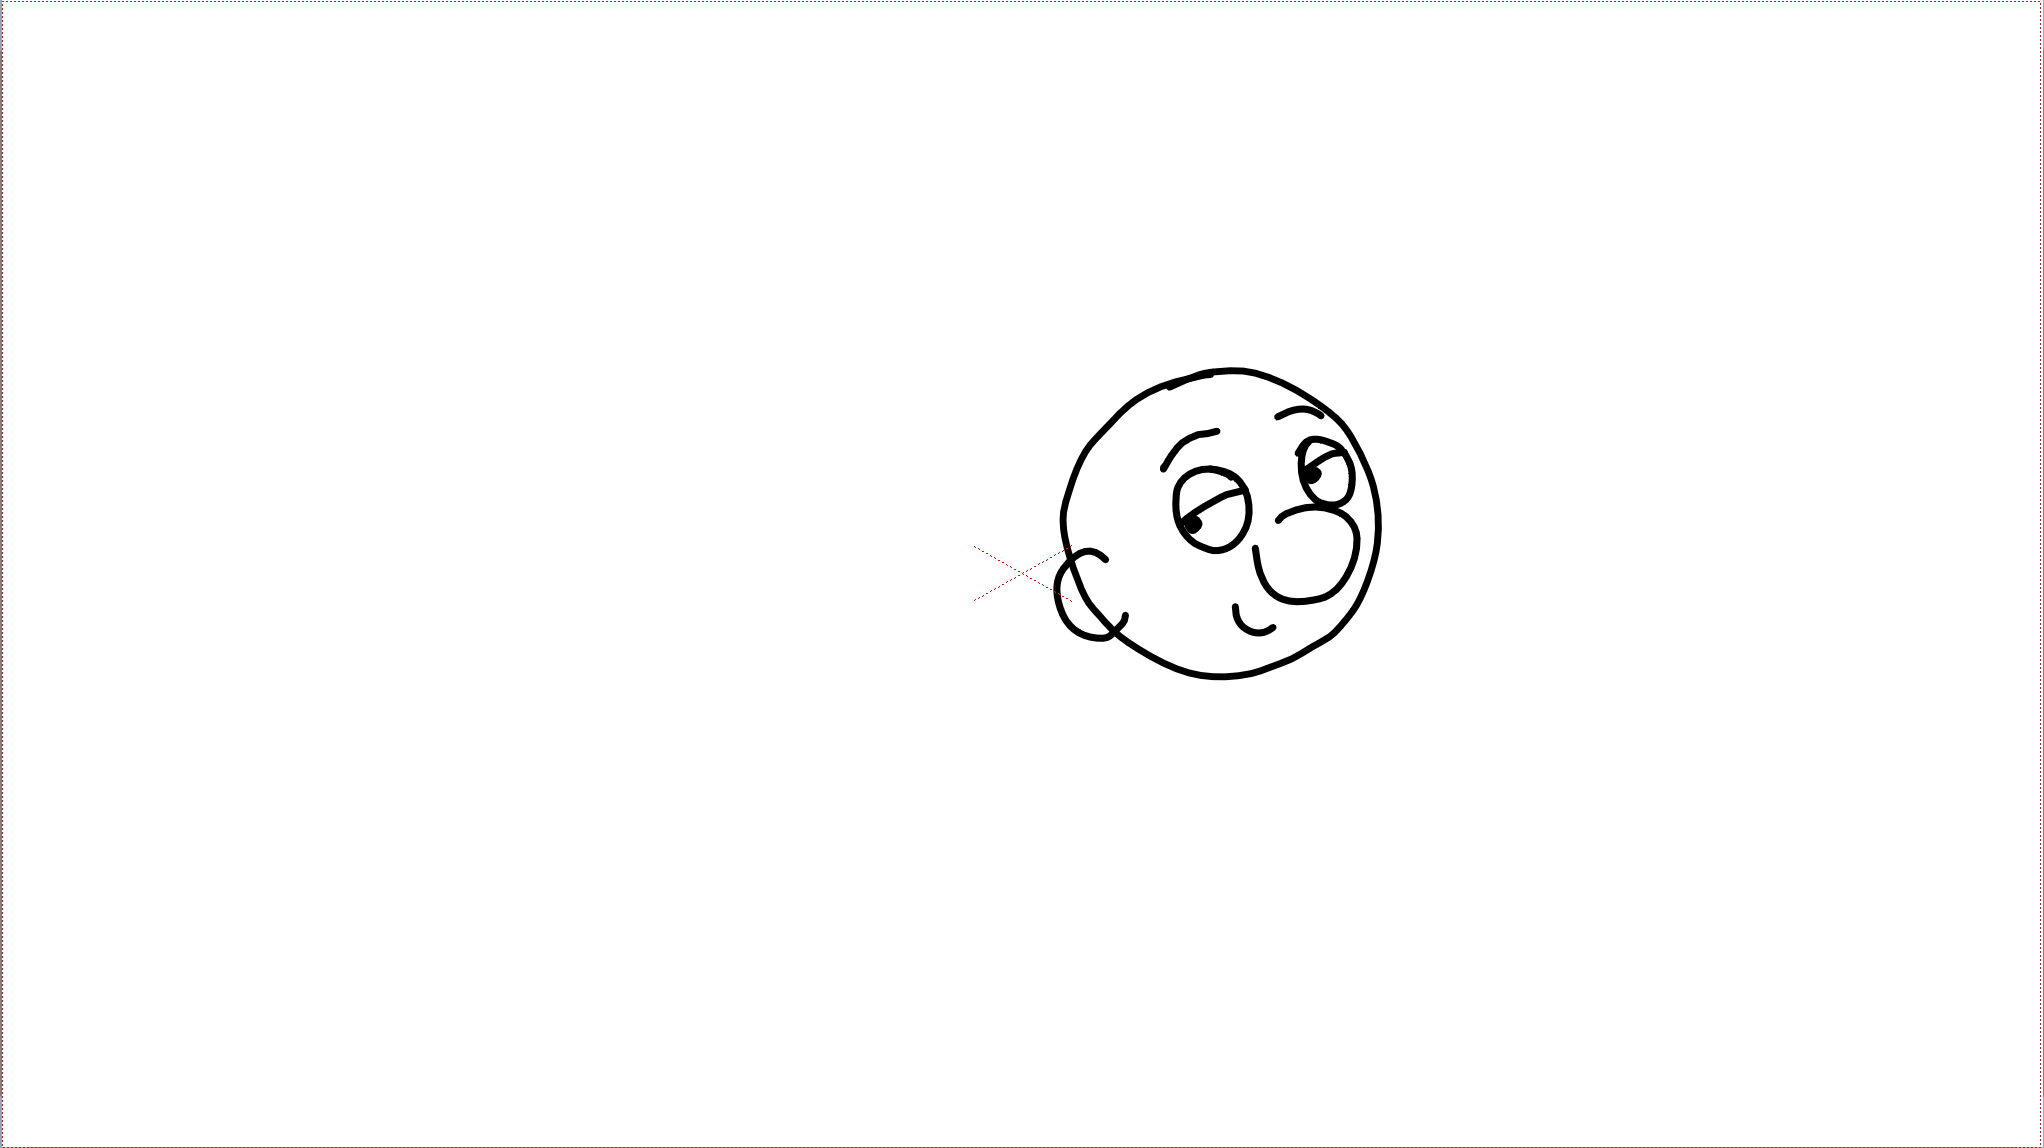
I then drew the breakdown, which shows how the head moved from key frame 1 to key frame 2. The breakdown only shows for one frame as it is a fleeting instant in the movement.
The fourth drawing is the overshoot, which involved the head going slightly further than its final destination.
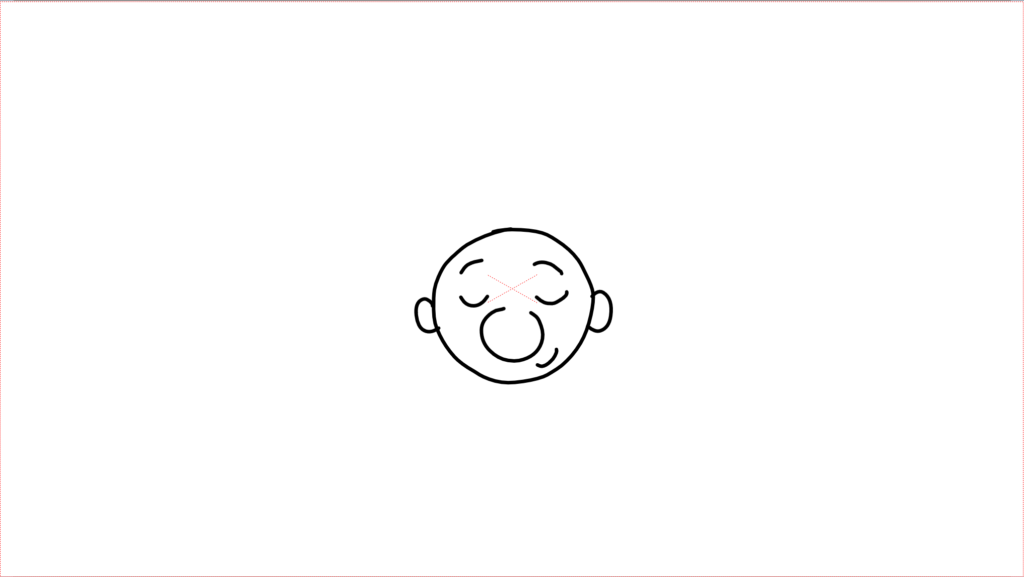
The last drawing is another key frame, of the end point of this animation.
Very Simple Action Animation
At this point it dawned on me that I had yet to actually fulfil the brief and create an ‘action-based’ animation. As I had spent so much time on the above, as well as wanting to become more proficient before attempting anything complicated, I decided to create a really simple animation.
I do not think I would have been able to create this if I had not worked through the tutorials and spent time learning the absolute basics. However, trying to create my own animation without any guidance or example to follow was quite a learning curve. In the end I forced myself to be content with the result, but I can see many, many improvements that should be made. The most obvious fault is that the torso of the body does not move, but I realised too late that I needed to have each part of the body on a separate ‘layer’ to animate them independently. It also would be good to experiment with adding sound to the animation.
Just to prove to myself that I had improved during the course of this exercise, I chose to create another version of a bouncing ball without guidance, this time in OpenToonz. I think this version of the squash and stretch is much more successful than the first attempt.
I also think adding a sound, such as the one below, to the animation at each squish of the ball would be appropriate.
Final Thoughts
Although I may not have specifically met the brief requirement of creating a short action-based animation, I am content that I took the opportunity to begin learning about animation and completed some beginner tutorials. I do not feel I would have benefitted in the long term by just trying to work out how to make the specifically required animation, and I can imagine the levels of frustration would have ben quite high! This may be due to how enthusiastic I am about developing my skills in this area and I like to work in a logical and thorough way.
After taking the time to learn some of the basics of animation, I feel much more confident in continuing in the same steady way via the aforementioned book and tutorials. I am hoping I will be able to incorporate animation into some other exercises/assignments as I progress.
Bibliography
Aaron Blaise (n.d.) Art of Aaron Blaise – animation Lessons, Tutorials & Digital Painting Courses. Available at: https://creatureartteacher.com (Accessed 27 June 2023).
Animator Island (n.d.) The best way to learn animation: 3 forms of energy. Available at: https://www.animatorisland.com/courses/2d-animation/lessons/best-way-to-learn-animation/ (Accessed 27 June 2023).
BBC (n.d.) BBC Sound Effects. Available at: https://sound-effects.bbcrewind.co.uk (Accessed 4 July 2023).
Carter, D. (2020) 14 awe-inspiring flip books. Available via: https://www.creativebloq.com/illustration/flip-book-animations-12121459 (Accessed 27 June 2023).
OpenToonz (n.d.) OpenToonz. Available at: https://opentoonz.github.io/e/ (Accessed 28 June 2023).
Pixabay (n.d.) 81 royalty-free squish sound effects. Available via: https://pixabay.com/sound-effects/search/squish/ (Accessed 4 July 2023).